Hi, I am happy to share my finished Giant Granny Square Baby Quilt. It was made for a new little cousin in the family. I found all the fabrics except a coordinating solid all precut in my stash. I chose the Granny Square pattern as I thought it was fitting for a first time Grandma. I like to make quilts for my friends and family members when they become first time Grandparents, why should the Moms get all the cool gifts? Grandma needs to have something to share with new baby at her house, right?

I started out with this fabric pull. All fabrics except the coordinating gray solid were precut into 5 inches square. I had purchased two fat quarter bundles of the woodland animal prints from JoAnn’s a few years back. I was able to cut 24 squares of each print from the two sets of fat quarters.

This has to be one of the easiest blocks. It is all made out of 5 inch squares. I laid them all out in the positions shown above and sewed them into rows. You line your ruler up a 1/4 inch out from the outer seams and trim it into a square. The gigantic granny square finishes at 19.5 inches square.
 Block 2
 Block 3
 Block 4
 Block 5
 Block 6
I made 9 blocks but only have individual photos of the first 6 but you get the idea by now.

Here are all the blocks together. I wanted the top to be a bit larger so decided to add sashings and corner stones. I cut 2.5 inch muslin strips and 2.5 inch gray squares.

Here is the completed flimsy. I had a chambray blue,tan and gray striped flat sheet that I chose to use a backing. Using extra strips cut off from the sheet made a perfect mock bias striped binding without any extra effort.
The finished quilt was approximately 66 inches square. I do not like to make too small of quilts. This is a nice size for baby to grow up with.
The week of August that I started making these gigantic version of the granny square I was receiving messages on Instagram and finding my name or my blog’s name tagged to granny square blocks. I had almost forgotten that I designed a tutorial for the standard granny square block (12.5 inches) and it was the featured quilt block pattern in the 2017 Quilter’s Planner. If you were participating in the quilt block sewalong, you were making my granny square that week of August 20th. It was a fun coincidence that I made a supersized version the same week.

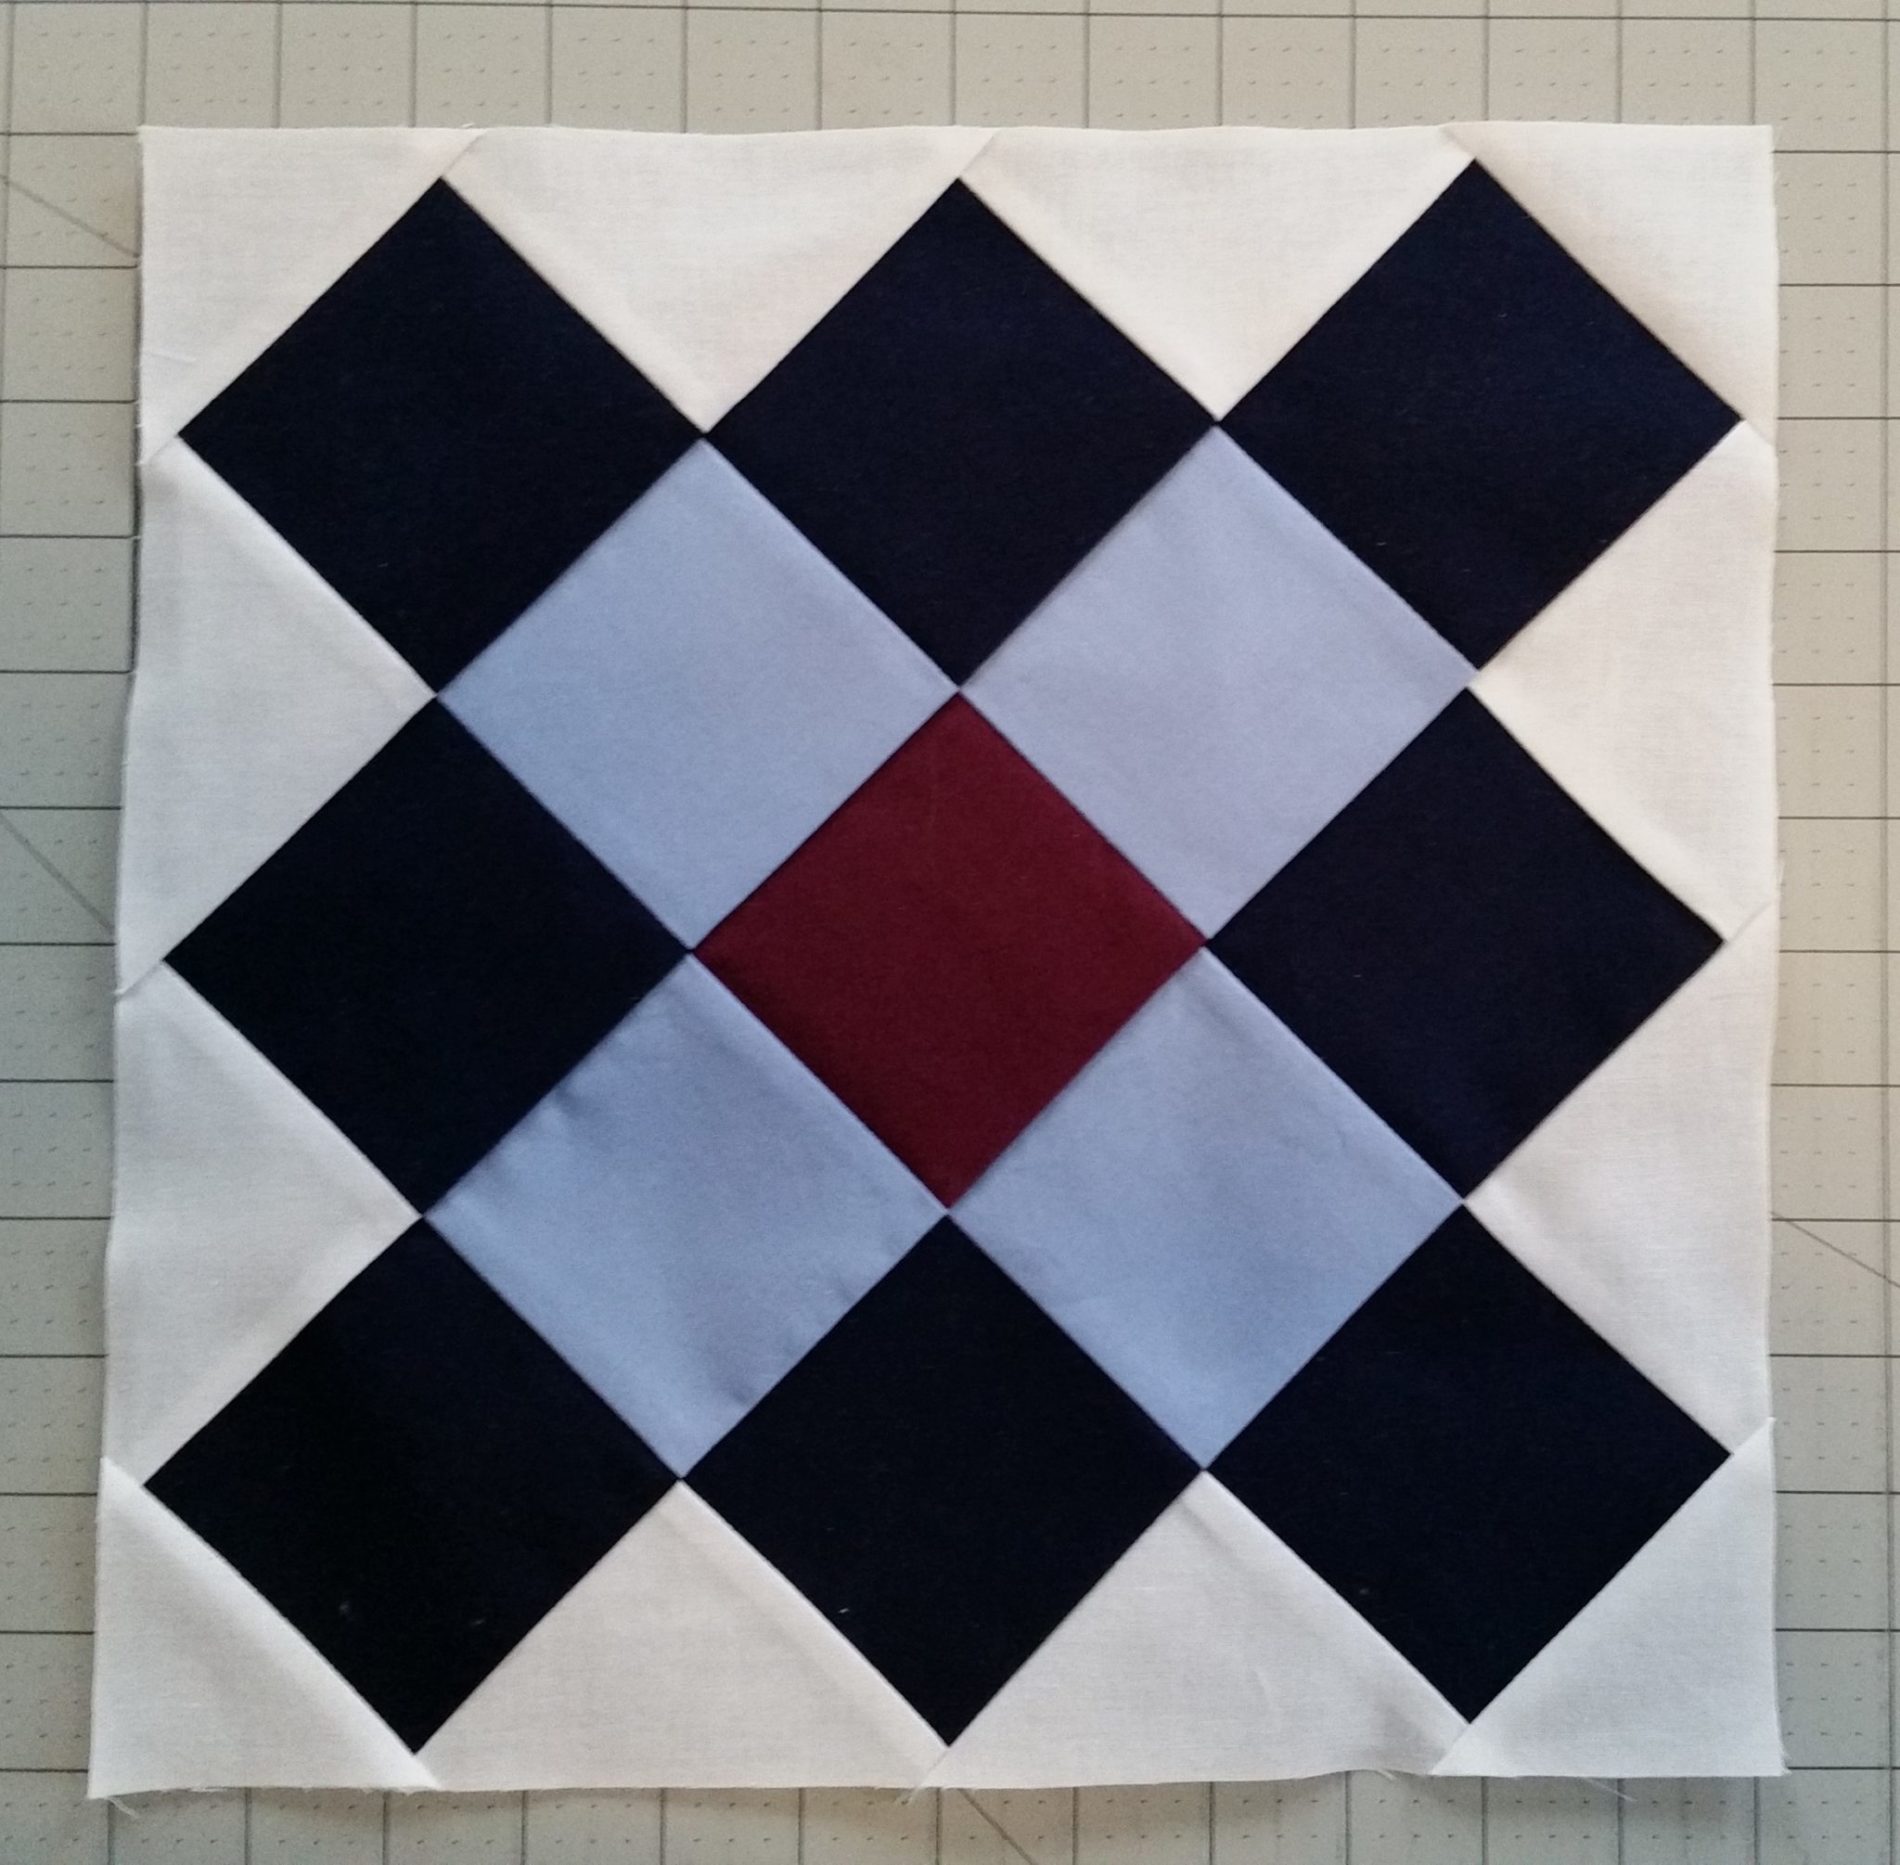
My granny square tutorial is found here. I also made one for the Churn Dash block as well..
I will be linking up with Crazy Mom Quilts Finish It Up Friday. I am attempting to catch up on some additional blog posts that need to be written.
Happy Sewing,
Shelley


