Category: Quilty Love

  • John Deere Greased Chain Links: A Modern Fan Quilt Finish

    Hi, I am happy to share another of my original spin quilt idea using Suzy Quilts Modern Fans quilt pattern and templates. I am calling my version John Deere Greased Chain Links. This quilt is built around a John Deere Kids Story Book print that I have had in my stash since maybe 1996 or so. I only had one yard of it. I found a fun Men’s John Deere authorized plaid cotton long sleeved shirt on Ebay to add as an accent print. I found as close as I could to matching yellow and green solids at JoAnn Fabrics and  purchased 2 yards of each. I always have a bolt of white solid in my stash to work from.

    This quilt design is so different from what I am used to making  and working with. I used to run from curved piecing but now seem to want to find more curved piecing projects. This quilt went to our little cousin who turned 1 in December. His two sisters have received my Puppy (Sea) Stars, Katie’s Compass and I-Spy Chevron quilts. Their grandparents received the patriotic Midnight Mystery quilt.

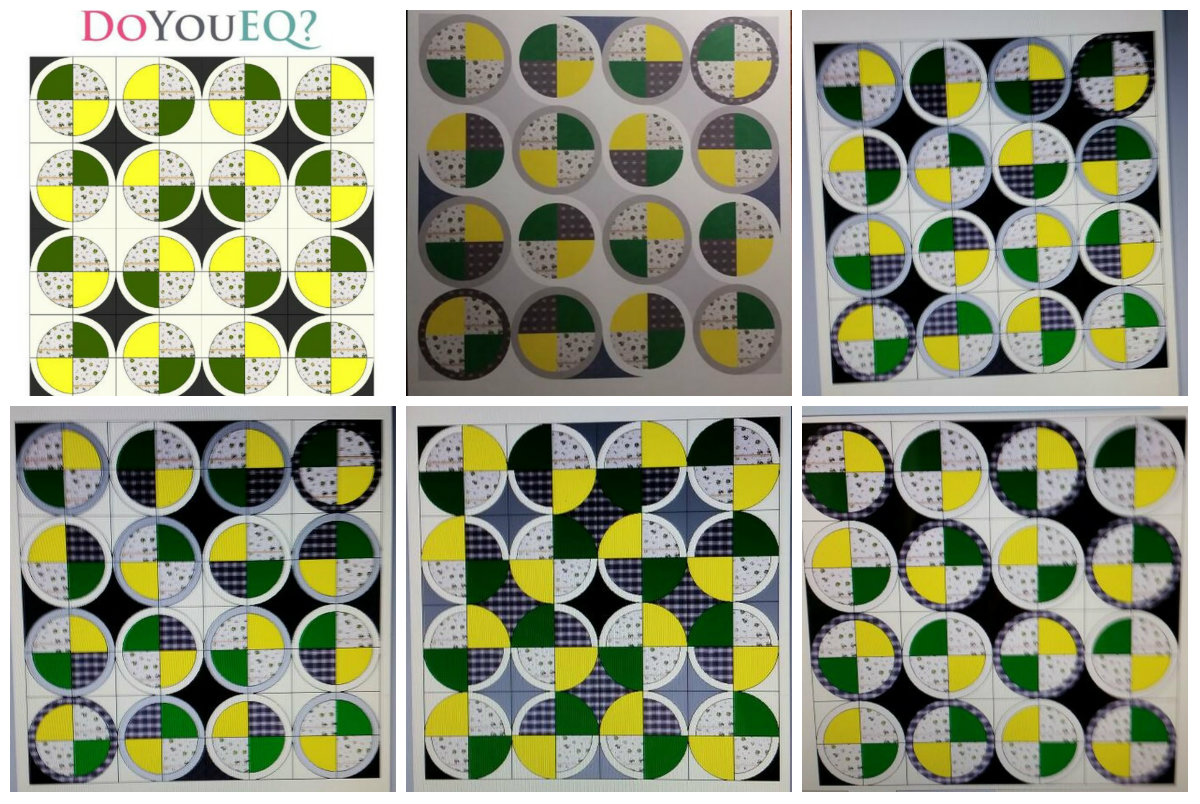
    With this quilt design I also used Electric Quilt 8 software to plan out how to use my fabrics. I only had the yard of John Deere print and there was only so much plaid in the men’s shirt to work with. I actually miscut my men’s shirt pieces but was able to salvage what I had to make it work for me. I came up with 6 different layouts using the EQ8.

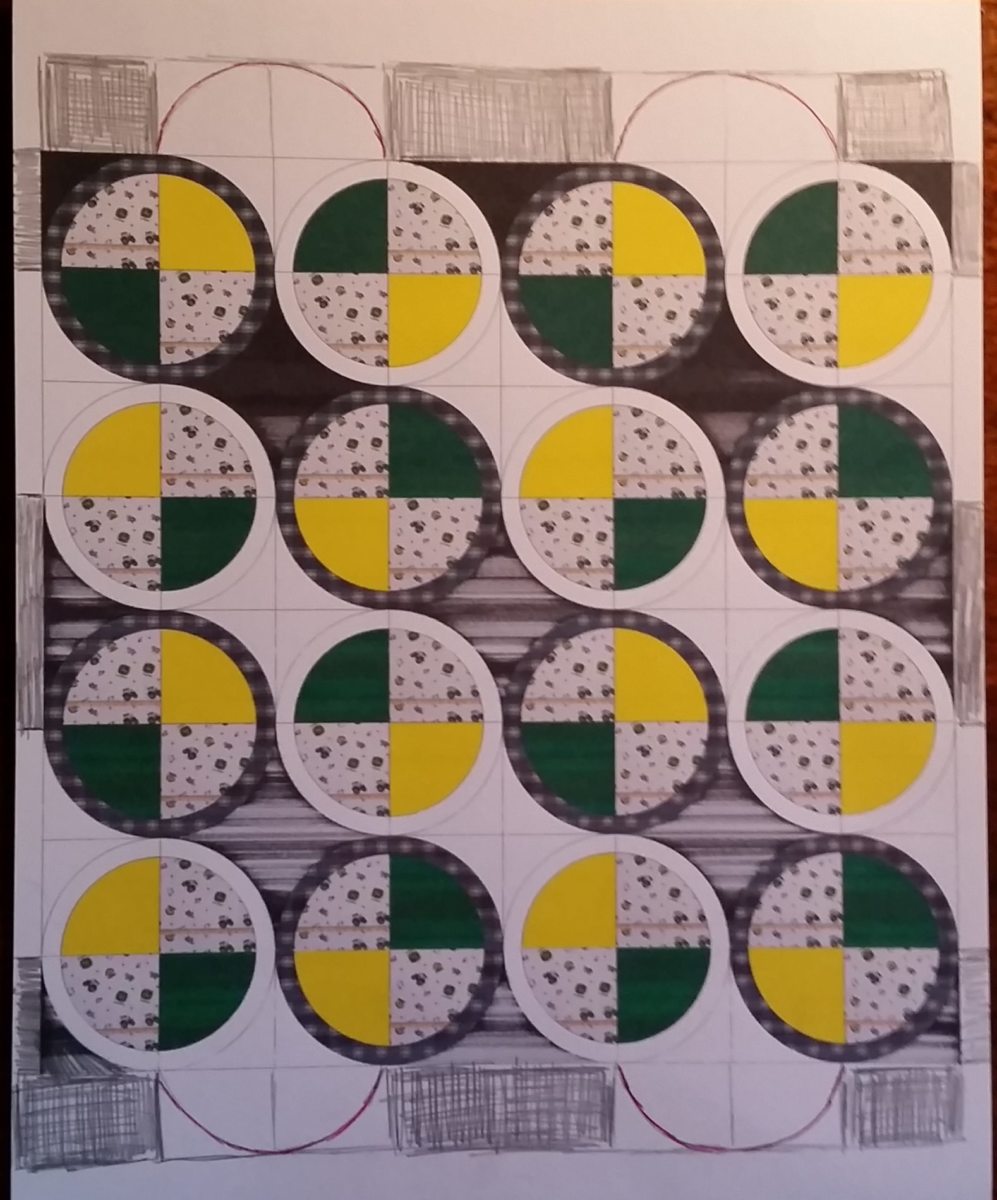
    This first design is one of the basic used from the first Modern Fans and the last one is what I ended up choosing to go with.

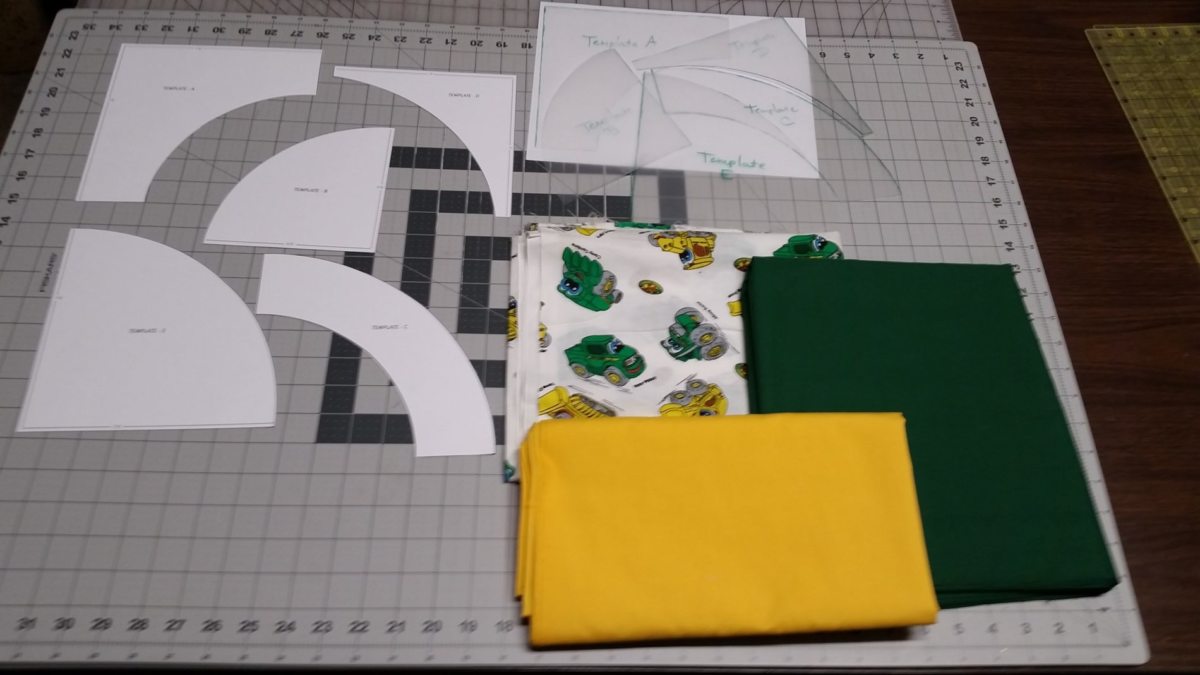
    This shows my main fabrics and the templates from Modern Fans pattern. I used all the templates when creating this version of Modern Fans.

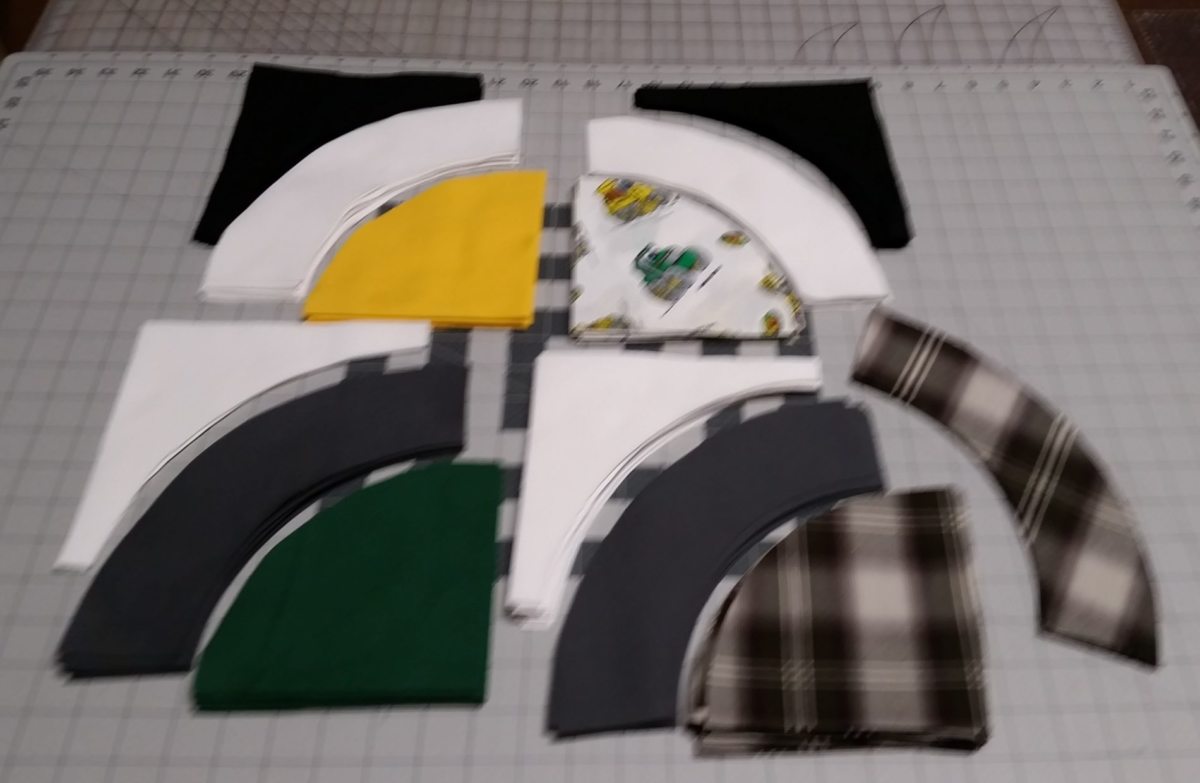
    This would be all my cut pieces. Sorry for the blurred photo.

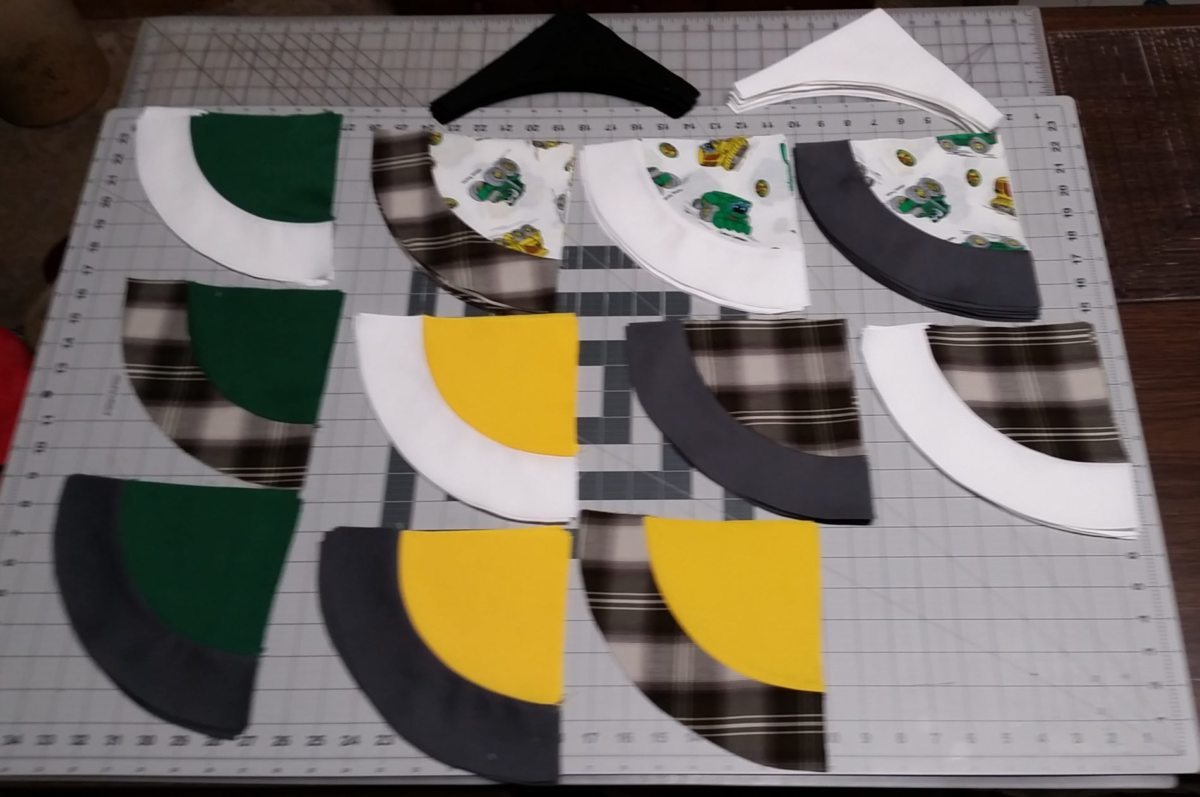
    Here is my first photo of assembling the curved pie wedges as I like to call them. It seemed a little strange to have to piece white to white but it is how to create the ring design I was looking for.

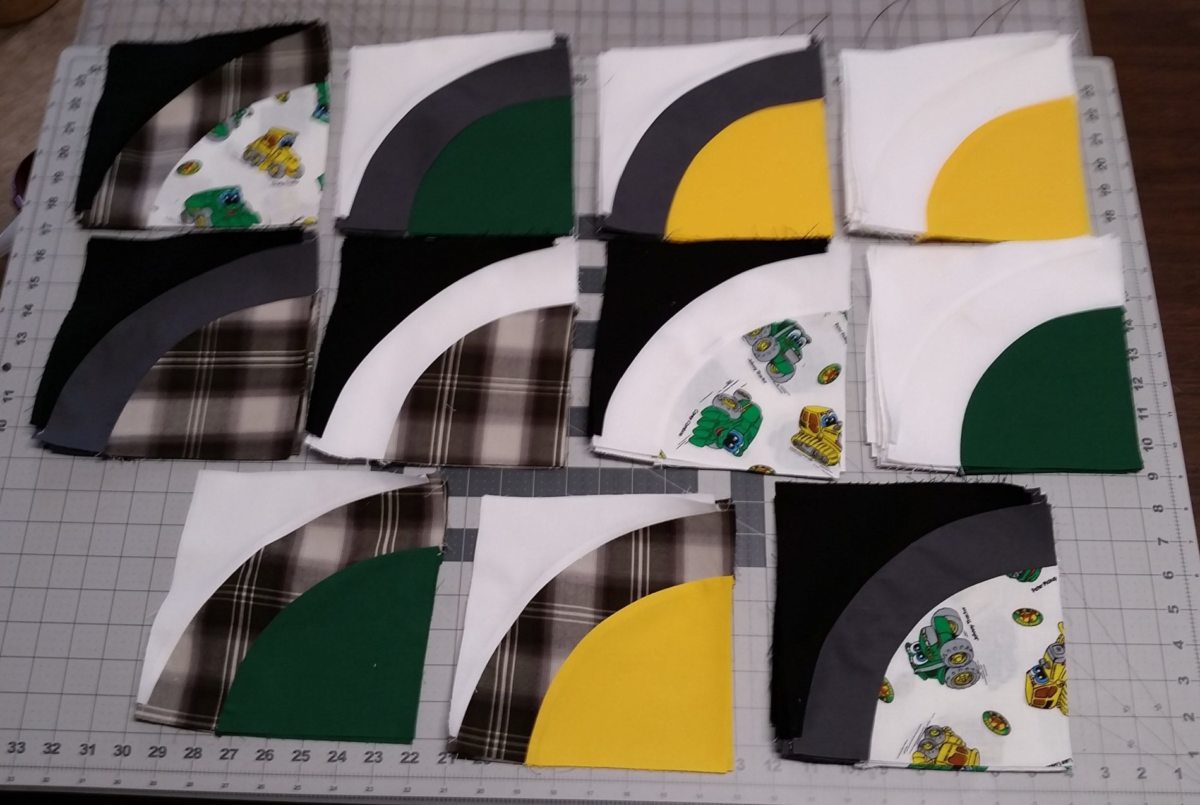
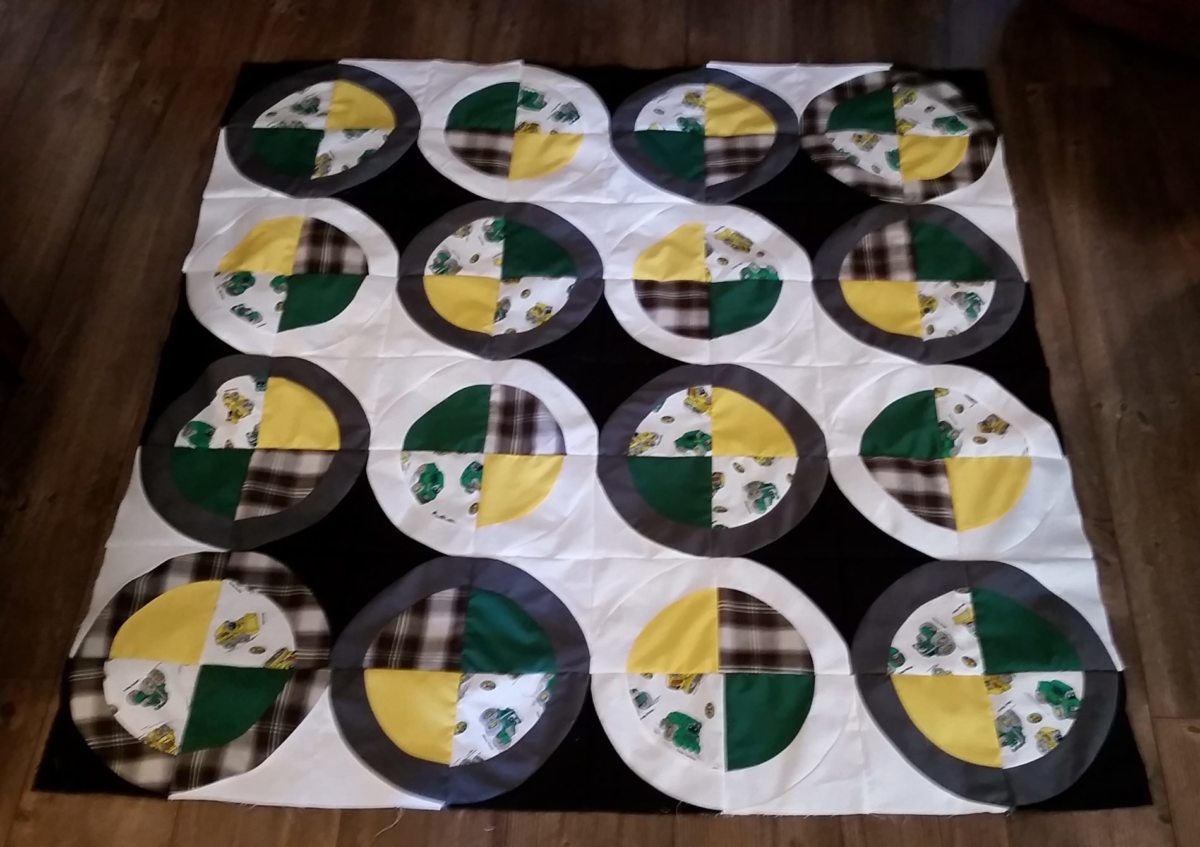
    Here are all my blocks pieced and ready to be assembled into a top.

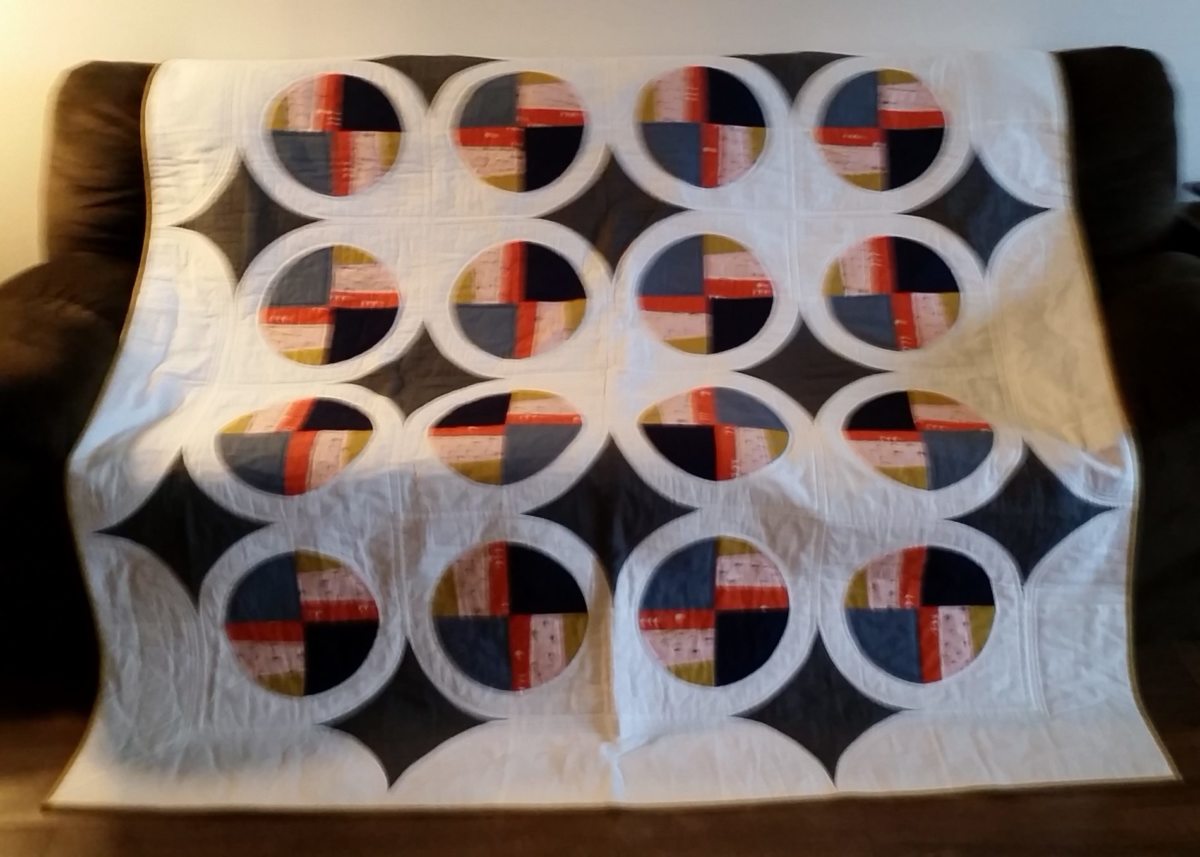
    Here is my finished flimsy. This would look great on it’s own but I think that a finished top of 56 inches square is kind of small for a throw. Yes, this is going to a 1 year old but his sisters received larger quilts. I have put a big dent in what was left of the John Deere tractor print and the John Deere plaid shirt. To expand the design, I would need to build outwards to make a creative border. I used the printout from EQ 8 that I had for this quilt and used pencils and markers to  draw out a border idea.

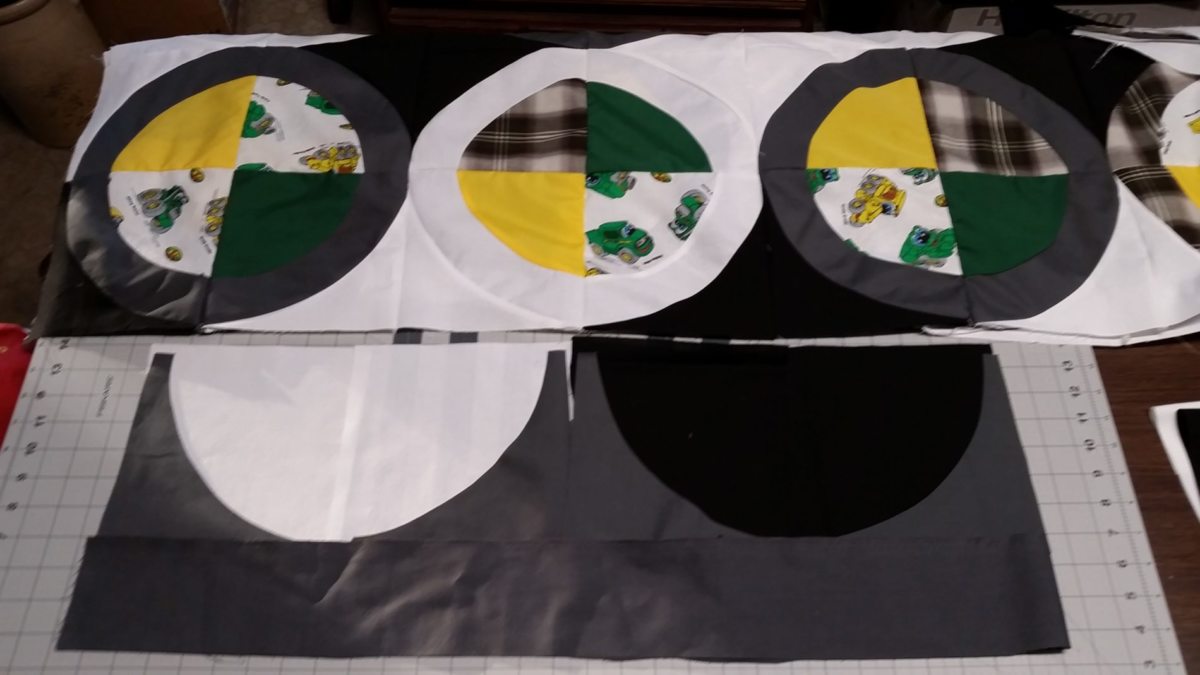
    I am going to be continuing out the design and using the Drunkards Patch blocks to create clam shells.

    I also added an additional gray border to make the clam shells float. I think what ended up to be 3.5 inches.


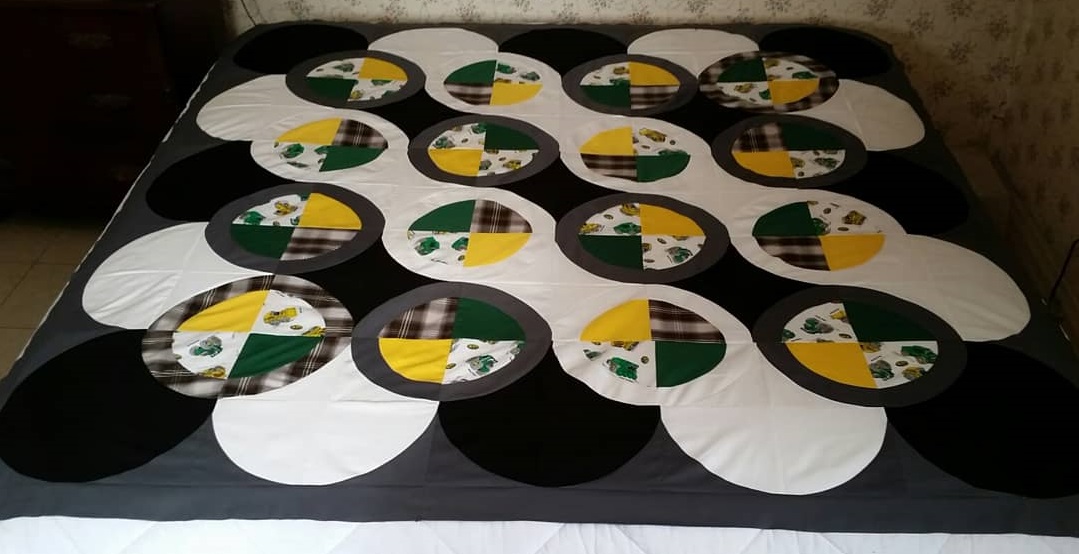
    Here is my completed John Deere Greased Chain Links flimsy laid out on the top of our king size mattress.

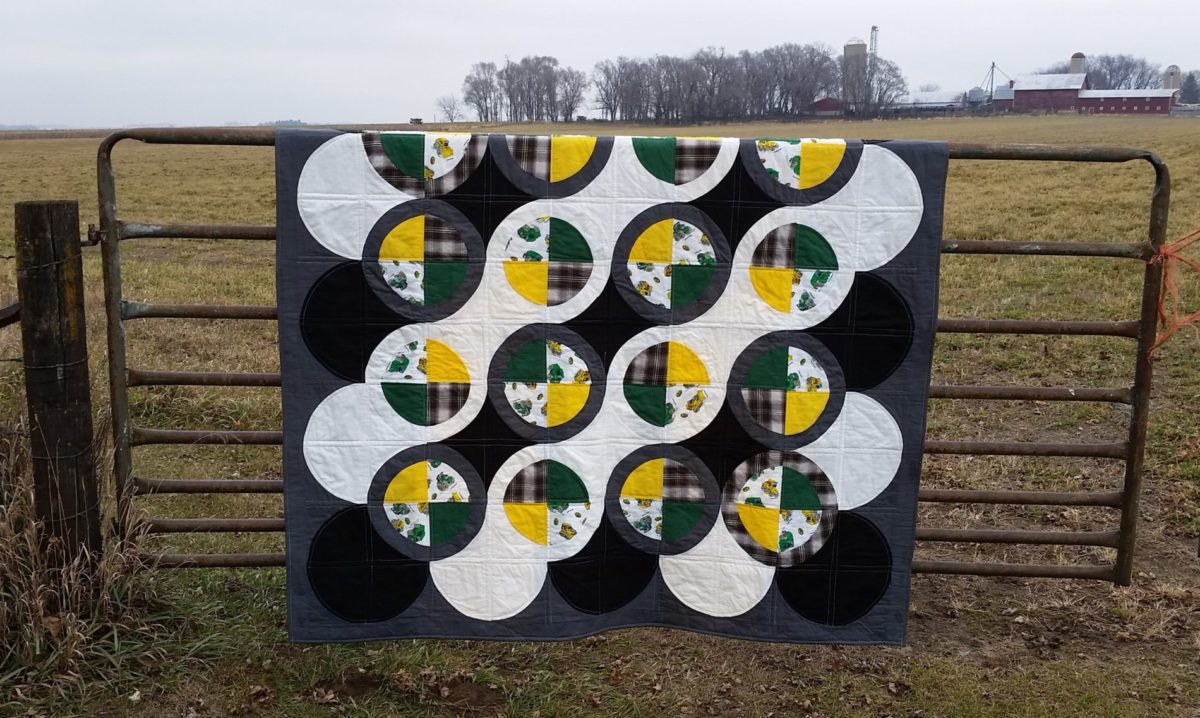
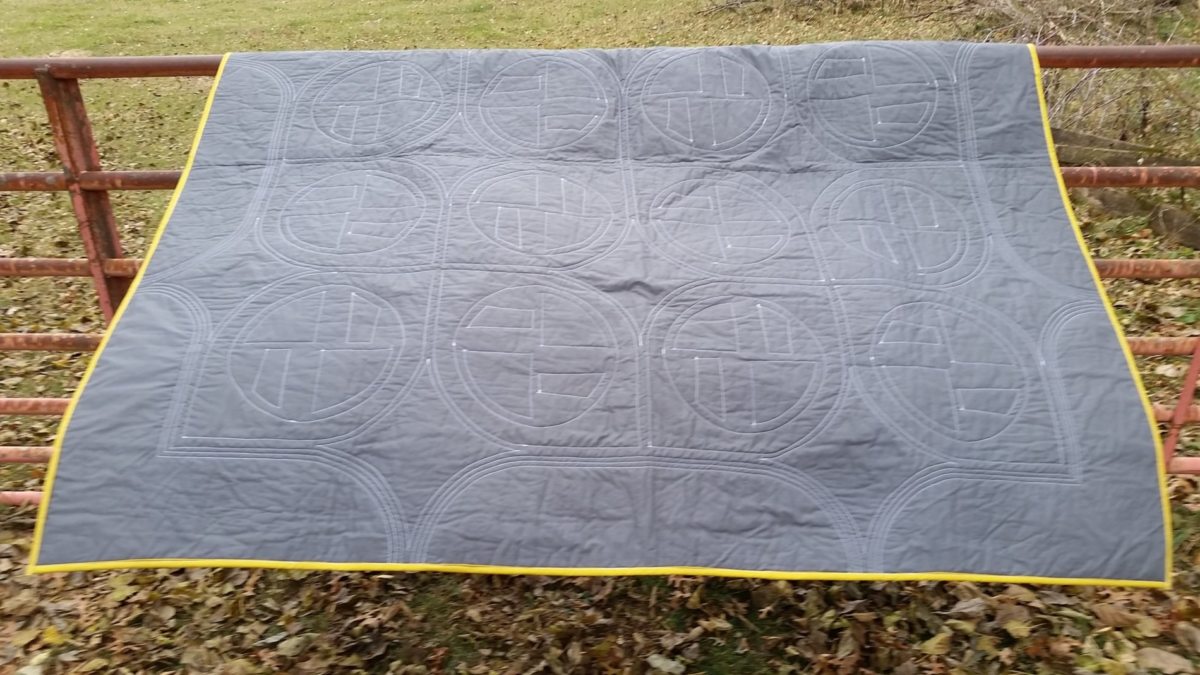
    Here is my finished quilted and bound John Deere Greased Chain Links quilt displayed on the front gate on our farm.

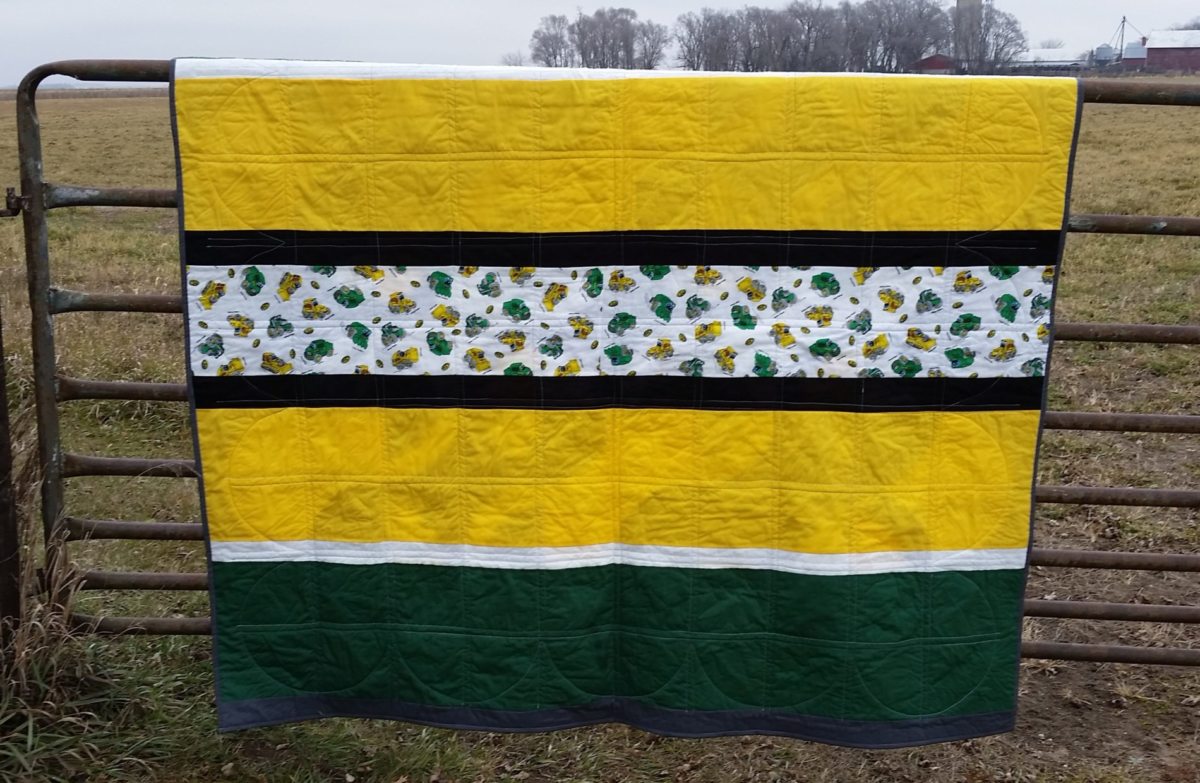
    I created a pieced backing using up what was left of the John Deere kid’s print and the yellow and green solids. It was cutting it a little close with fabric and had to add a gray strip to top and bottom to have enough length.

    I love this quilt and how it turned out. It was alot of fun to make. As our little cousin gets bigger, he can drive his little toy tractors around on the quilt. This will not be the last of curved pieced quilts that you see me making. I have purchased other curved piecing templates and rulers and other designer’s patterns and books. I do need to get to quilting up all my memory quilts but every now and then, I will need a creative break and am likely to get out some curves to play with.

    I have one more quilt finish to blog about and then I am all caught up sharing  my quilts from 2018. The family that received this quilt commissioned a special quilt for their Mother inlaw for Christmas.

    Thank you for stopping by my blog. If I owe you a reply to your comments, they will be coming soon. Many thanks!

    Happy Sewing,

    Shelley

  • Modern Fans Quilt in Cotton and Steel: QAL and Finish

    Hi, I am happy to share a fun quilt finish today. Back in September through the first weeks of November, Suzy Quilts held a sewalong for her Modern Fans quilt pattern. I have been sewing for close to 40 years and quilting for almost 30 years and I will admit sewing  curves and those pesky Y seams are something that I haven’t mastered. I jumped in fully to sewing curves with the Suzy Quilts sewalong and with Evie Jespersen of Evquilts on Instagram as my inspiration and final push to try curve piecing.

    This is my first finished Modern Fans made in Cotton and Steel prints leftover from my Tribal Plus quilt.  As with many quilt patterns I have to make them mine, and I added a creative border to make it larger.

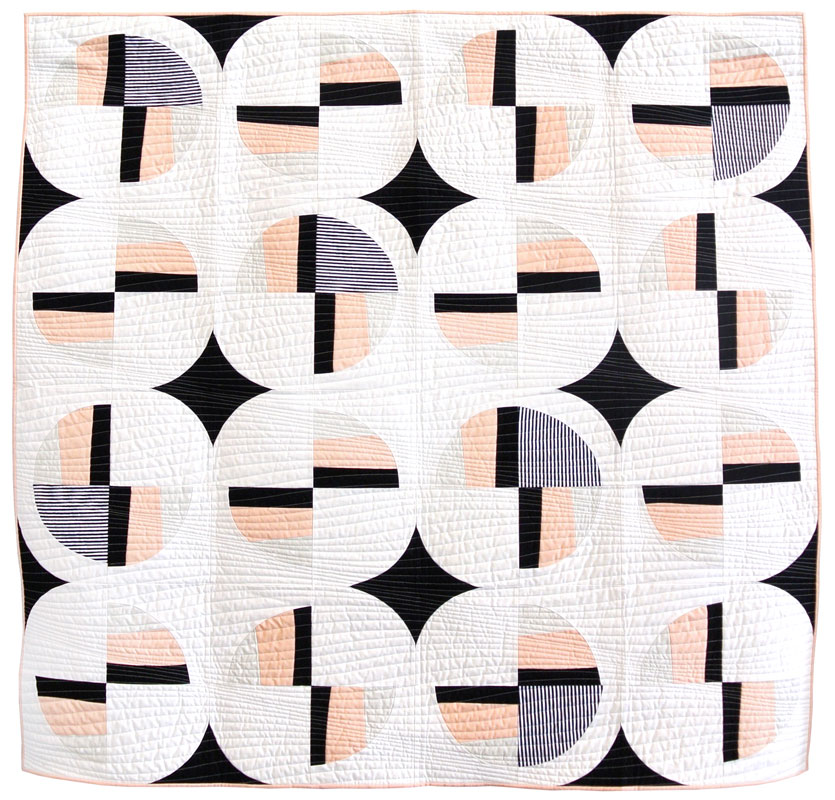
    This is one of Suzy Quilts original Modern Fans quilts that she shared on her QAL.

    I started learning how to use Electric Quilt 8 software last fall and I uploaded the Modern Fans design into the program to decide how I wanted to place my fabrics since I had a limited amount left from my previous quilting project. I ended up becoming quite proficient at drawing the curves as I was having a trouble getting it to save in a fashion that I could pull it back up to work with. I designed another quilt while making this one and will blog about it later. That quilt I came up with 5 different layouts on how to use my fabrics so had LOTS of practice drawing curves with EQ8.

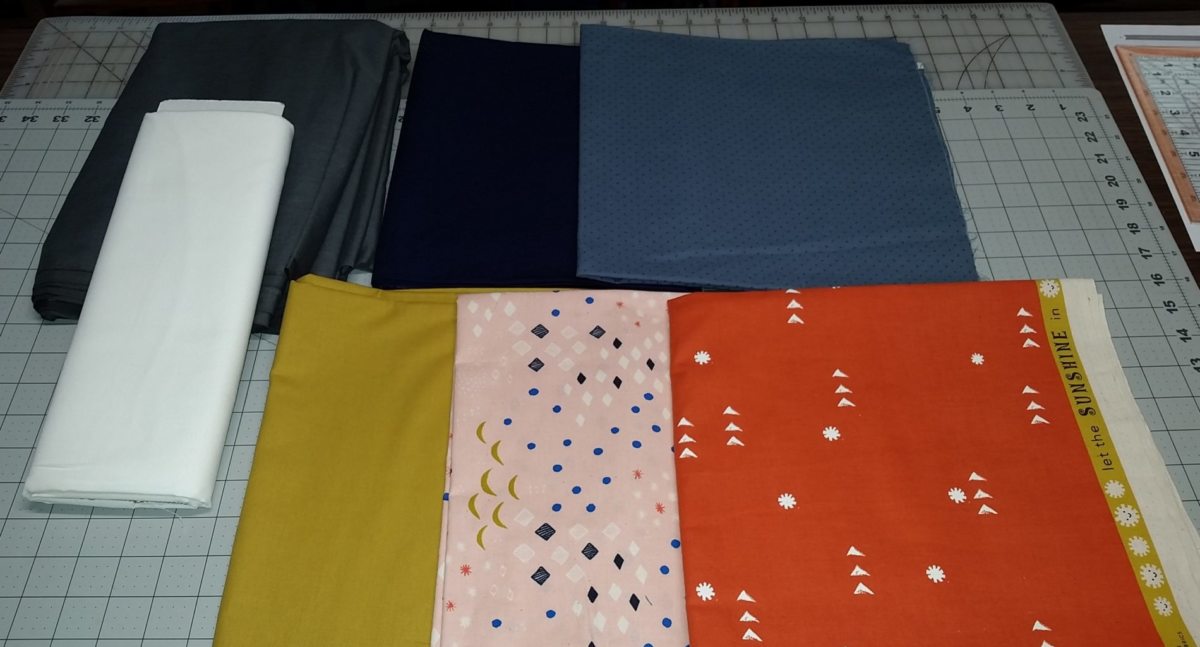
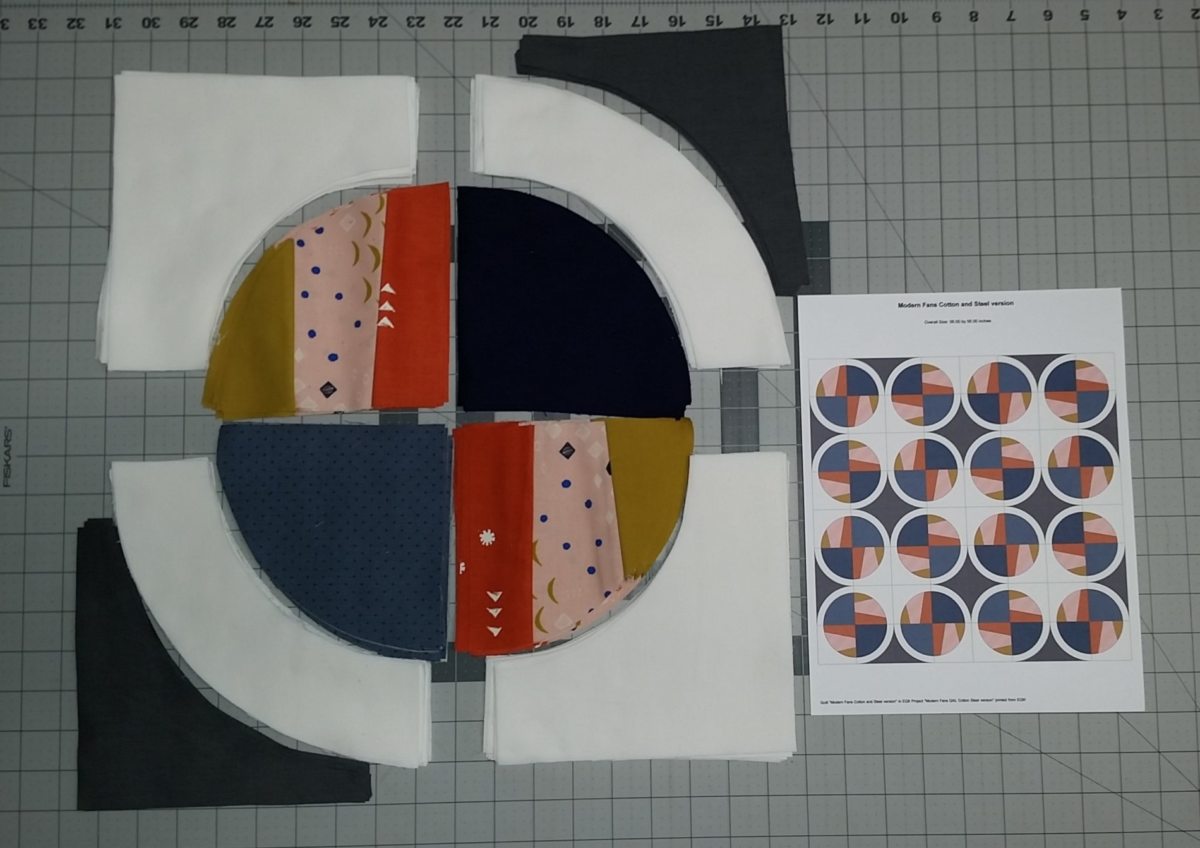
    This is my fabric pull selection.

    Here are all the block components all cut out and the striped  pie wedges pieced. Suzy provides paper templates you can print and cut out. I traced mine on to a clear vinyl cutting board sheet that comes in a package of 3 at the Dollar Tree for $1.00. I was able to carefully cut all my curves out with my 60 mm Olfa cutter. Suzy recommended the small 35 mm one for easy of control. I hope to have my husband cut me out a more permanent set of the matching templates from a sheet of plexiglass.

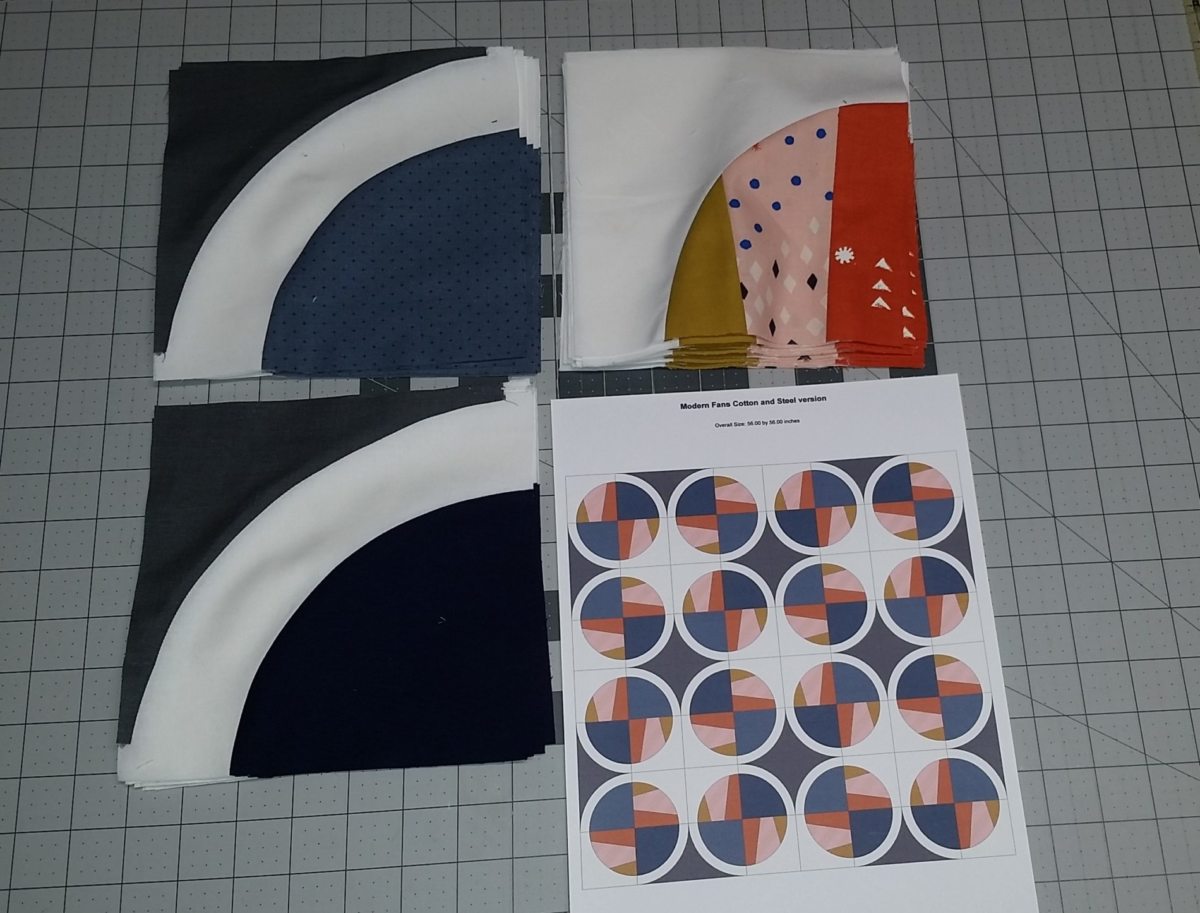
    All my curved pie wedges sewn together and ready for assembling the top.


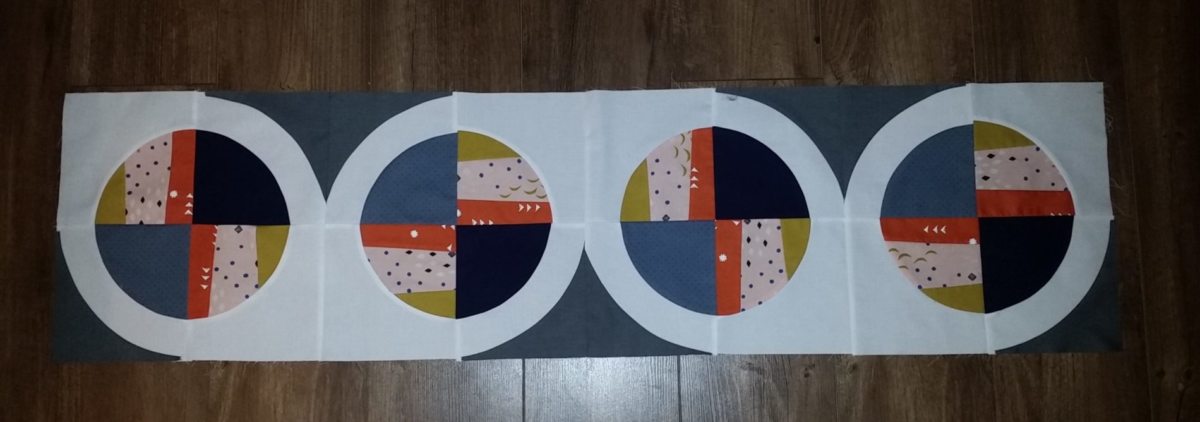
    My first row assembled and things are matching up well.


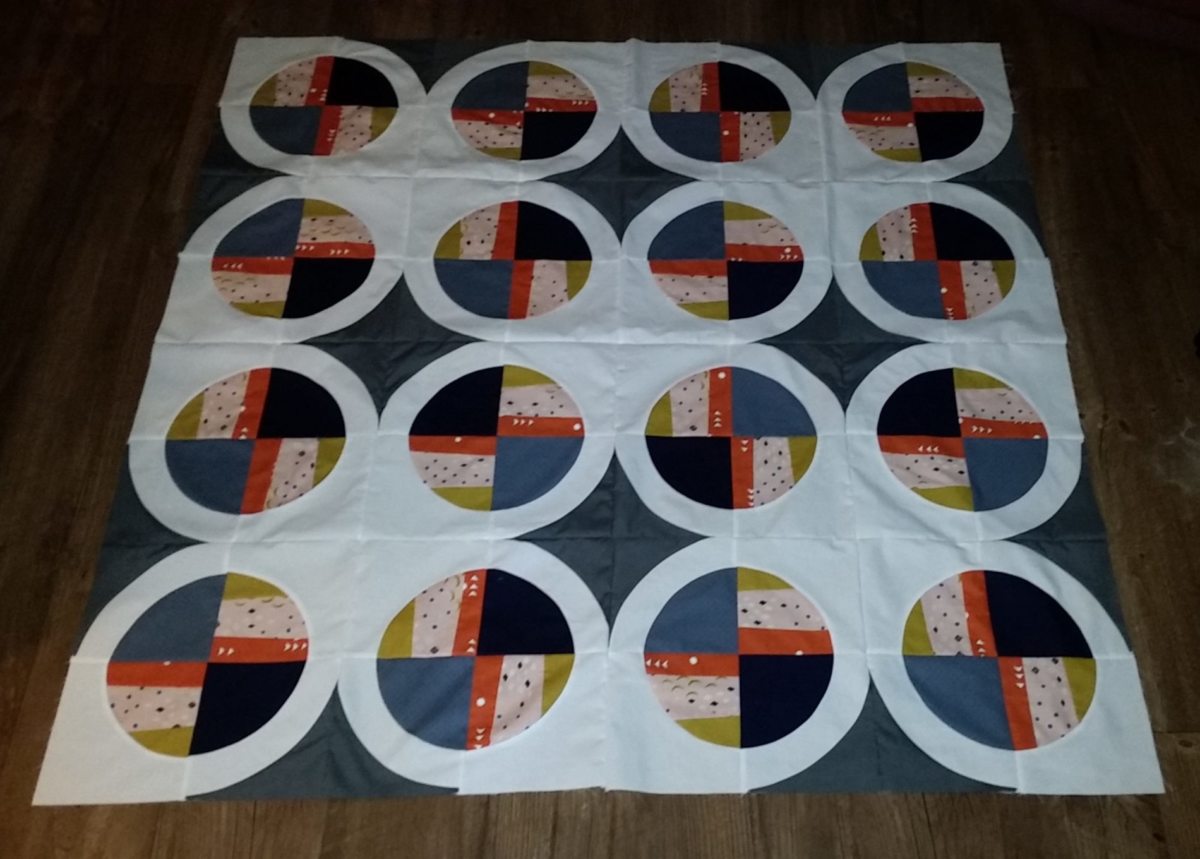
     This is my completed Modern Fans flimsy without borders in the  original pattern size of 56 inches square. I wanted a larger top but did not have any extra of the Cotton and Steel fabrics to make more blocks. So I needed to come up with a creative border to enlarge the design and chose to continue the design outward by finishing the gray diamonds around the outside of the quilt.

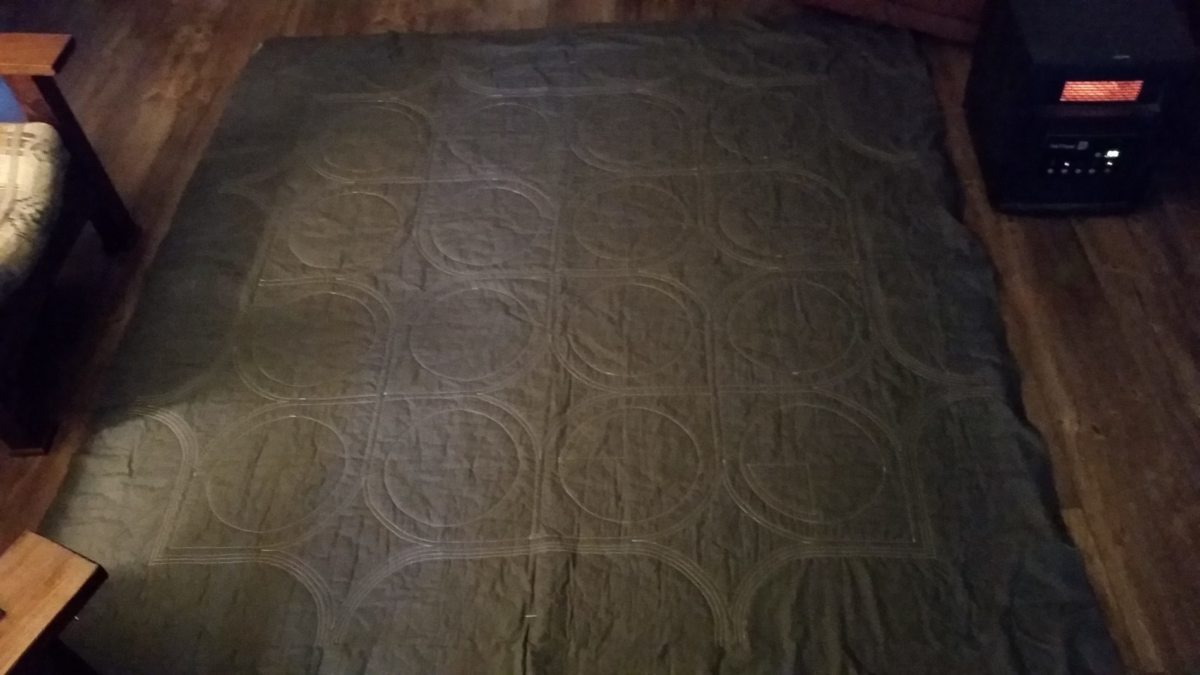
    This is a low light indoor shot of the completed quilt.

    Here is Modern Fans in Cotton and Steel out on the back gate blowing in the wind.

    Hopefully you can see how I chose to quilt this quilt in this photo.

    Prebinding shot of all the quilting, well actually I added more quilting to the individual wedges in the larger circles after this photo.

    The quiltalong was for 9 weeks  and at the end of the QAL if you had a least a throw top completed then you could be entered into a contest to win a new Bernina sewing machine. I had finished my top early as I needed to start on a commissioned quilt for Christmas delivery. I managed to get my commissioned quilt top pieced and started another Modern Fans that I would be gifting to a little cousin for his first birthday. I was down to finishing up sewing the last rows together of the second Modern Fans when the official deadline time to have photos posted passed. I sewed a row on upside down and had to take it apart. No problem. I will share the second quilt in another post.

    Thank you all for the kind words about my memory quilt project in the last blog post.

    Thank you for your continued support on reading my blog posts.

    Happy Sewing,

    Shelley

  • Chandelier 2 : Dad’s Shirts Memory Quilt Top Finish

    Hi, I am happy to share another completed memory quilt top made from our Dad’s plaid shirts. This one is made from the Chandeliers 2 pattern by Lella Boutique. It will be given to our grandson.

    I was able to pull strips from 20 different plaid shirts and added 5 duplicate striped blocks. Charcoal gray solid as the chain pieces with navy solid setting triangles.

    This is Lella Boutique’s photo of the pattern cover art from Instagram. I really like the soft blue setting triangles.

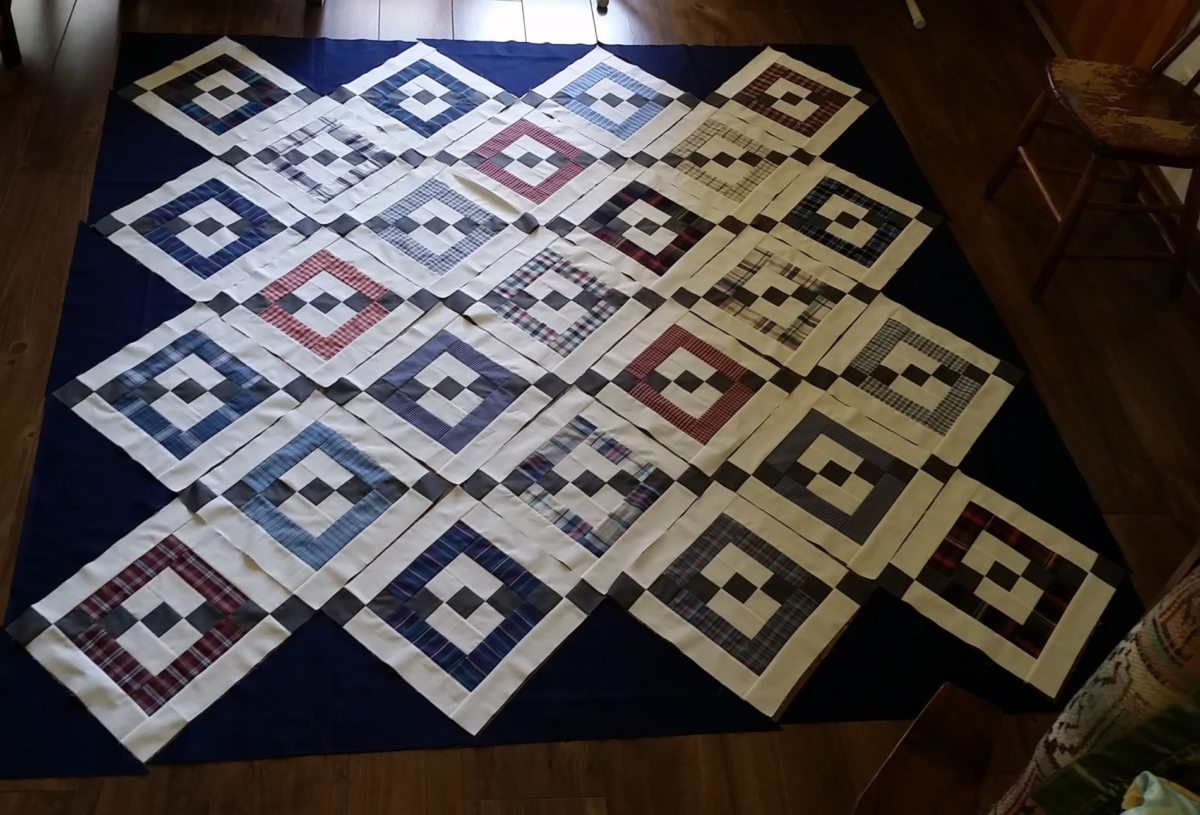
    Here are all my fabrics cut with two of the first blocks pieced. They assemble quite quickly.

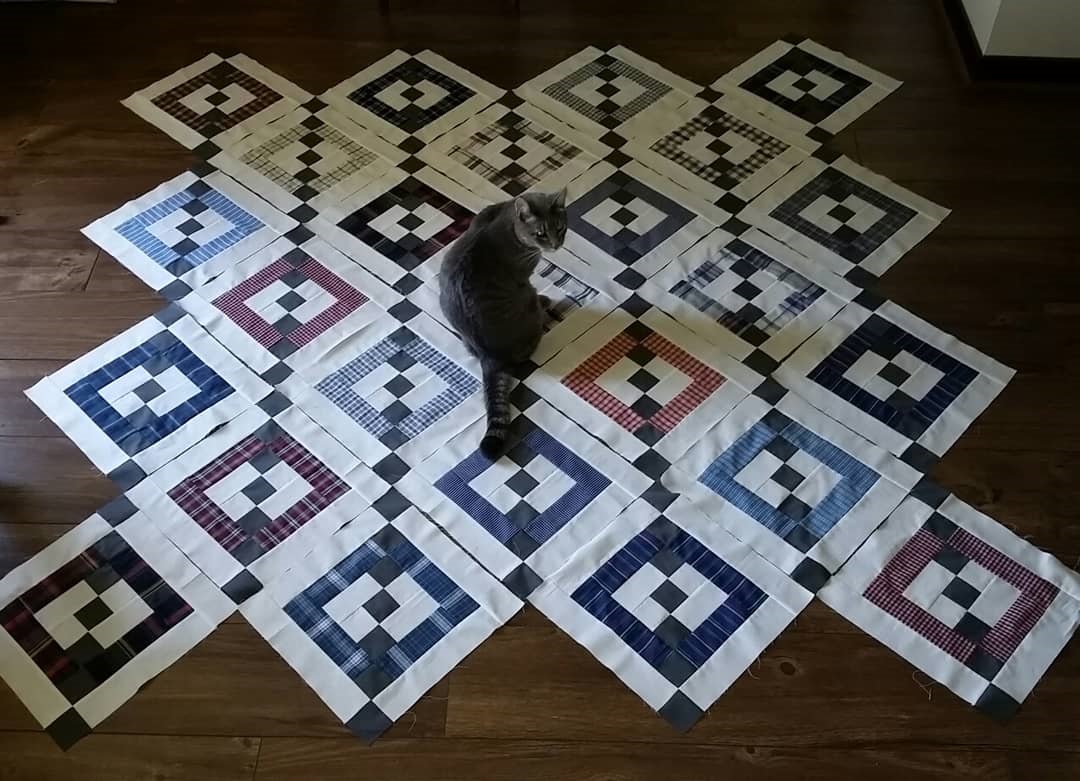
    Here are all the pieced blocks before laying out the setting triangles. Apparently Smokey needs to be in the photo as well. I was up on a stool attempting to take photos not paying attention and there he was. I had someone ask how he did this without messing up the blocks? I guess he was light on his feet until he got up to move and then he just moved that block he was sitting on.

    Here is the planned layout with the setting triangles. I am really enjoying our new floors.

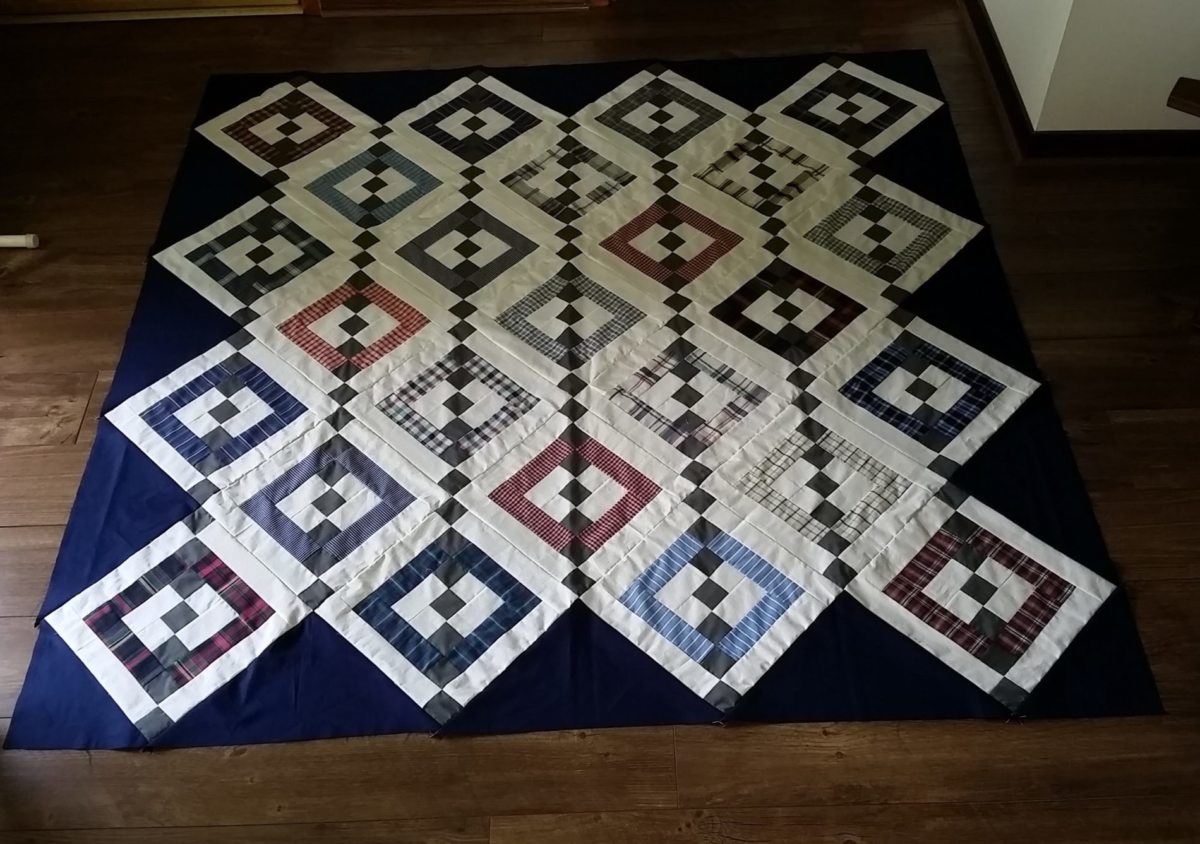
    Here is the completed Chandeliers 2 flimsy. I really enjoyed making it and it is a new favorite. Maybe my grandson will be willing to share his quilt with Grandma??

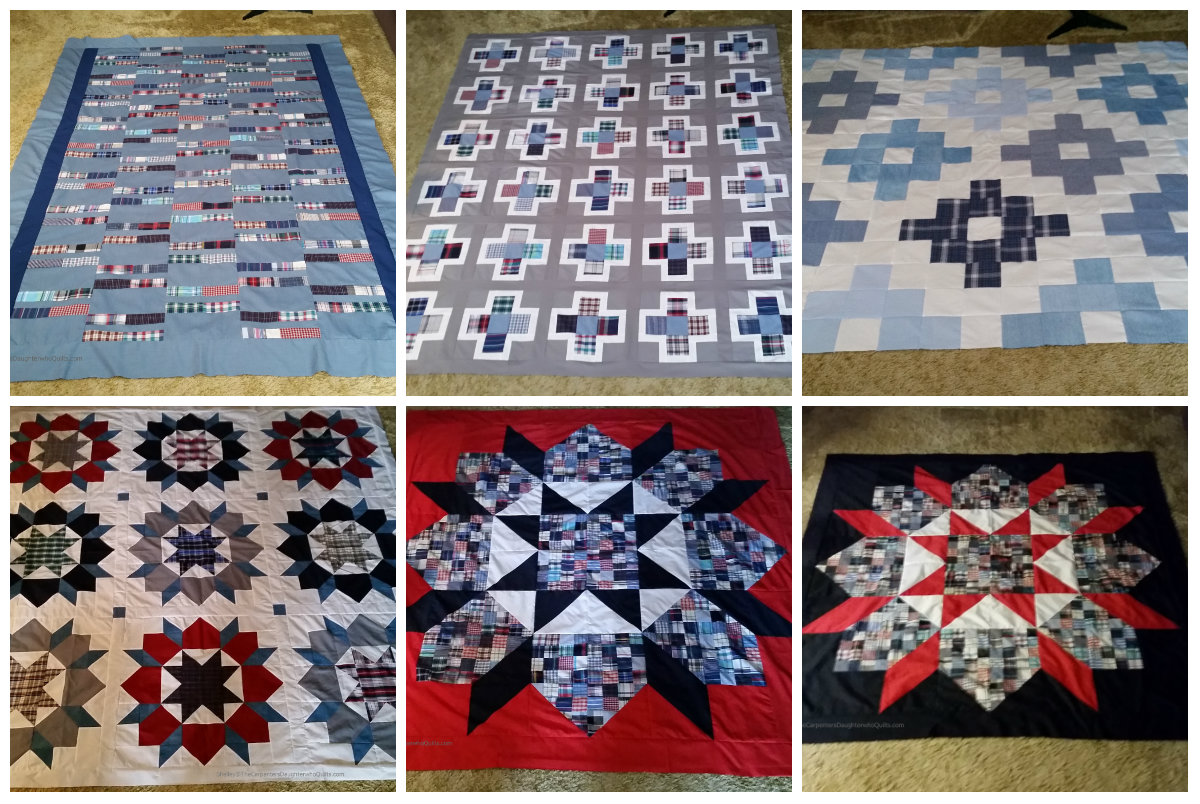
    This makes 18 memory quilts that I have blogged about. I do have 19 tops made but apparently have missed photos of the extra one.  I need to make one more top for our daughter. I had no idea that I would be able to create 20 quilts from a stack of 30 shirts and they all range from twin to queen size. One is a king size that I used one shirt in entirety in and one was the quilt made from scraps using improv piecing that includes all the name brand patches from Dad’s shirts.

    I started making the first memory quilt in November 2016 and I finished piecing the Chandeliers 2 quilt in July 2018. I made the first 15 in 18 months. One of the big accomplishments was creating the three Swoon memory quilt tops along  with a Swoon made from Denyse Schmidt’s Hope Valley fabric line while doing the Swoon Quiltalong on Instagram. It got the designer Camille Roskelly’s attention that I made 4 Swoons in 2.5 months. (all need quilting yet…) Forgot to add in the middle of these in October 2017, my Mom’s sewing machine that I inherited from her when she passed away in 2013 literally went up in smoke. It was getting  loud while binding the Woodruff memory quilt and when I was down to the last foot of stitching, there was a loud pop and lots of gray smoke. (I made 45 quilts in the last  4 years with that machine.)

    Thank you to everyone who has continued to follow my memory quilt project progress.

    Happy Sewing,

    Shelley


  • Variegated Squares : A baby quilt for our new granddaughter

    Hi, I am happy to share a completed quilt that I made for our new granddaughter. I always make larger than normal baby sized quilts as I usually do not get the quilts to the new recipients while they still are little babies. I managed  to get this quilt made and finished by the time she was a week old.

    This is Variegated Squares by Tiffany Horn of Village Bound Quilts. The story that Tiffany tells behind how she came up with how this quilt is made seemed very fitting for our Daughter inlaw who is my website designer. This quilt uses 4 main colors or print combinations and Tiffany used Algebra permutations to figure out how many different block combinations using only 3 of the 4 colors she could create and not have any duplications.


     Algebra MEME 2015
    This funny Alegbra meme was very fitting up until I made this quilt.

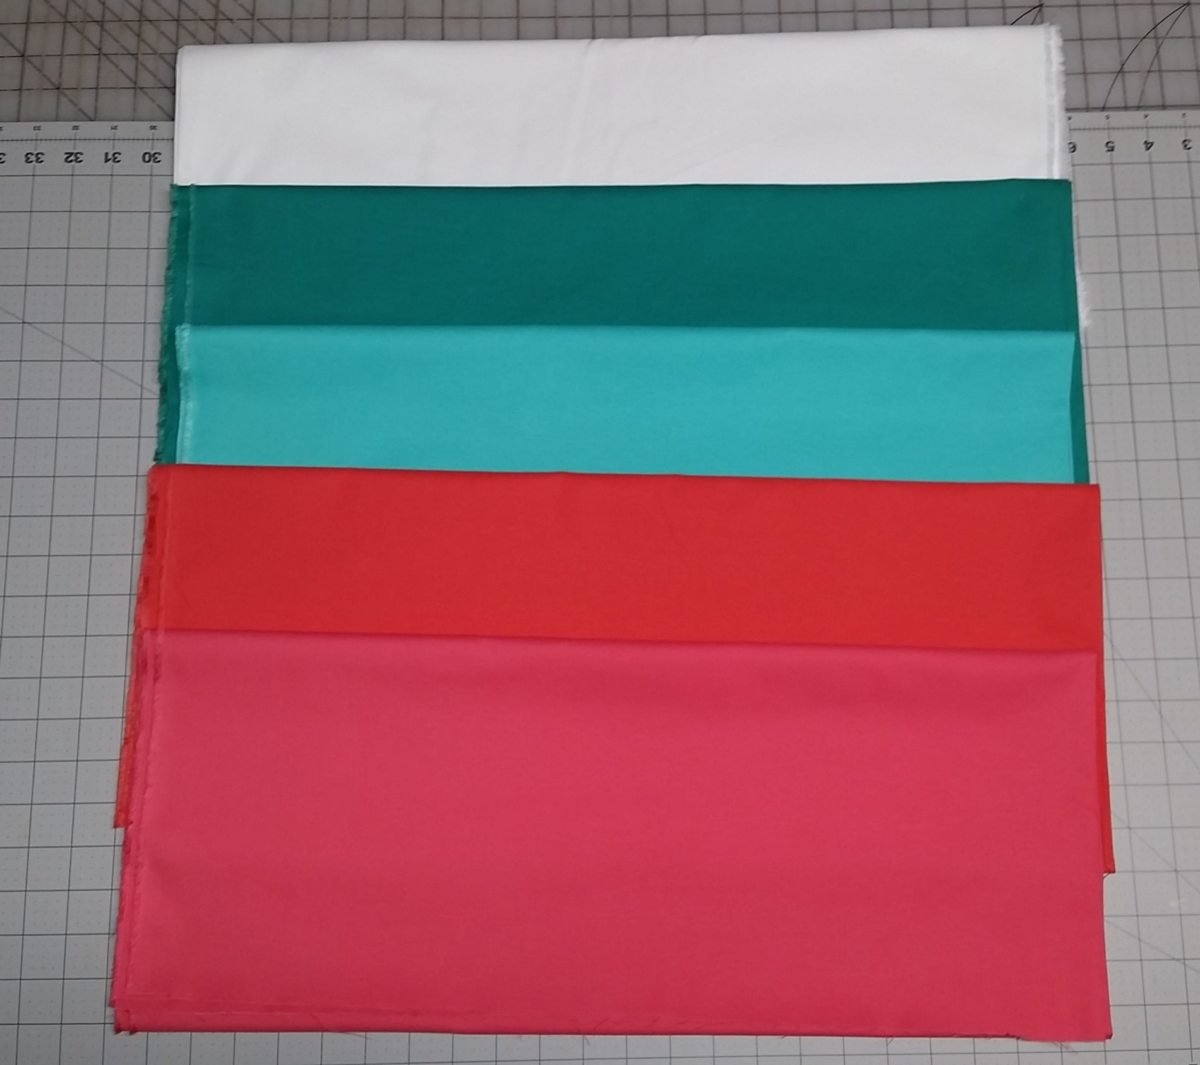
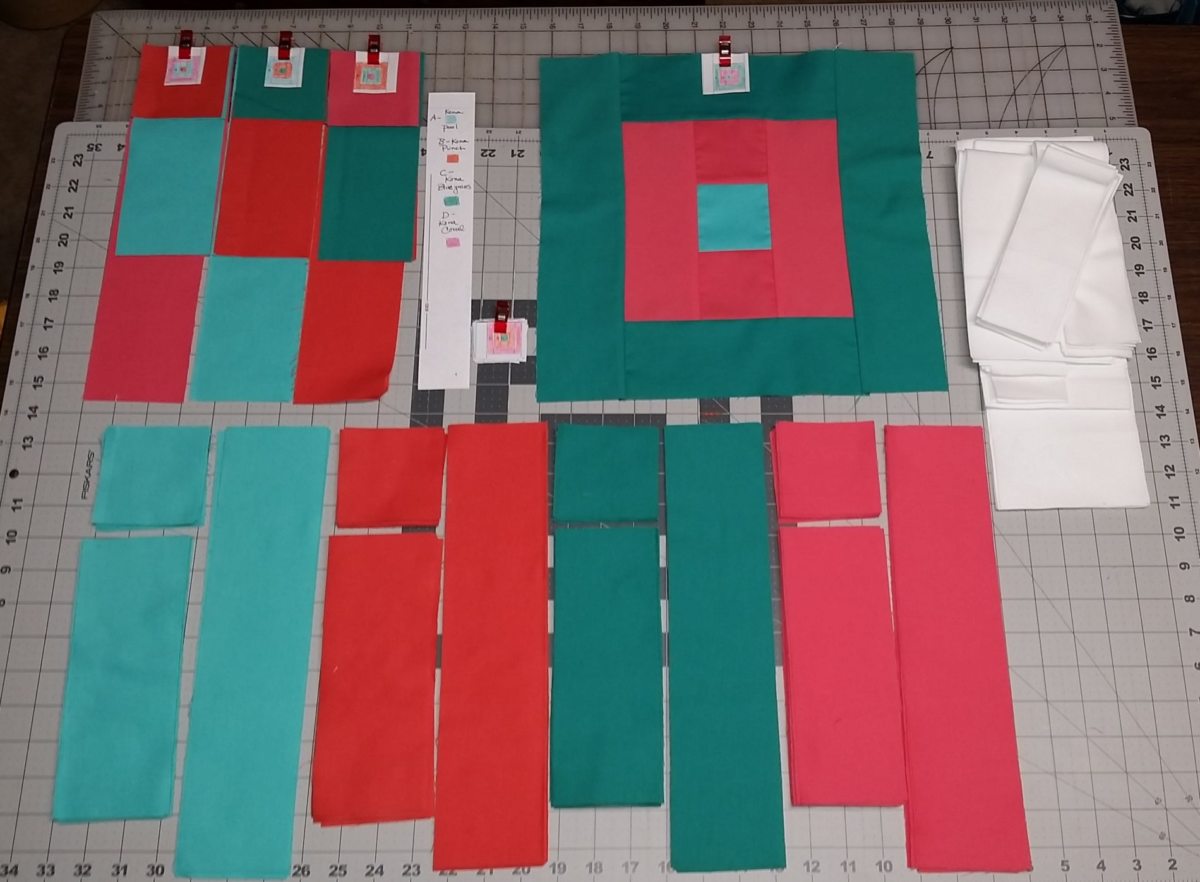
    These were my fabric choices and my first time making a quilt in entirety with Kona Cotton Solids.  (Kona White, Bluegrass, Pool, Coral and Punch in order)

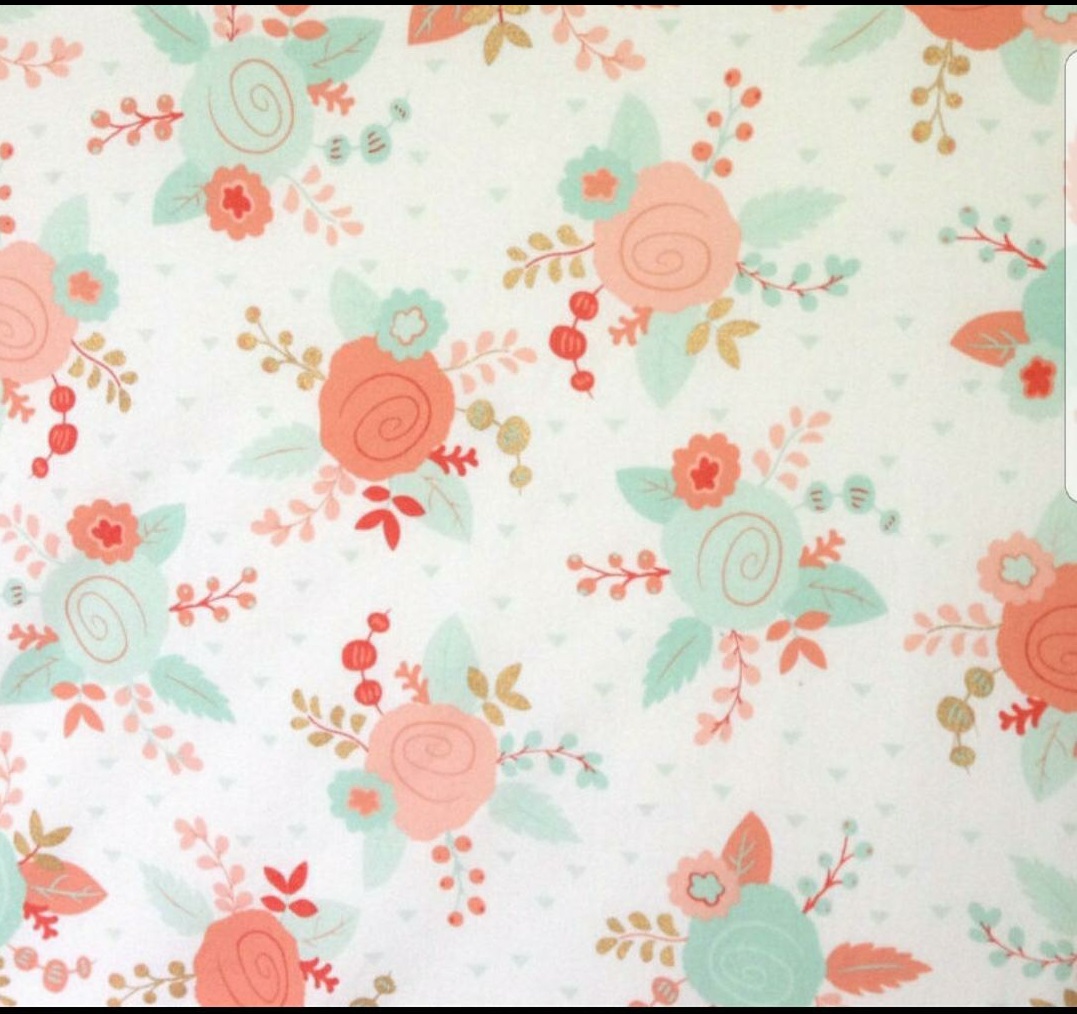
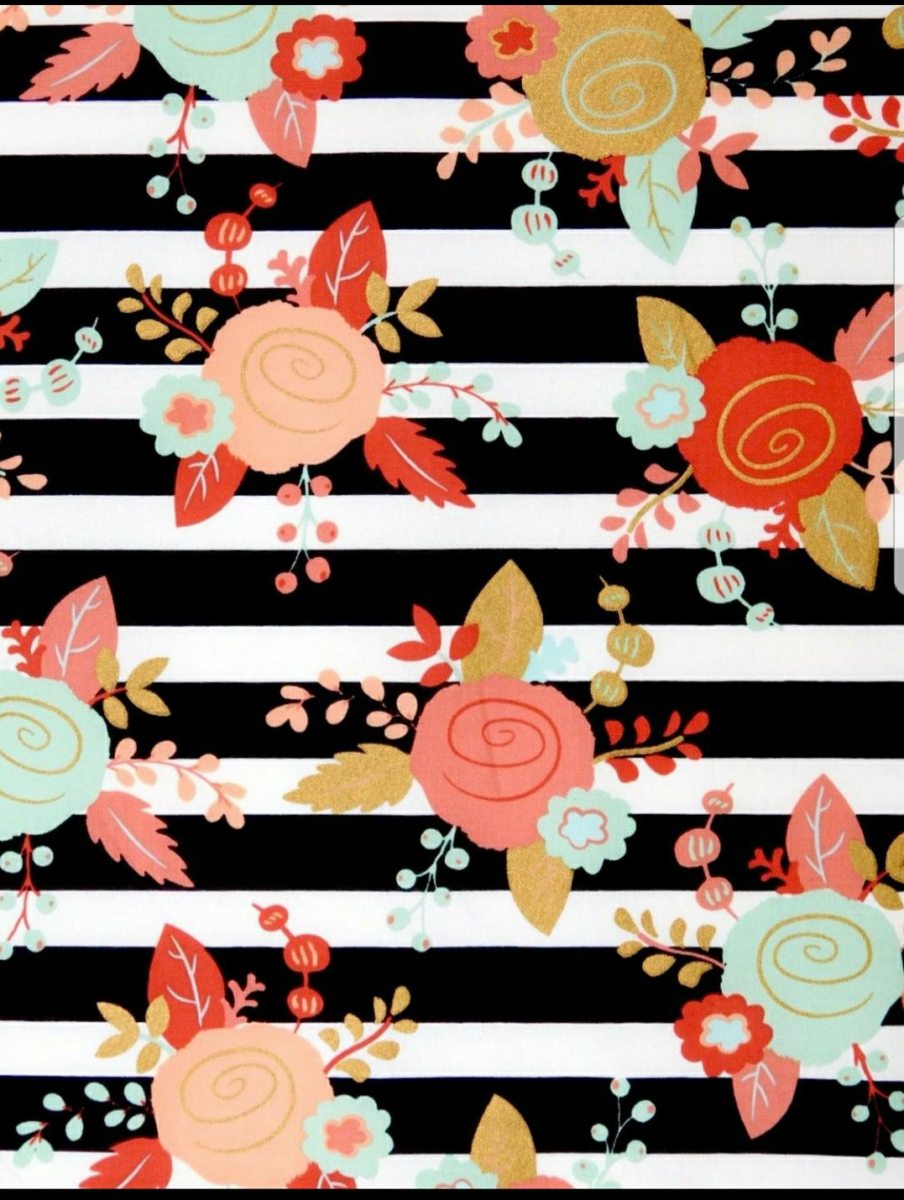
    These two floral fabrics are what my DIL chose to decorate the baby’s room in. I just had a photo on my phone when purchasing the matching Kona colors from JoAnn’s. She purchased fabrics and items made from them  off Etsy. I think they both are fabrics that could be found sold on Spoonflower.

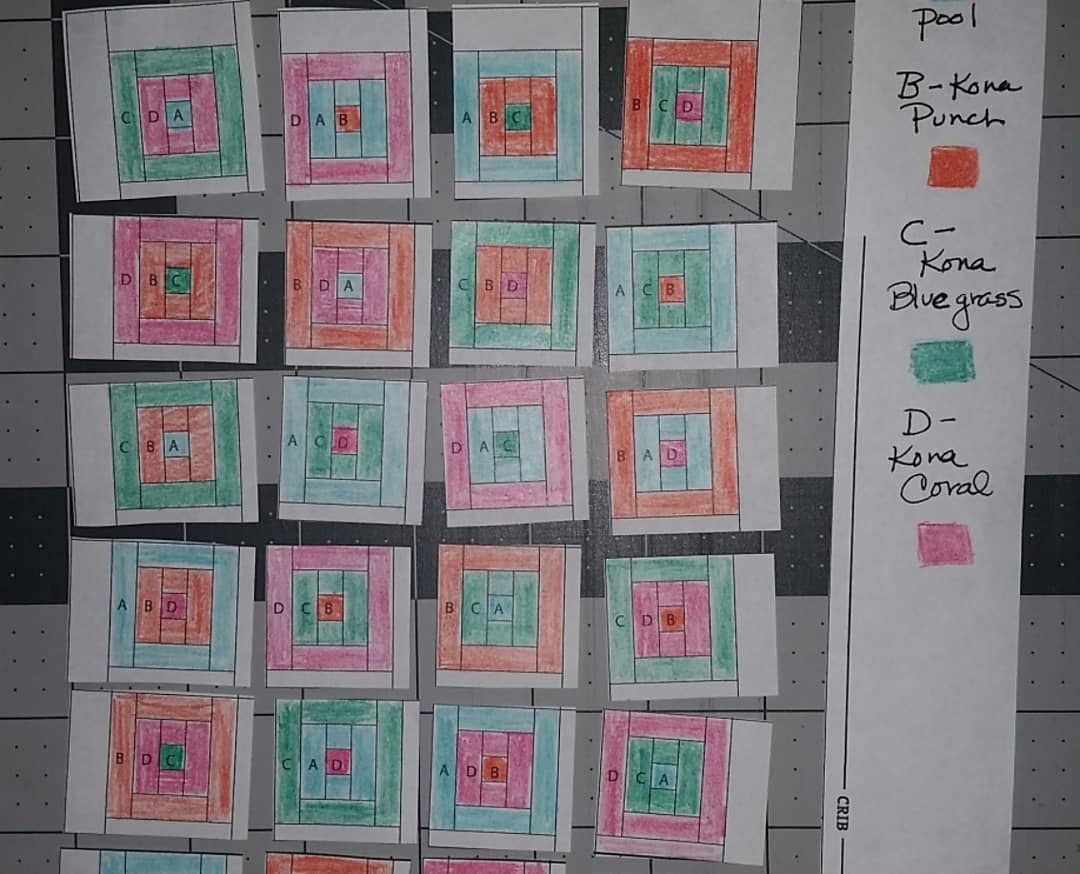
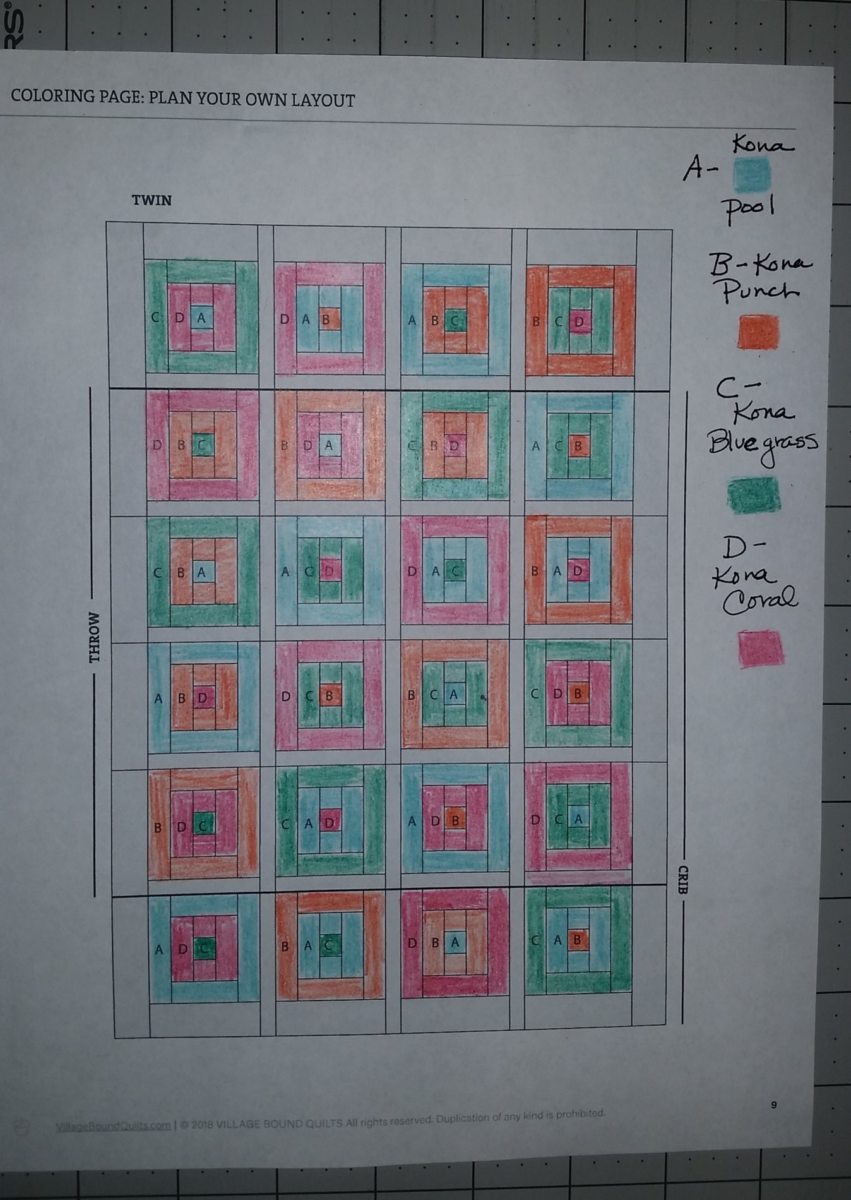
    Tiffany includes a coloring page for making the quilt and it was essential in keeping it going together smoothly.

    I ended up cutting my page into individual blocks and arranging all cut fabric  strips in order and clipping the drawn square to them with a Wonder Clip. I stacked all the block piles in order and used a foil pan to hold them while I worked on them.

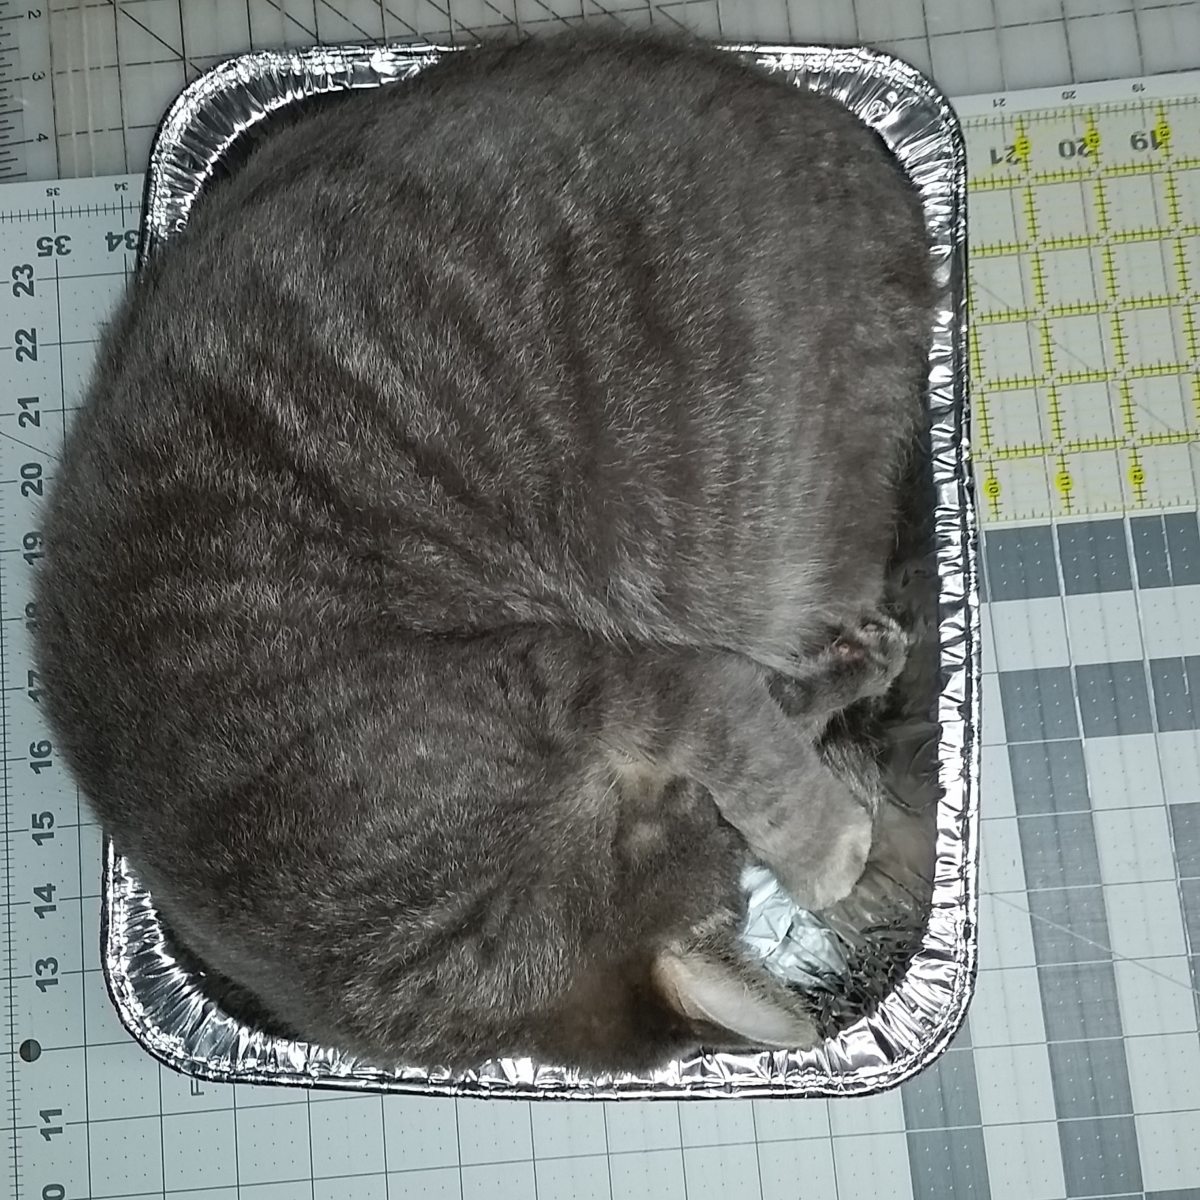
    Of course my trusty Quilt Helper and Inspector Smokey had to find my foil Lasagna pan that I had my fabric pieces in.

    Here is all my  strips cut and the start of my block assembly line.

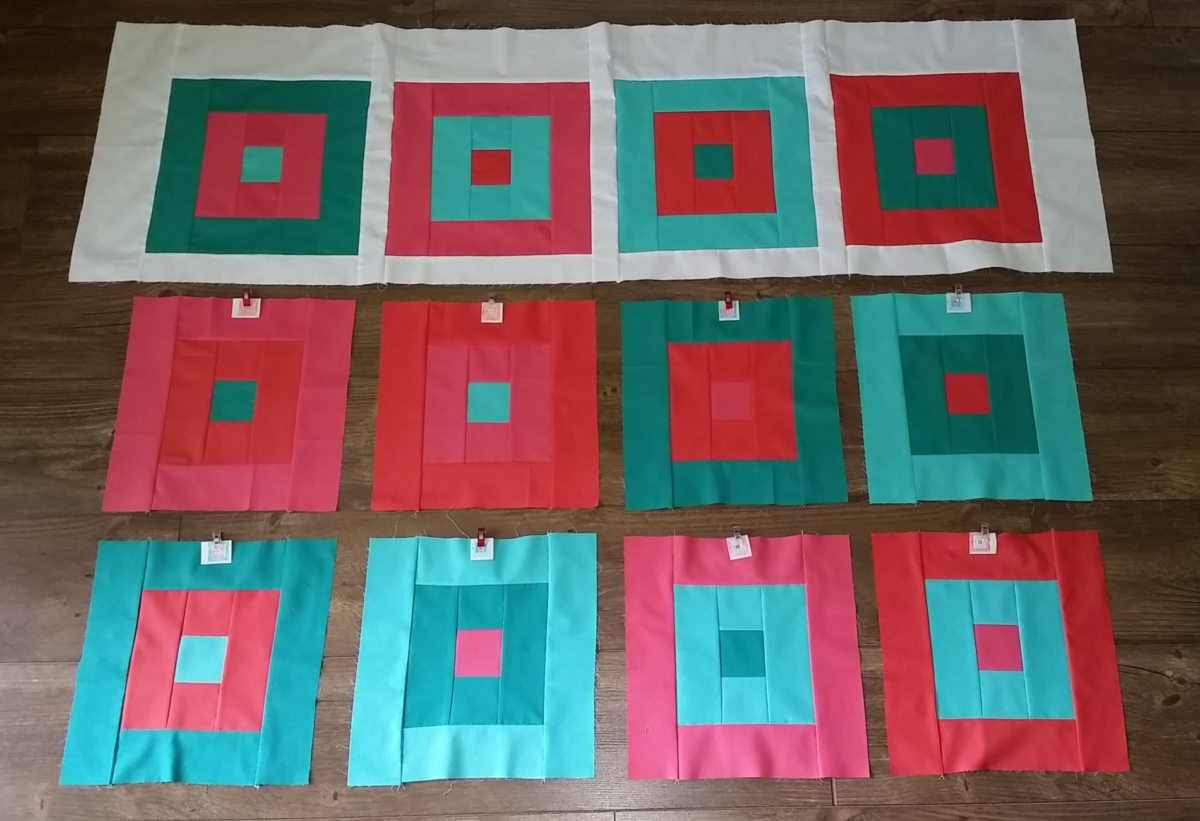
    More block assembly and always trying  to keep the clips on the blocks so I always know where to place them.

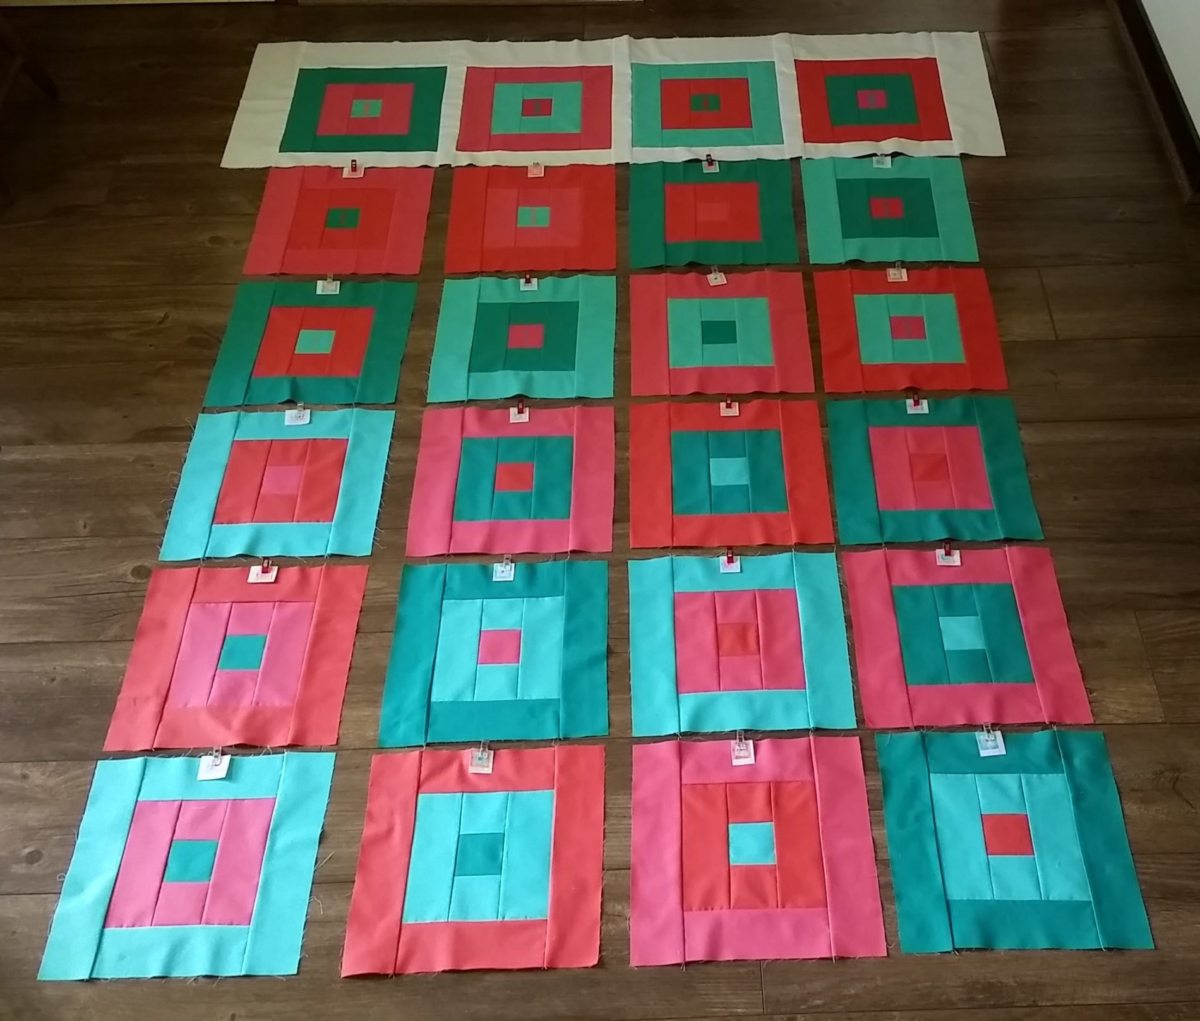
    All variegated blocks completed and  needing white sashing strips.

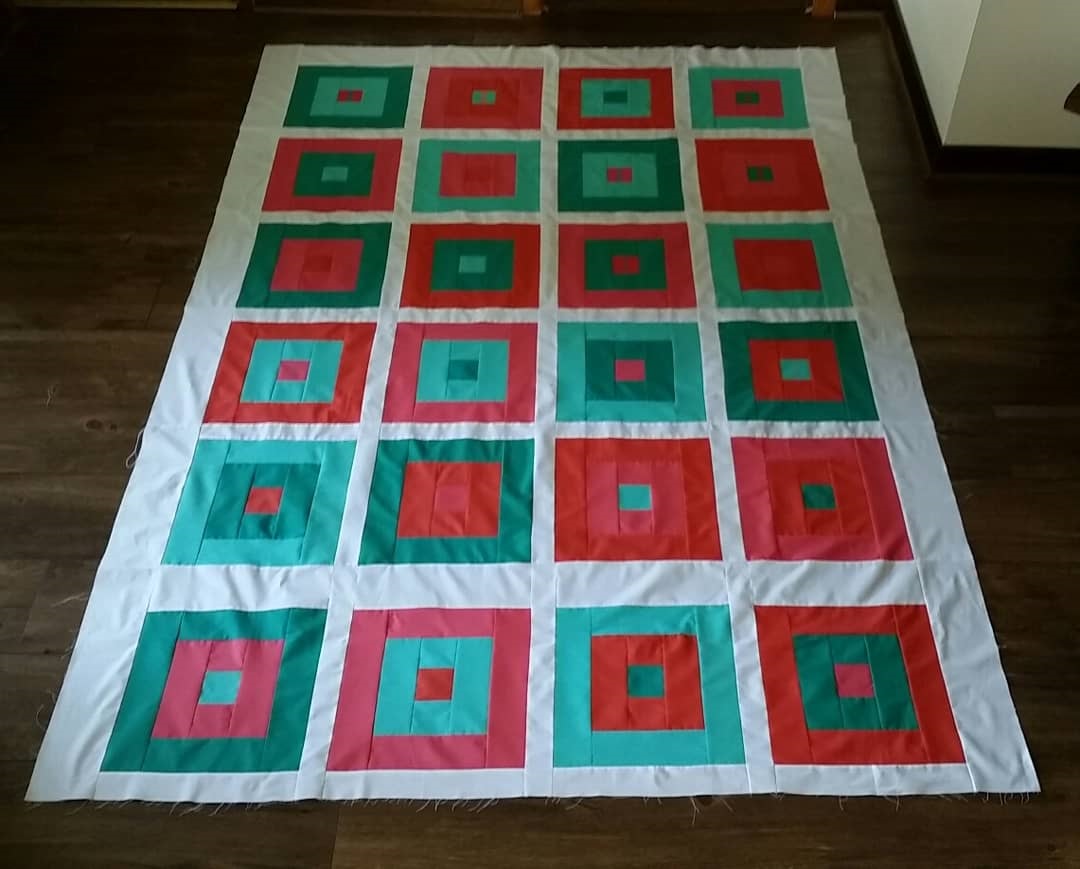
    This is the completed flimsy. I chose to do an allover gridded quilting like Tiffany shows using on her quilts.

    Here is another shot of the completed Variegated Squares quilt. I used leftover strips in all colors to make a matching binding. I carefully laid them all out in order to match the  coordinating blocks and then discovered that  I attached the two long sides on the opposite sides. I decided to leave it as is. I really enjoyed making this quilt and have thoughts of making it larger than a twin size with maybe 6 color choices instead of 4. We did the Alegbra all ready and it could give you upwards of 720 block combinations. Please check out Village Bound Quilts for this fun pattern.

    Thanks for stopping by my blog.

    Happy Sewing,

    Shelley

  • Cross Roads: Dad’s Shirts Memory Quilt Top Finish

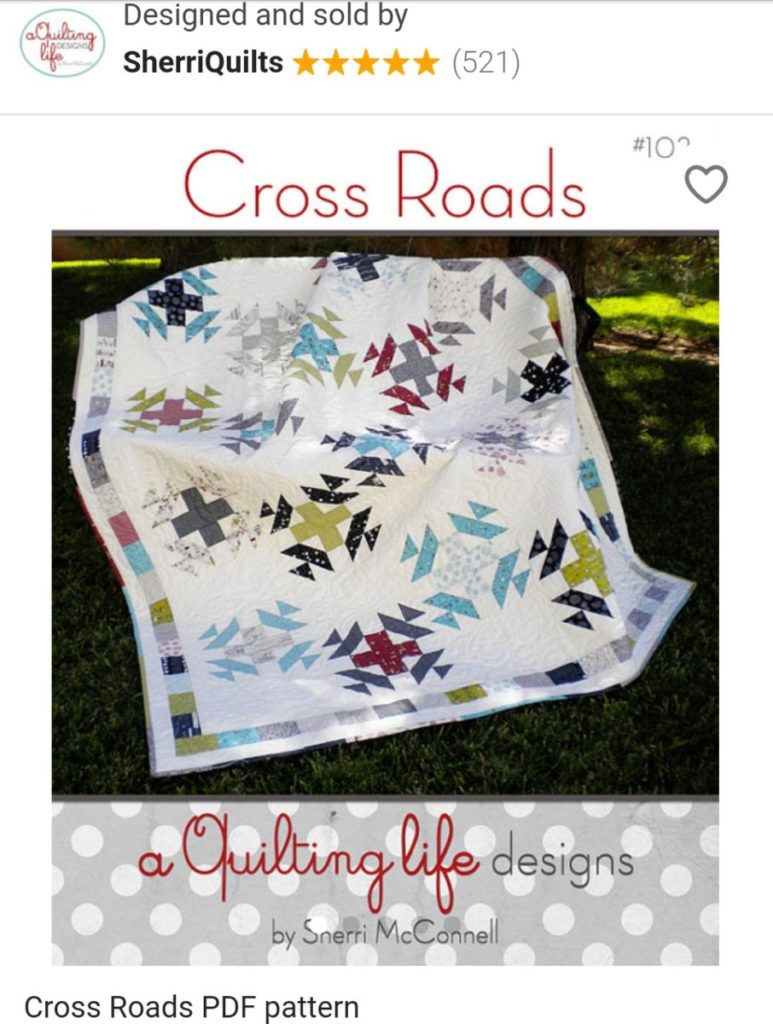
    Hi, I am happy to share another memory quilt top finish made from our Dad’s plaid shirts. This one is called Cross Roads and was made using Sherri McConnell’s (A Quilting Life) pattern Cross Roads.

    This quilt will go to one of our Nieces.

    Here is Sherri’s original version of the Cross Roads quilt.

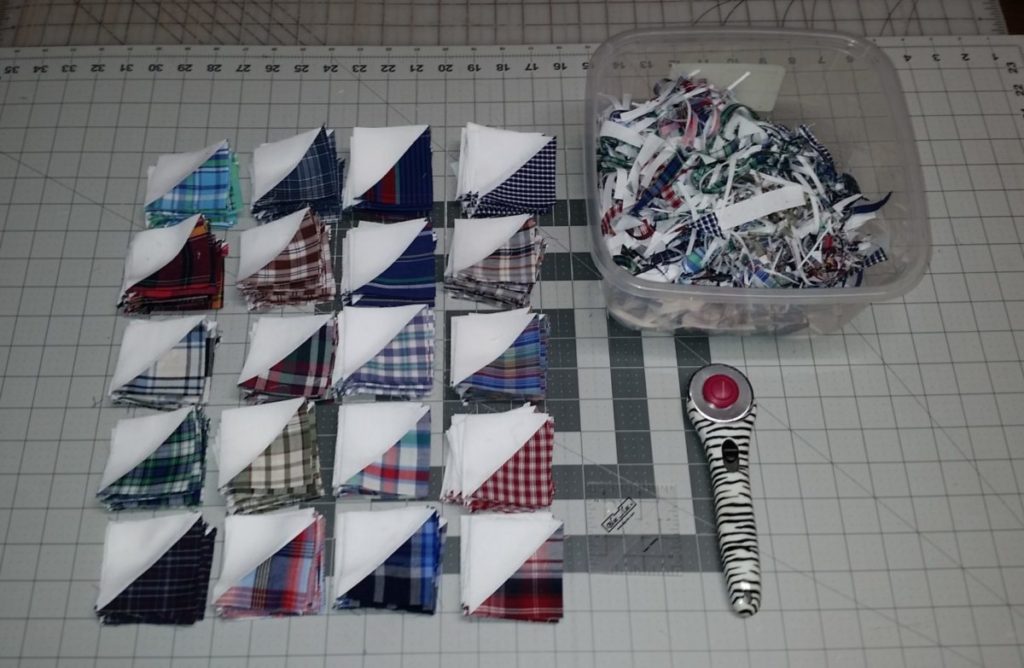
    To start this quilt, I had a bag of 320 HSTs in 20 colors from many of my previous memory quilts that I had been saving and I was able to use a 2.5 inch Bloc-Loc ruler to trim them to the size I needed for this quilt.

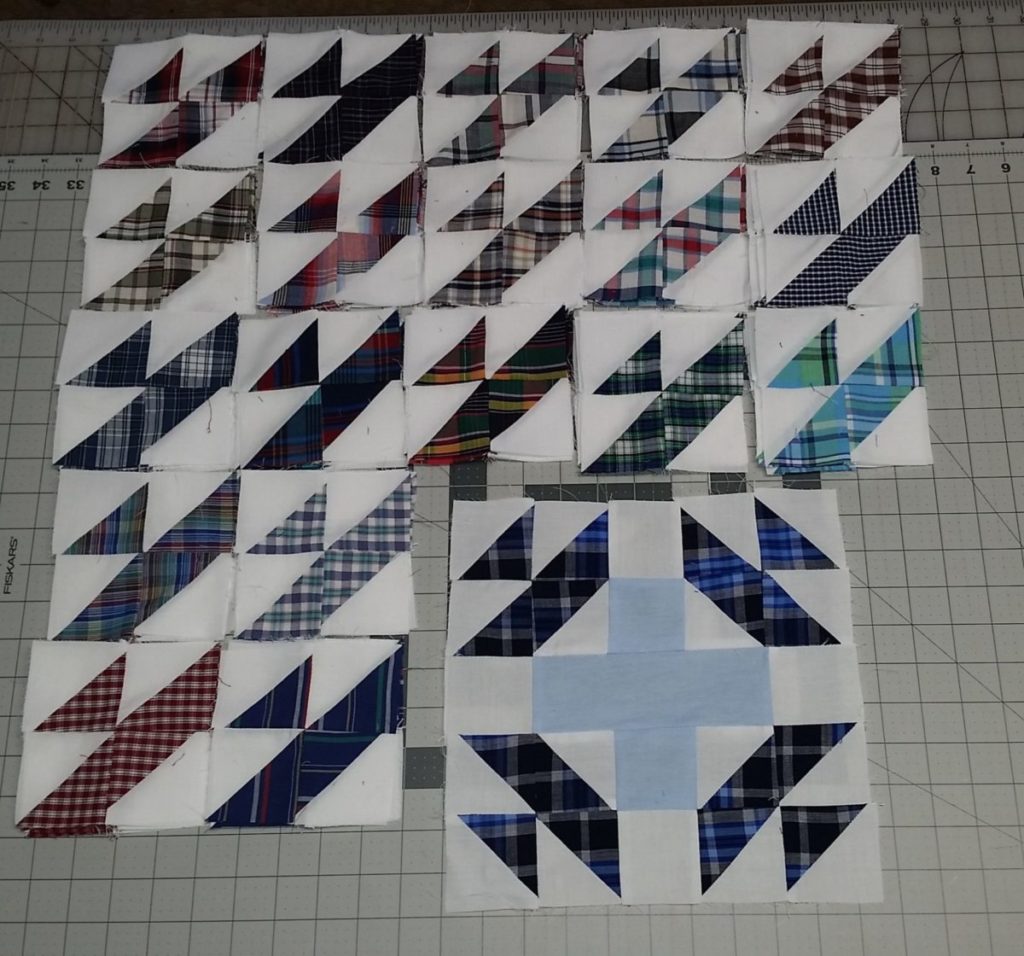
    Here is a sample layout of two Cross Roads blocks. I was able to cut the needed blue strips for the plus centers from a single leftover chambray work shirt.

    I love to be able to do as much chainpiecing as possible when constructing a quilt.

    This is my assembled top without borders.


    This is my completed Cross Roads flimsy. It was a good use of leftover HSTs from making other memory quilts. I did enlarge the white borders but otherwise followed how Sherri made her quilt. This makes 16 memory quilts.

    Thank you for stopping by my blog.

    Happy Sewing,

    Shelley


  • Patriotic Midnight Mystery Quilt Finish

    Hi, Thank you for stopping by my blog. I hope your 2019 New Year is off to a good start. I am catching up on some blogging of quilts finished in 2018.

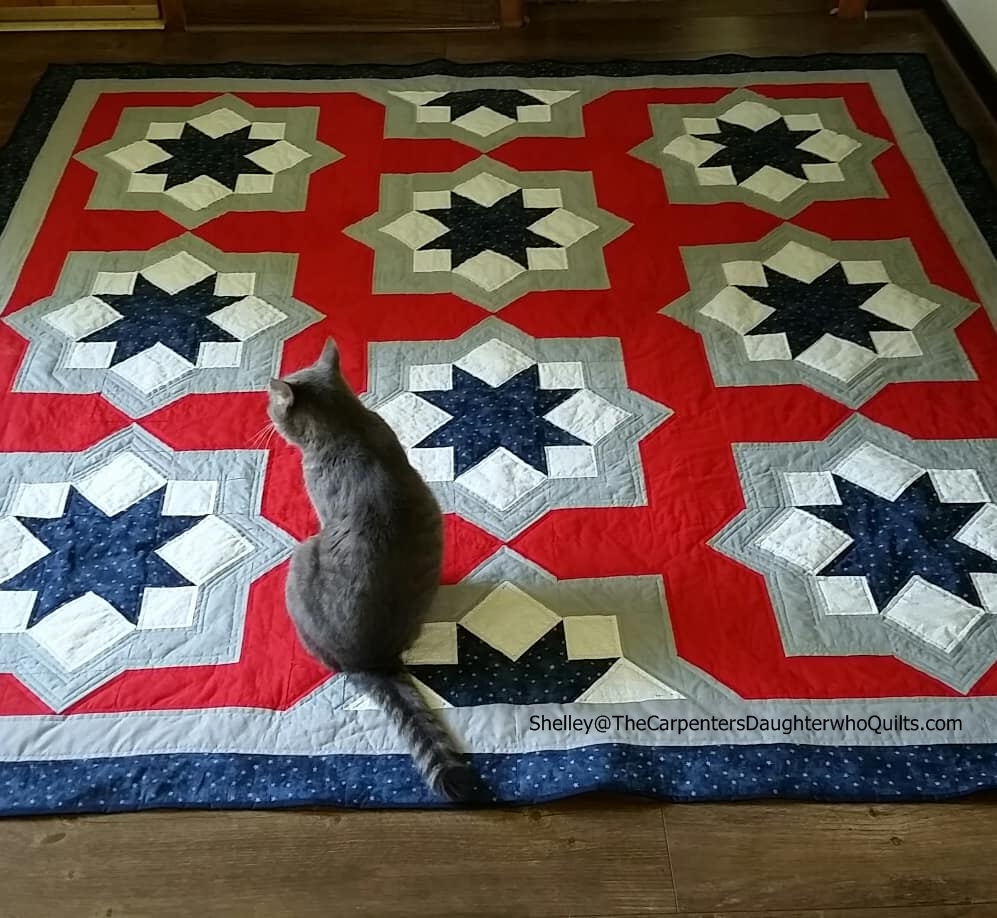
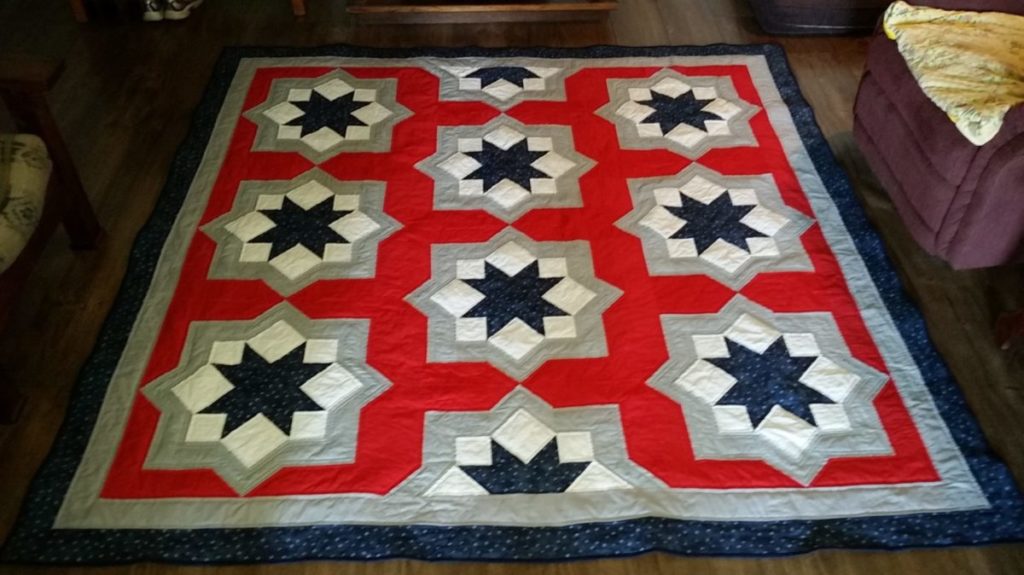
    First up, I am happy to share the finish of my patriotic version of the Midnight Mystery quilt that was a quilt along using the pattern by Meadow Mist Designs. I finished the top in January of 2016 and quilted and bound the quilt in July 2018. It was a gift for our Aunt and Uncle’s 50th wedding anniversary. Since they were married on July 7th and he is also a Viet Nam Veteran, I thought it would be fitting for them to receive this quilt.

    Here are a few more photos:

    I really enjoyed participating in the Midnight Mystery quiltalong. This quilt has been one of my favorites for a long while and it is well loved by the recipients. You should still be able to find the instructions for this quilt on the Meadow Mist Designs website. It is a beautiful quilt made in about any combination of fabrics.

    WordPress has changed how I am used to writing and formatting my blog posts. I will most likely come back to this post and edit it for more content.

    Happy Sewing,

    Shelley

  • Detour Quilt: Stash Statement Book Blog Tour

    (Edited on 5/27/18 with finished photos) New photos are at the bottom of the original blog post.

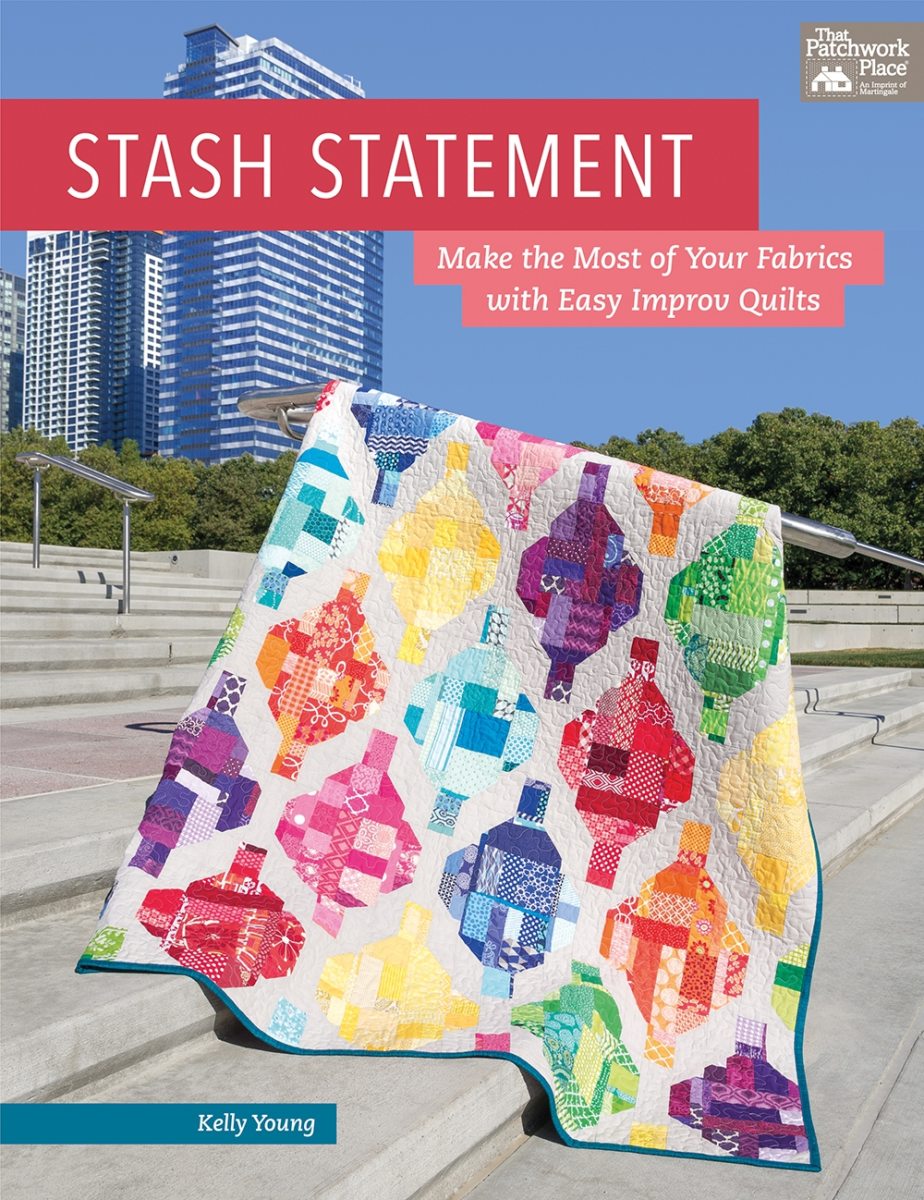
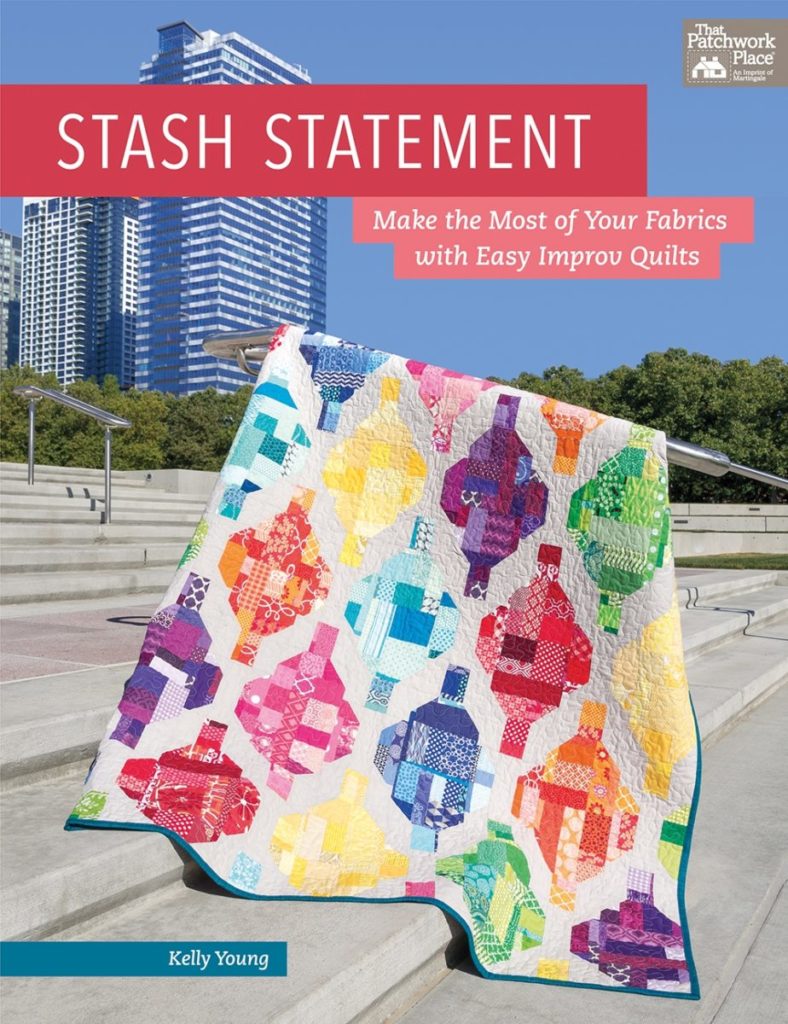
    Hi, my quilting friend Kelly Young has published her first quilting book called Stash Statement. She asked me if I would be willing to make a quilt from the book for the book blog tour. She designed three techniques for improv piecing that she calls Structured Improv. She shows you how to use up the smallest of your fabric scraps and create twelve different and original scrappy quilts.
    I will admit that I probably don’t have the usual scrap fabric bins. I have been working on making memory quilts from my Father inlaw’s plaid shirts for the last year. I do own fabrics which are not plaids but I do not have a stash of scraps. Kelly asked me to use up my plaid shirt scraps. My original inspiration to make these plaid memory quilts came from the quilts that Kelly made for her family from her Grandfather’s plaid shirts. This is my 18th quilt from the same pile of 30 plaid shirts.

    Kelly got her inspiration for the Detour quilt from old city maps. I thought this was quite fitting for a quilt from Dad’s shirts as maps and map making were important to our family as my husband and Father inlaw were in the crop consulting business and made soils and field maps for their customers. The layout of the quilt is alot like aerial view of a soil county plat map.
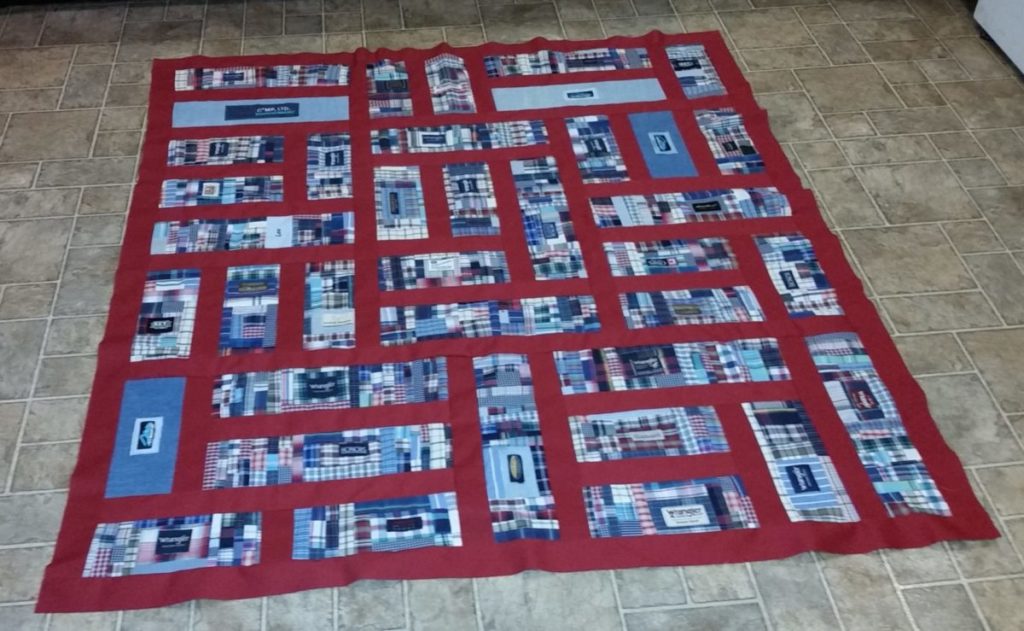
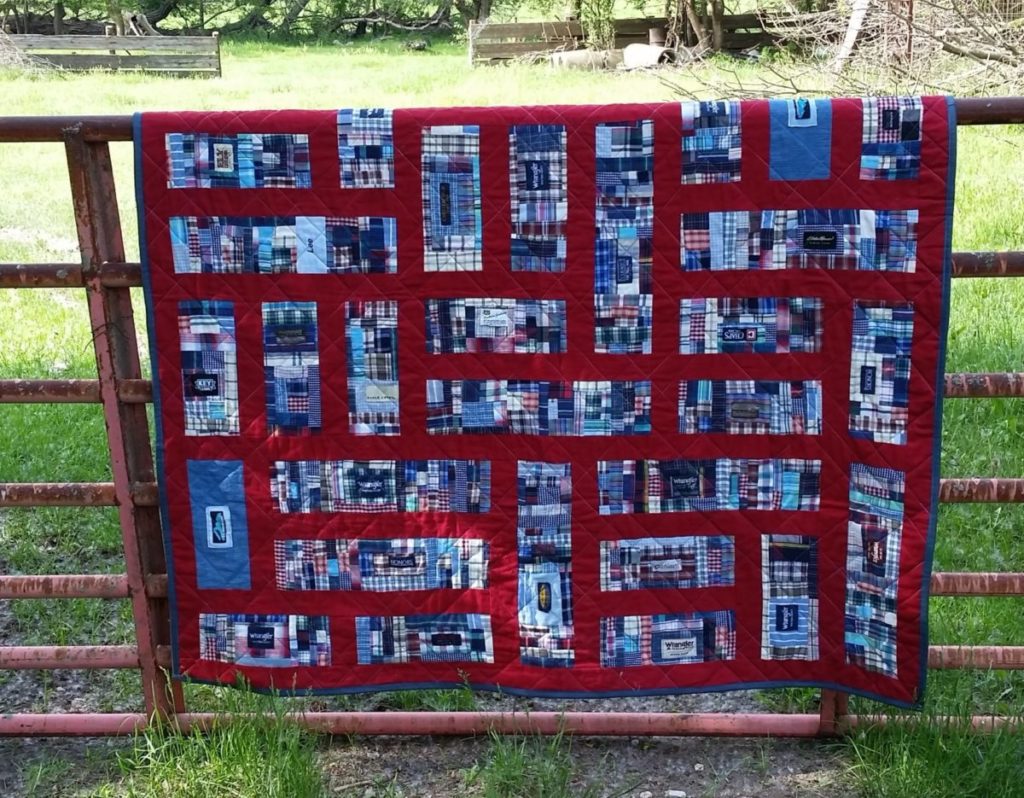
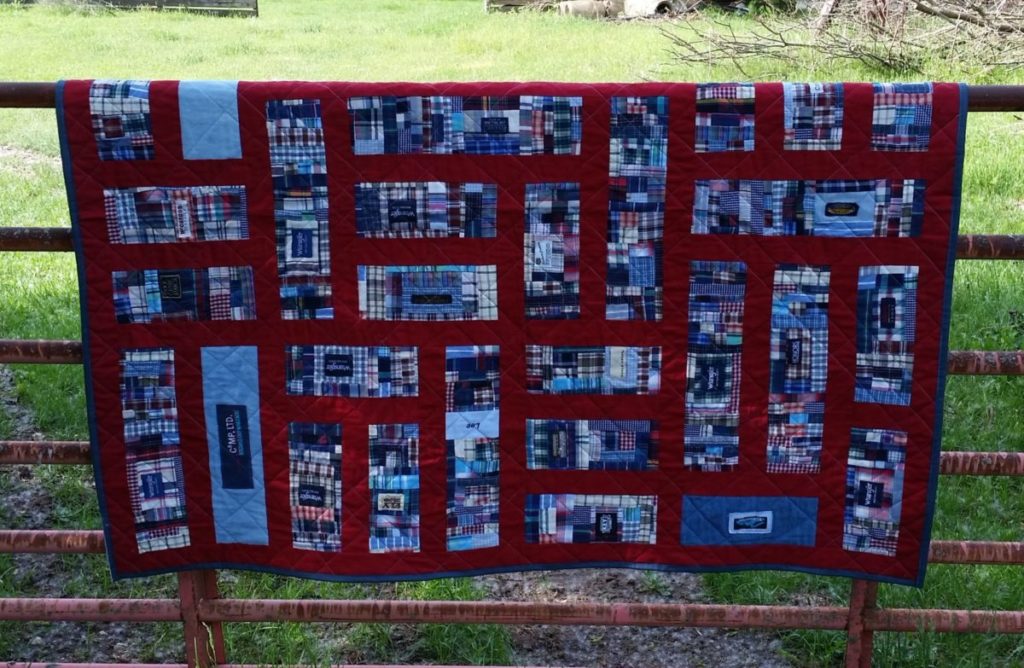
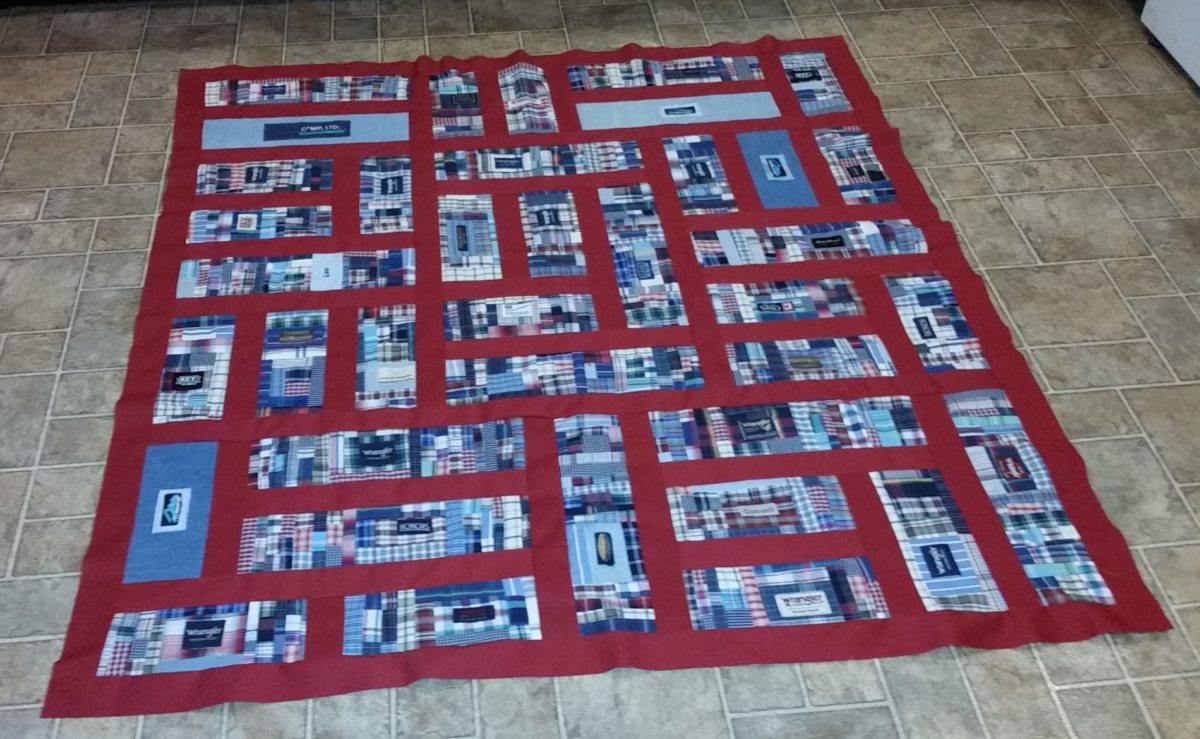
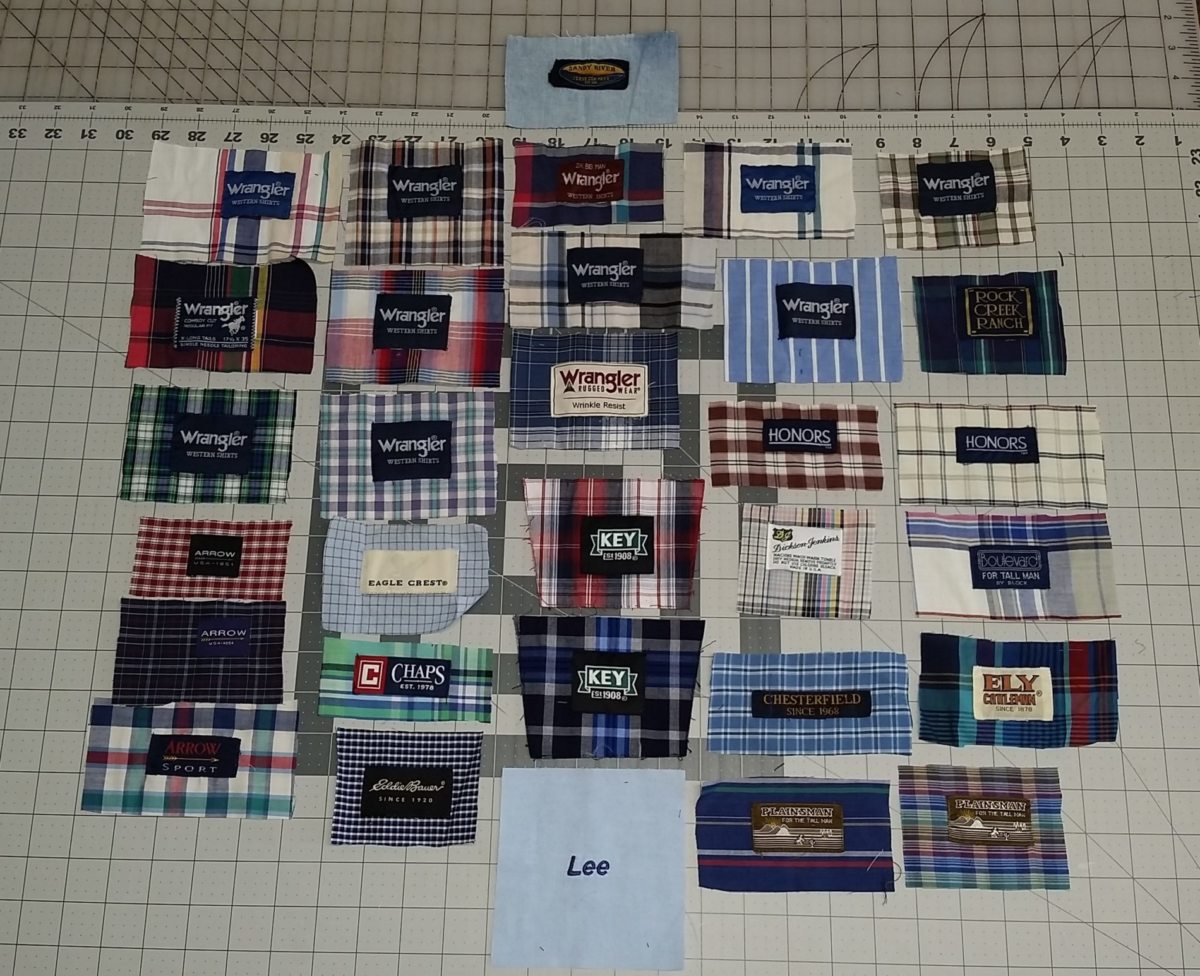
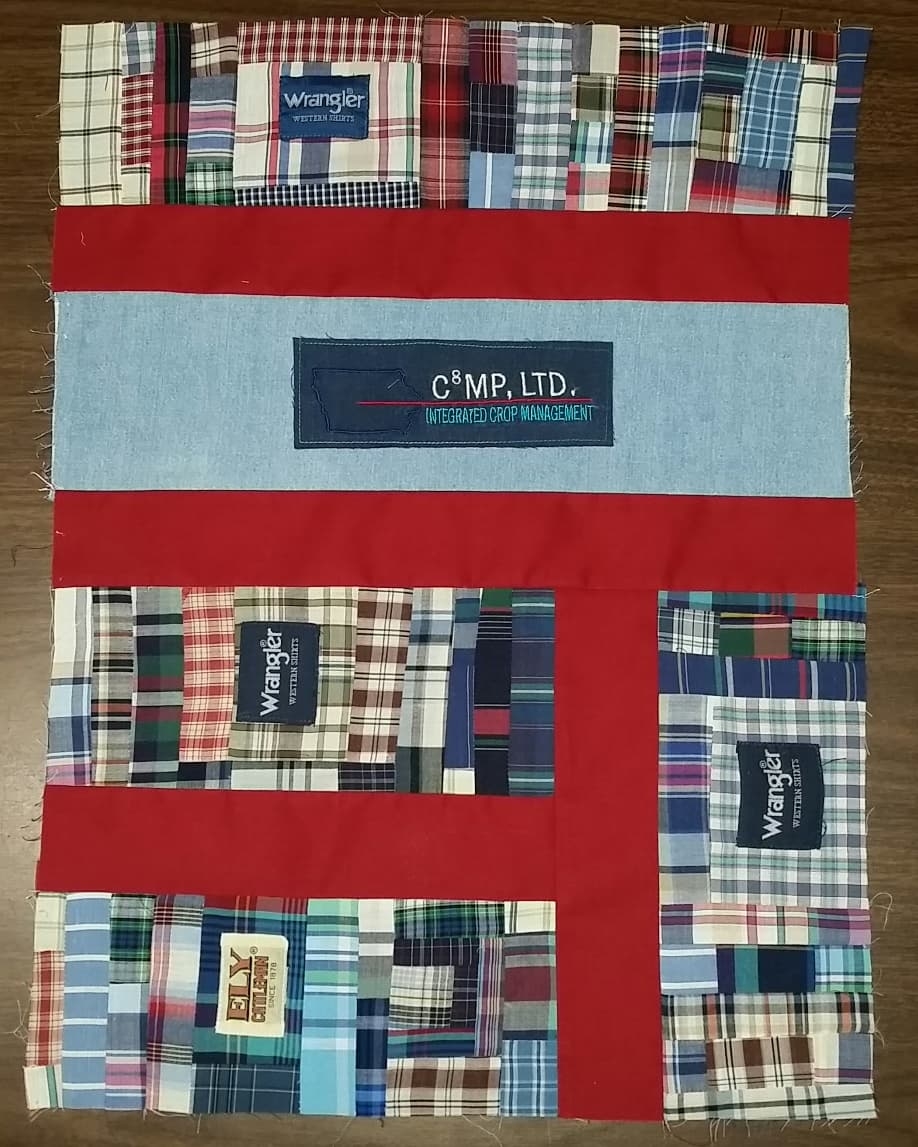
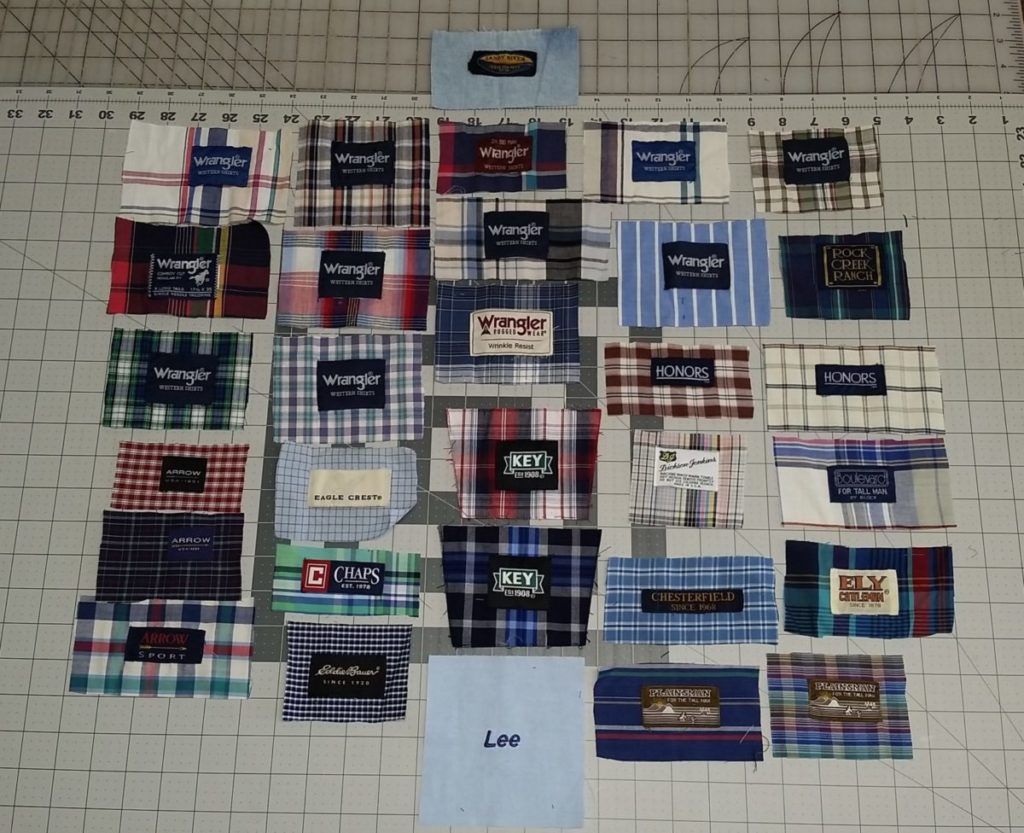
    I built my blocks around the various shirt brand patches that were sewn into the yokes of Dad’s shirts. He wore denim or chambray work shirts for his crop consulting and I found one of the company embroidered patches. My Mom actually embroidered this one for him as we got the logo digitized so she could embroider the guys’ shirts and I also saved one of his embroidered name patches.

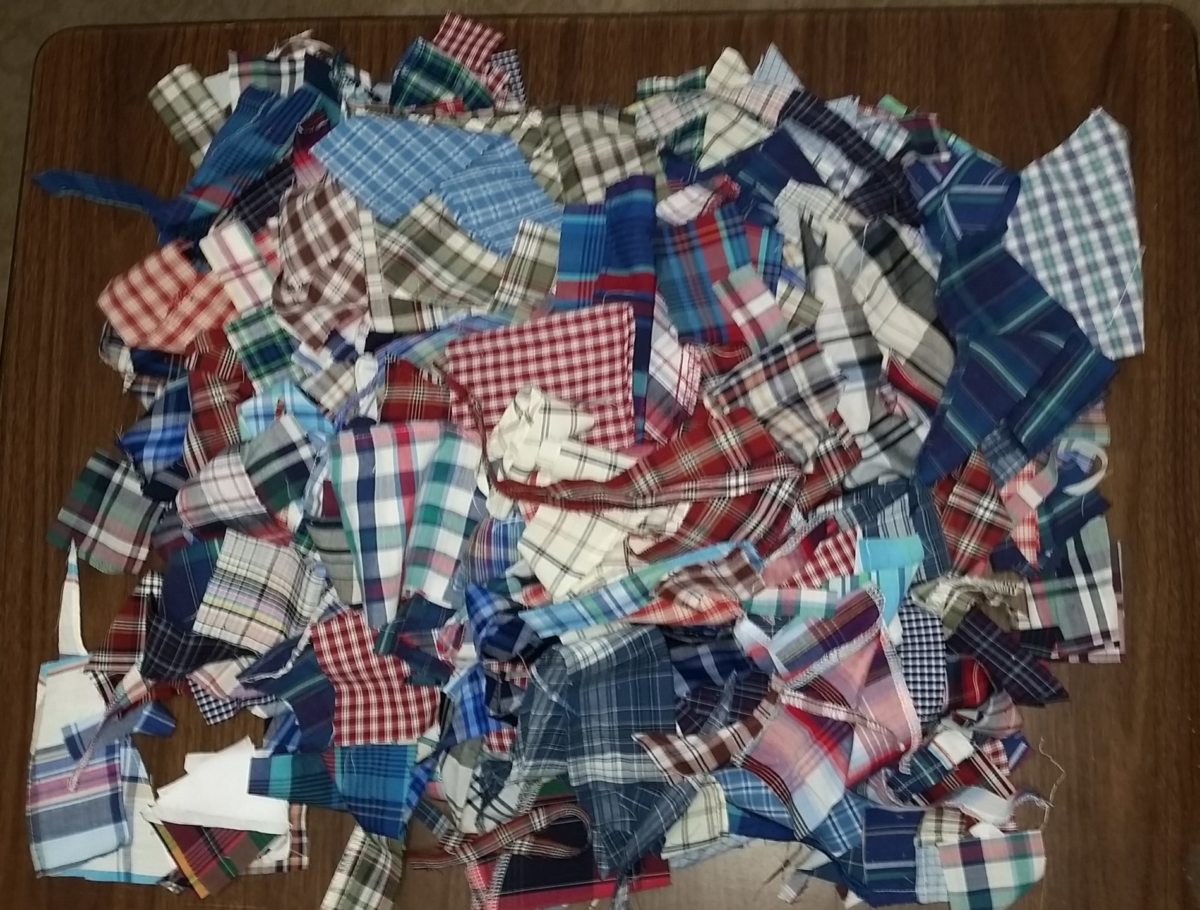
    This was my stash of plaid fabric that I still have to use for quilt making. I ended up with one large pile that I made my blocks from.
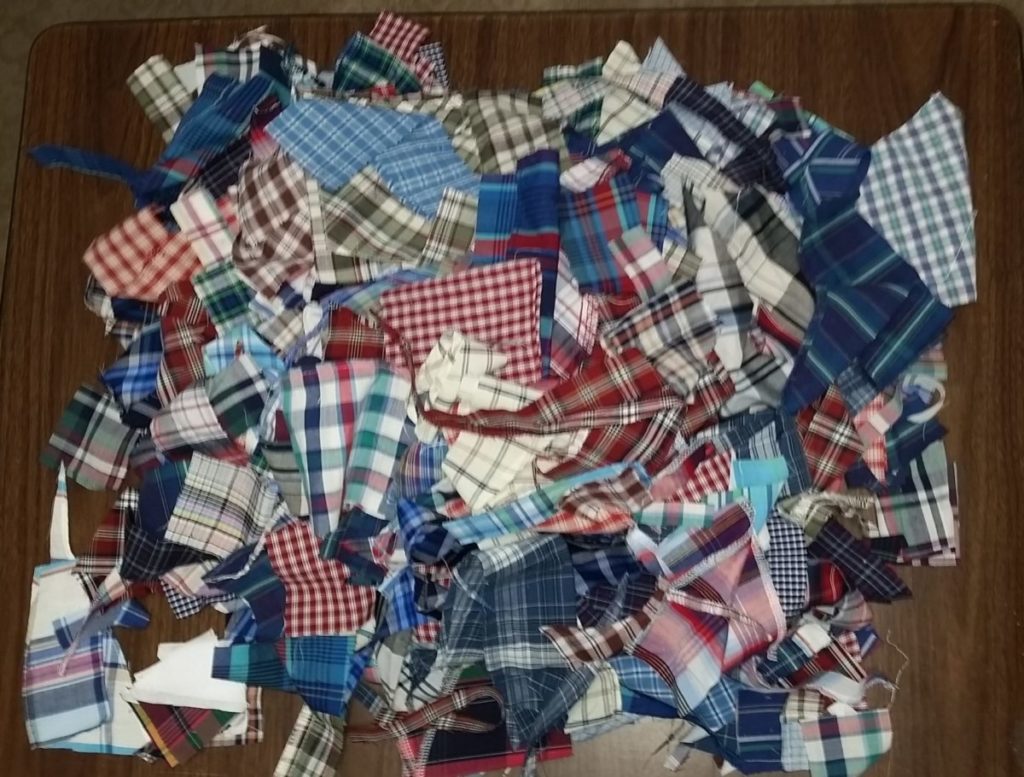
    This pile really didn’t change much in size after making 38 quilt blocks. The scraps just became smaller.
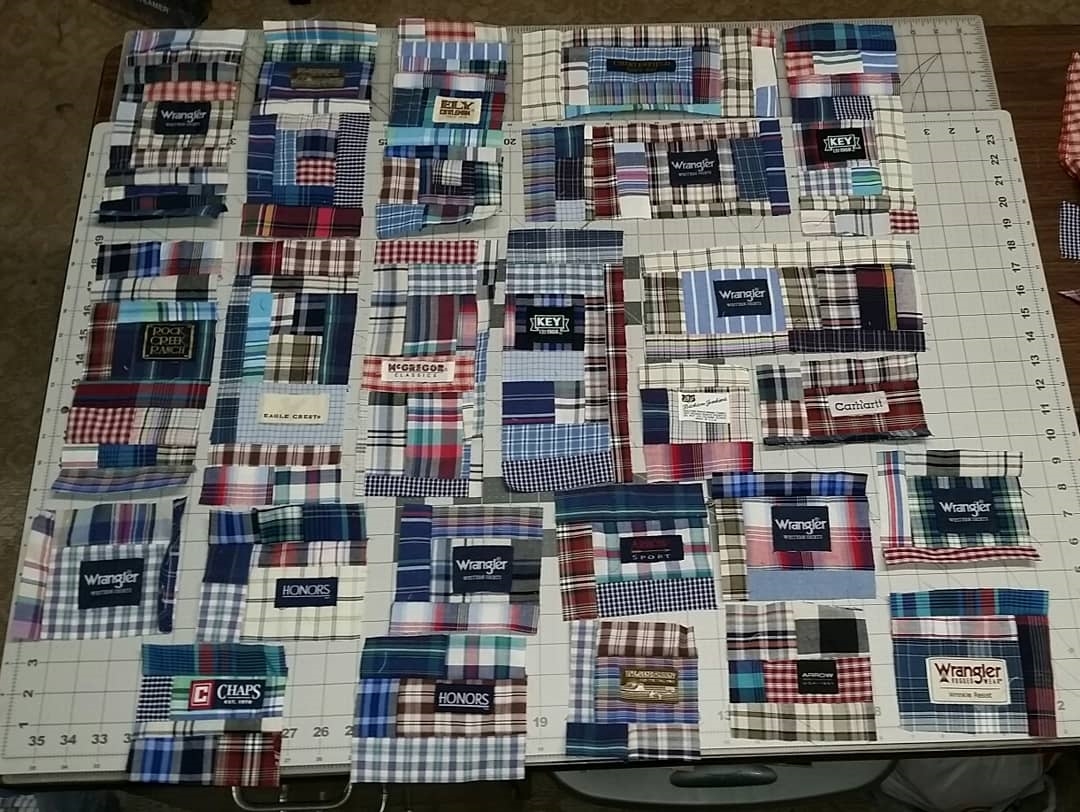
    These two photos show the progress from the first patches to the first couple of rounds of piecing strips.
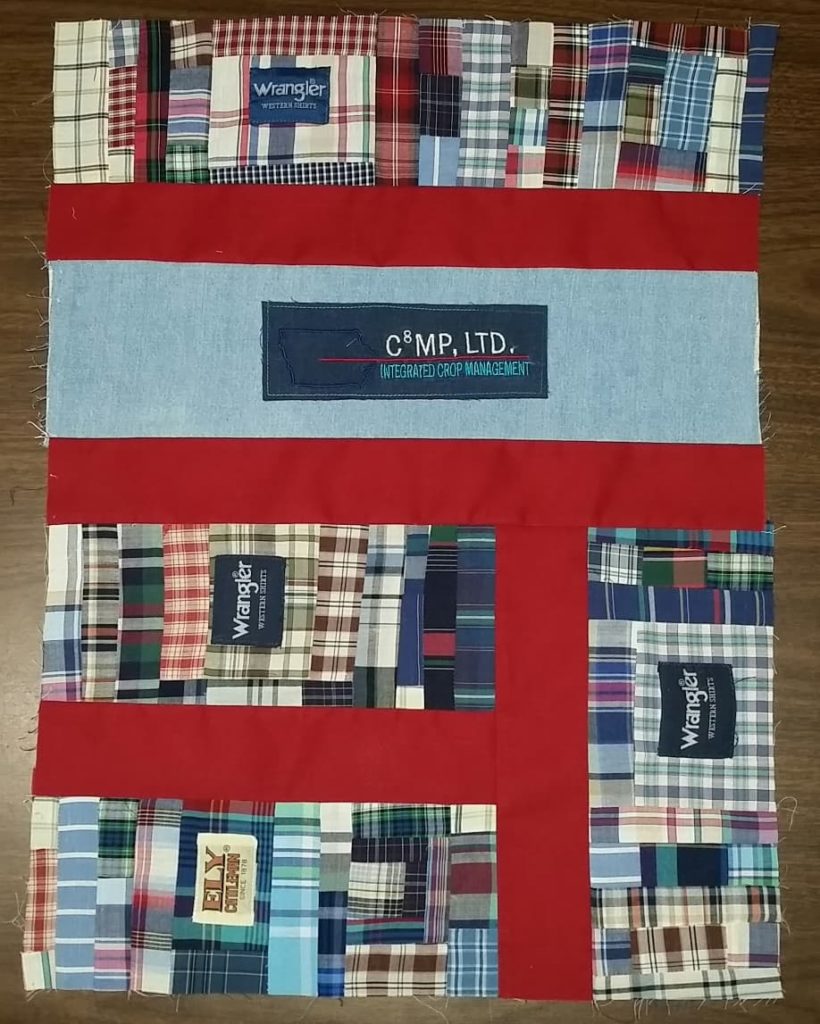
    This is the first pieced block segment. Kelly teaches you how to improv piece creating panels, strips or blocks. The Detour quilt is made from pieced panels cut down to the sizes that you need for your blocks. I started out making one of the required panels and soon discovered that I was going to have to take another route as I didn’t want to cut across any of my shirt patches. I ended up using the block piecing technique for most of the quilt and when I was down to the last couple blocks I used the panel technique. I ended up using all of Kelly’s techniques in this one quilt.

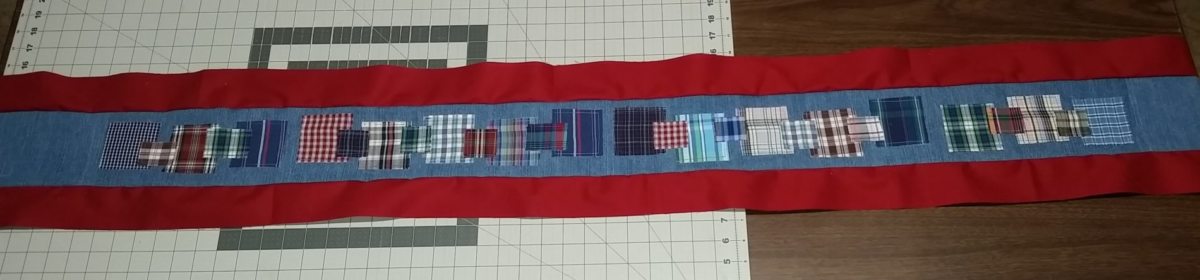
    I was going to be short 4 shirt patches for the required amount of blocks. My scrap pile was producing smaller and smaller pieces. I decided to dig in the bag of denim shirts and cut 2 of the small and 2 of the larger pieced blocks. I first had the idea to applique random plaid squares to the denim shirts. I did like how they turned out but I was not sure how they would look in the design so I dug further in the bag and cut new denim pieces that had shirt patches on them all ready.

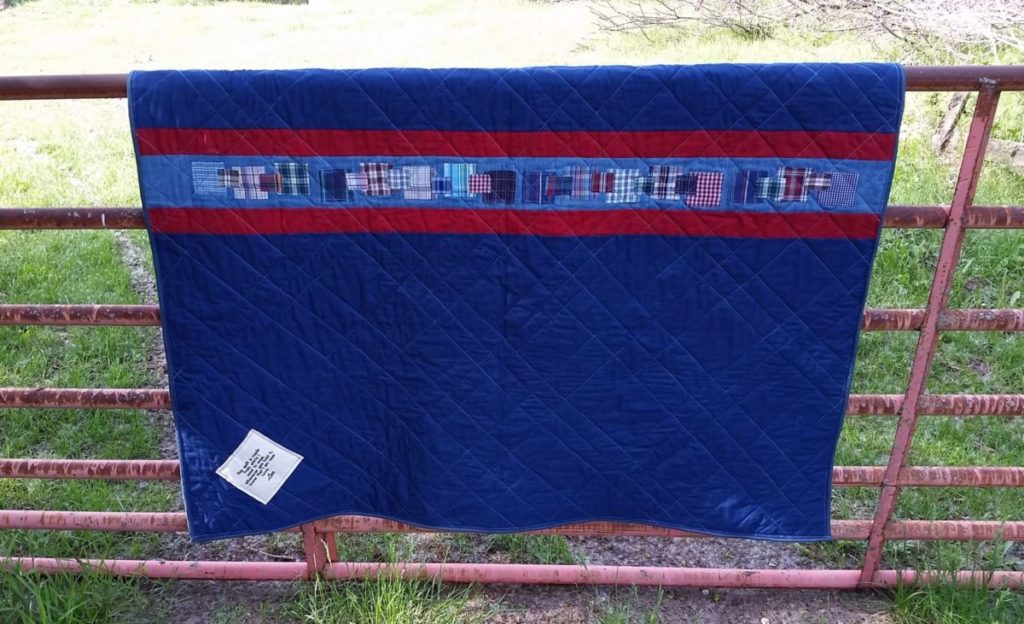
    I got the idea to sew the denim strips together and I had extra red background fabric and I am going to use this striped piece as the center of my backing. I think I will use navy solid as the rest of the backing.
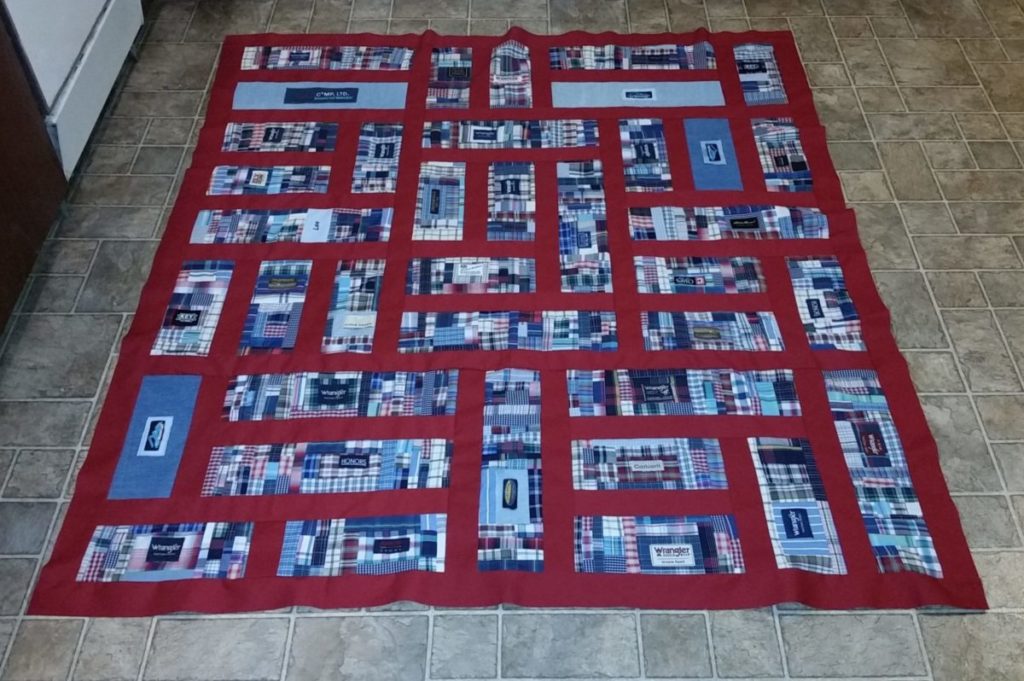
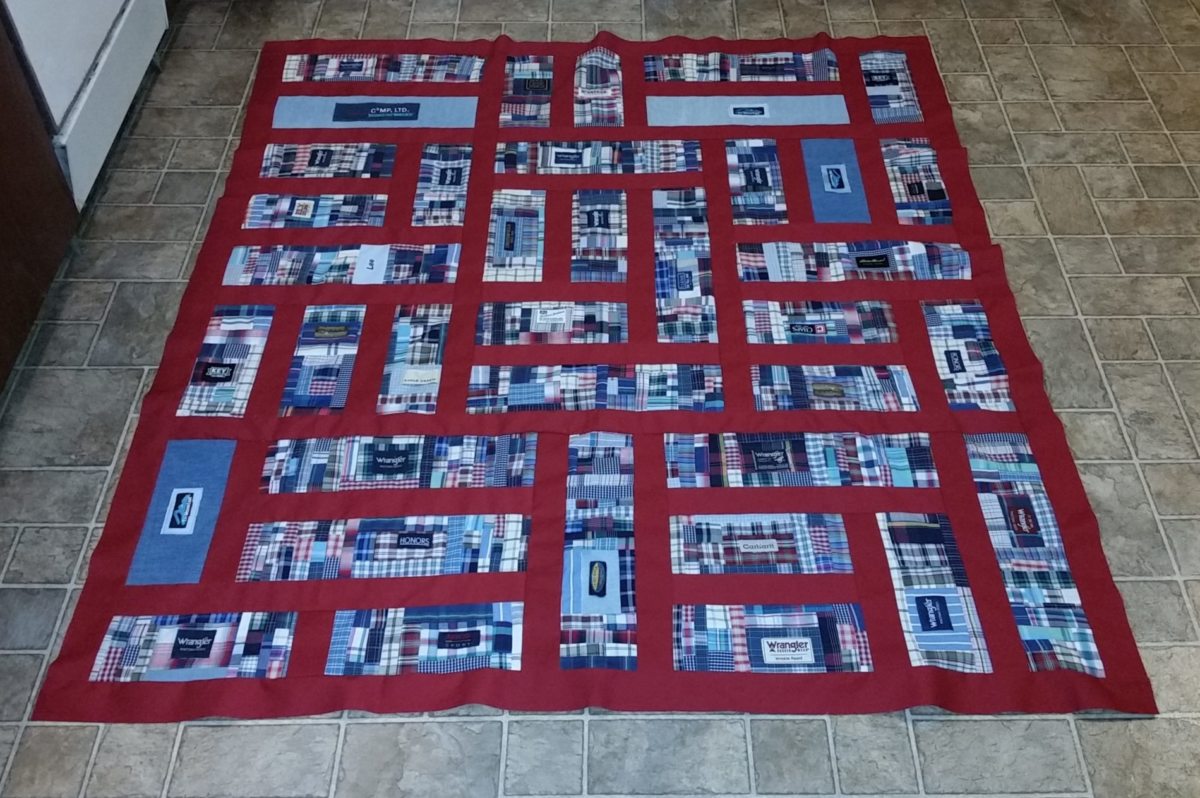
    Here is another view of the Detour flimsy. I apologize for the poor lighting, as it is after Midnight when the photo was taken. I promise to get better photos when it is quilted and bound. I plan to have this done by midweek and will write another post and link the finish with this one.

    Laura at Slice of Pi Quilts is also sharing her version of the Detour quilt today. Be sure to check out all the lovely quilts on the book blog tour. You can find a list of all the stops below. 


    4/16- Grand Bazaar    Shelley @ Cora’s Quilts

                                          Connie @ Freemotion by the River

    4/23- Louvered  Lindsey @ Primrose Cottage Quilts 

                                Diann @ Little Penguin Quilts

    4/30- Precarious  Jess @ Quilty Habit                       

                                  Myra @ Busy Hands Quilts


    5/7- Beach Retreat  Sarah @ Sarah Goer Quilts                               

                                      Liz @ Savor Every Stitch 


    5/14- Fire Pit   Alison @ Little Bunny Quilts                                          

                             Preeti @ Sew Preeti Quilts


    5/21- Detour    Laura @ Slice of Pi Quilts                         

                             Shelley @ The Carpenter’s Daughter Who Quilts


    5/28- Murrina    Yvonne @ Quilting Jetgirl             

                                Leanne @ Devoted Quilter


    6/4- Scattered    Jayne @ Twiggy and Opal                      

                               Christine @ Triangles and Squares 


    6/11- Bloom Chicka Boom   Chris @ made by ChrissieD            

                                                   Michelle @ From Bolt to Beauty


    6/18- Regatta   Susan @ Quilt Fabrication                             

                              Debbie @ A Quilter’s Table    

                              Christa @ Christa Quilts


    6/25- Catch a Falling Star  Cynthia @ Quilting is More Fun Than Housework        

                                                  Anja @ Anja Quilts


    7/2- College Prep   Hilary @ by Hilary Jordan                 

                                    Lori @ Crossquilt


    7/9- Take Flight (free bonus pattern)  Kelli @ Seriously, I Think It Needs Stitches 

                                                                 Paula @ The Sassy Quilter

    You can pick up a signed copy of Stash Statement in Kelly Young’s Etsy shop HERE, which comes with the Take Flight (angel wings) bonus pattern.  Or, you can get the book on Amazon, Connecting Threads, or even in your local quilt shop!

    Thank you for stopping by my blog and checking out my Detour quilt. I really enjoyed making it and have plans to try out some more patterns from the Stash Statement book. I have my eye on the Scattered quilt next.


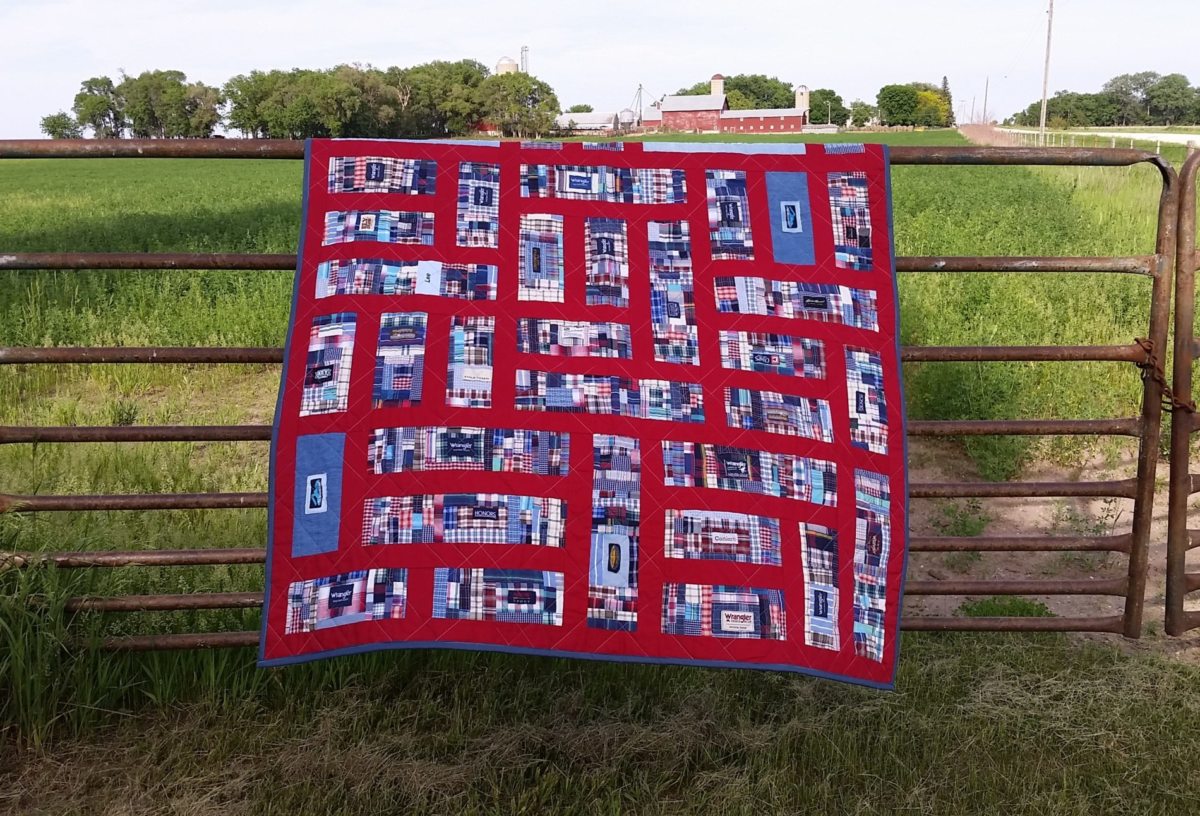
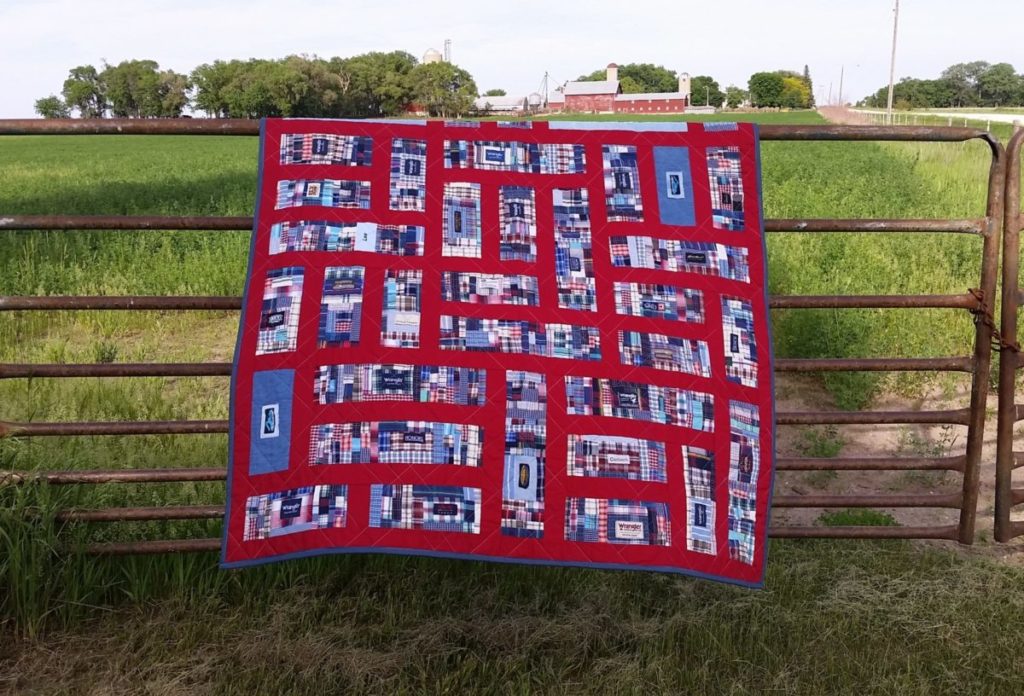
    UPDATE with Detour Quilting Completed:
     

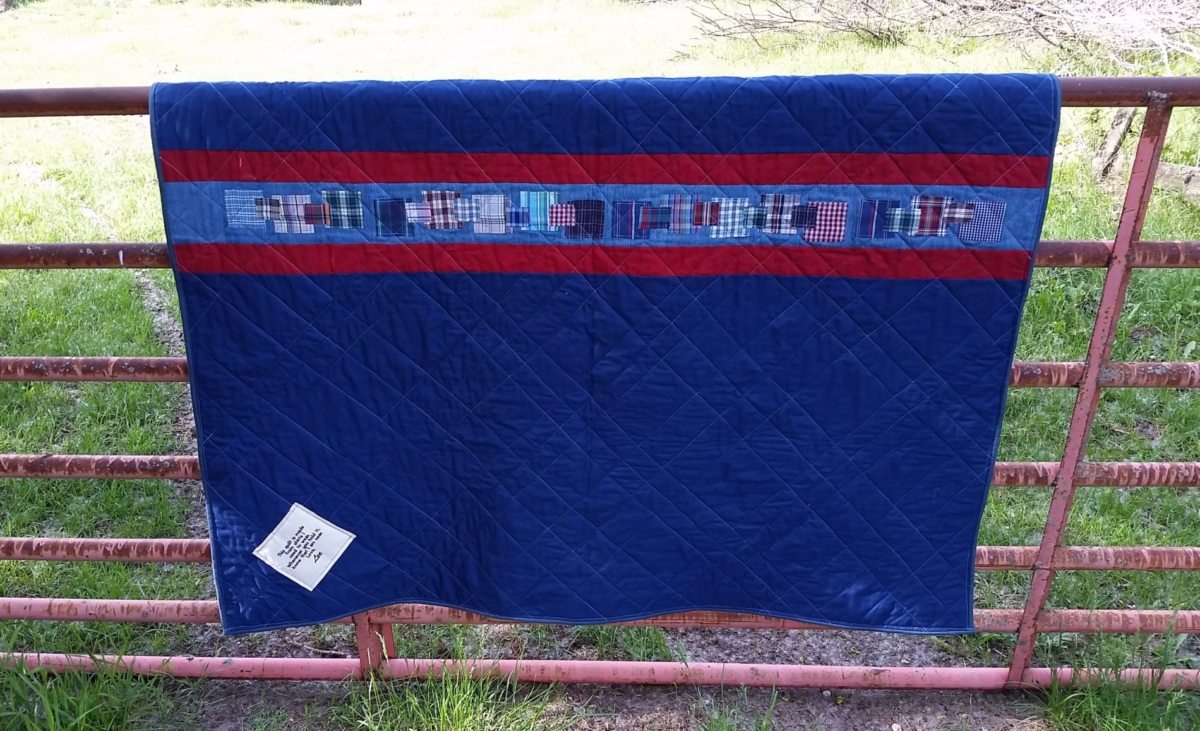
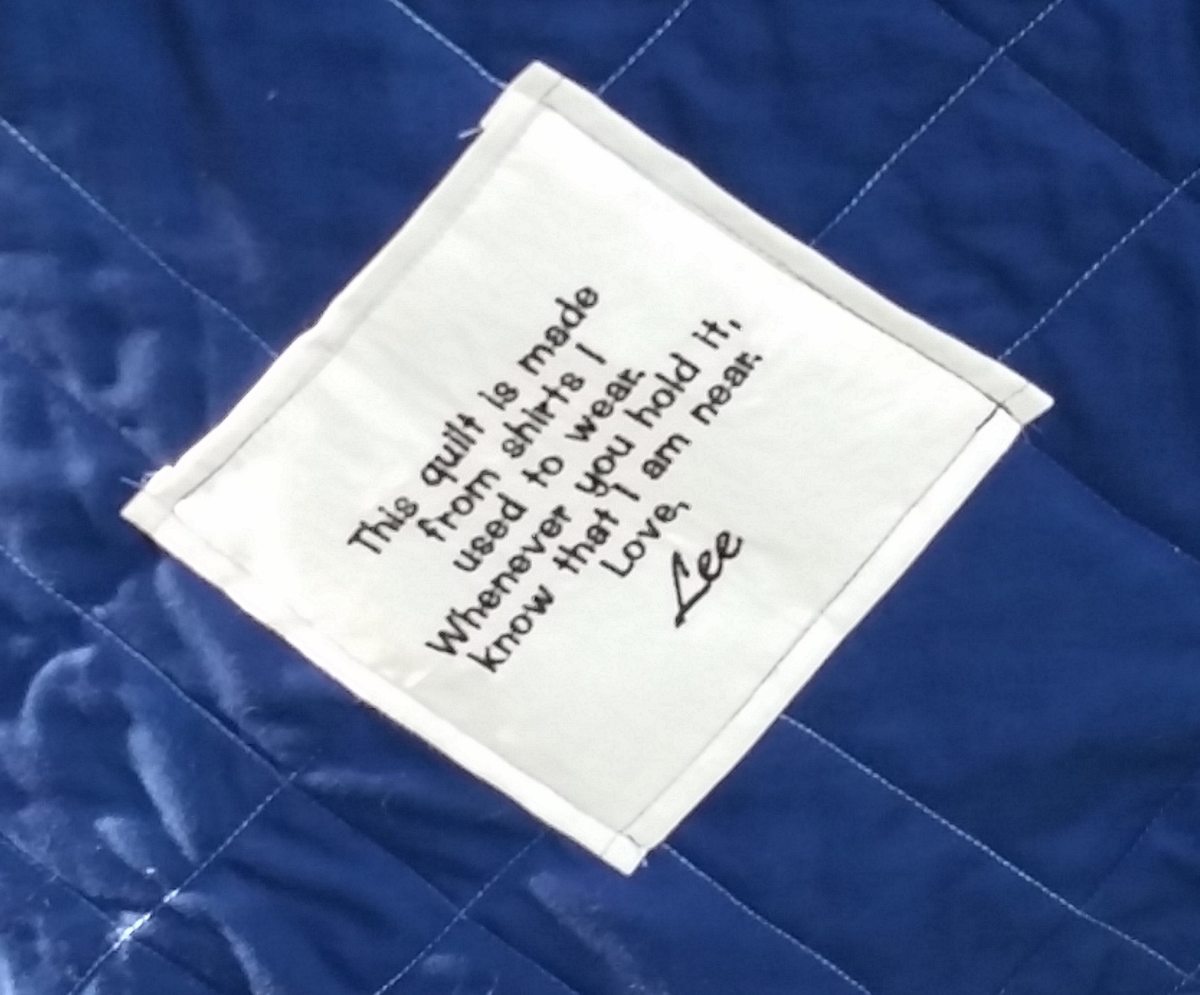
    Each of my memory quilts will have one of these embroidered patches on it. There are some with Dad, Lee and Grandpa on them, depends on which family member’s quilt it goes on. I asked my Sister inlaw for more patches recently and this was an extra one as the embroiderer forgot to change thread to navy blue like my first batch. I didn’t want it to go to waste so it is sewn on to the Detour quilt, which is an extra quilt. I did sew it on by machine at an angle or on point so it wouldn’t show up on the front as it blends in with the diagonal plaid quilting. I used the denim variegated thread on top and in bobbin.

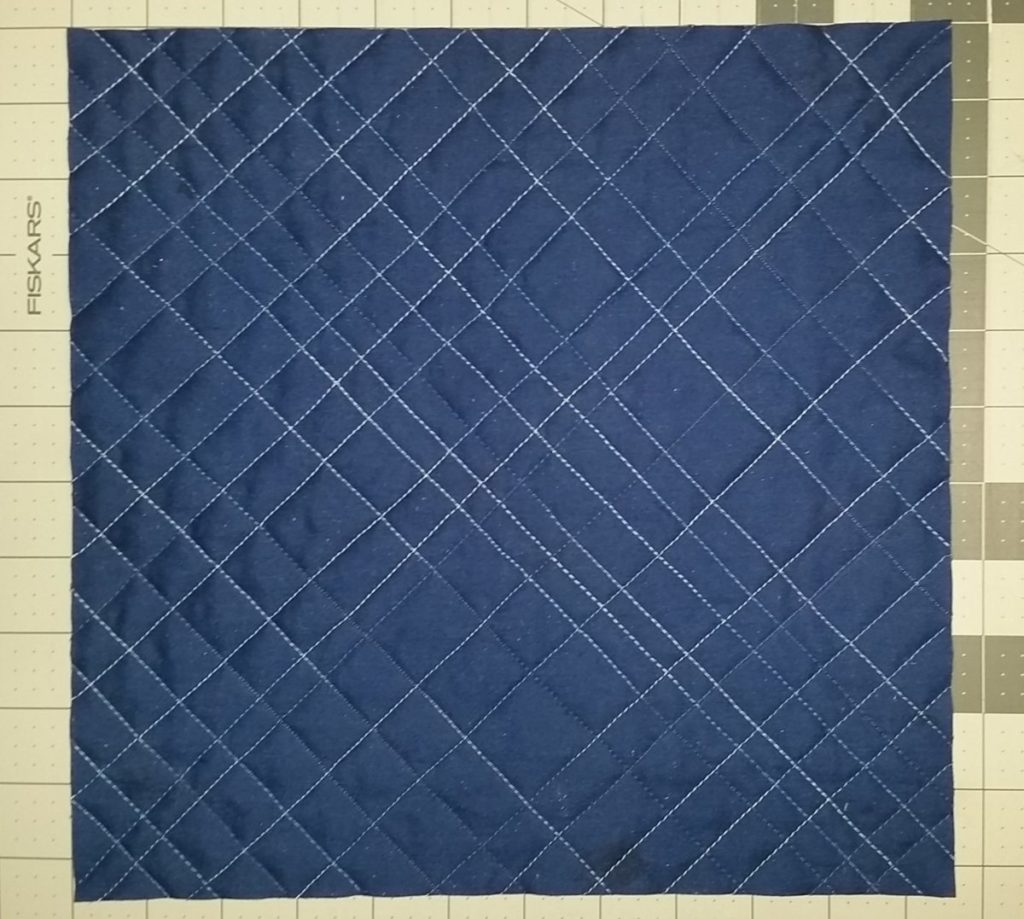
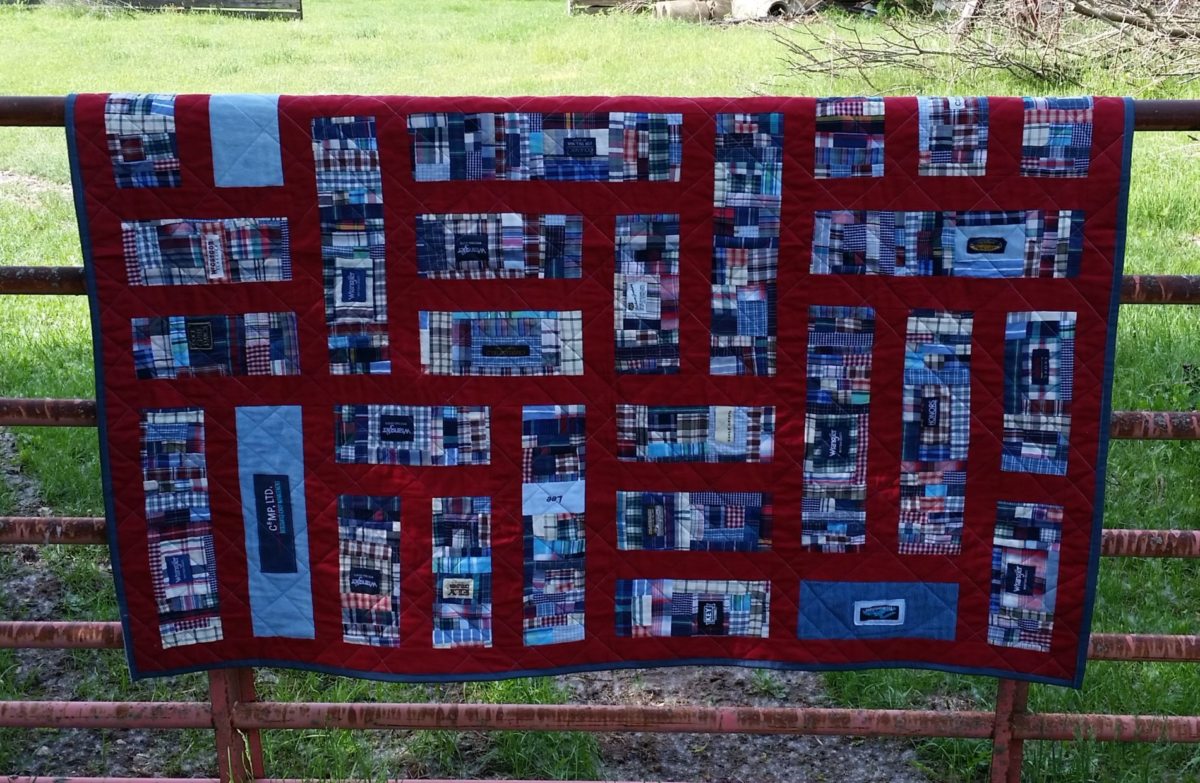
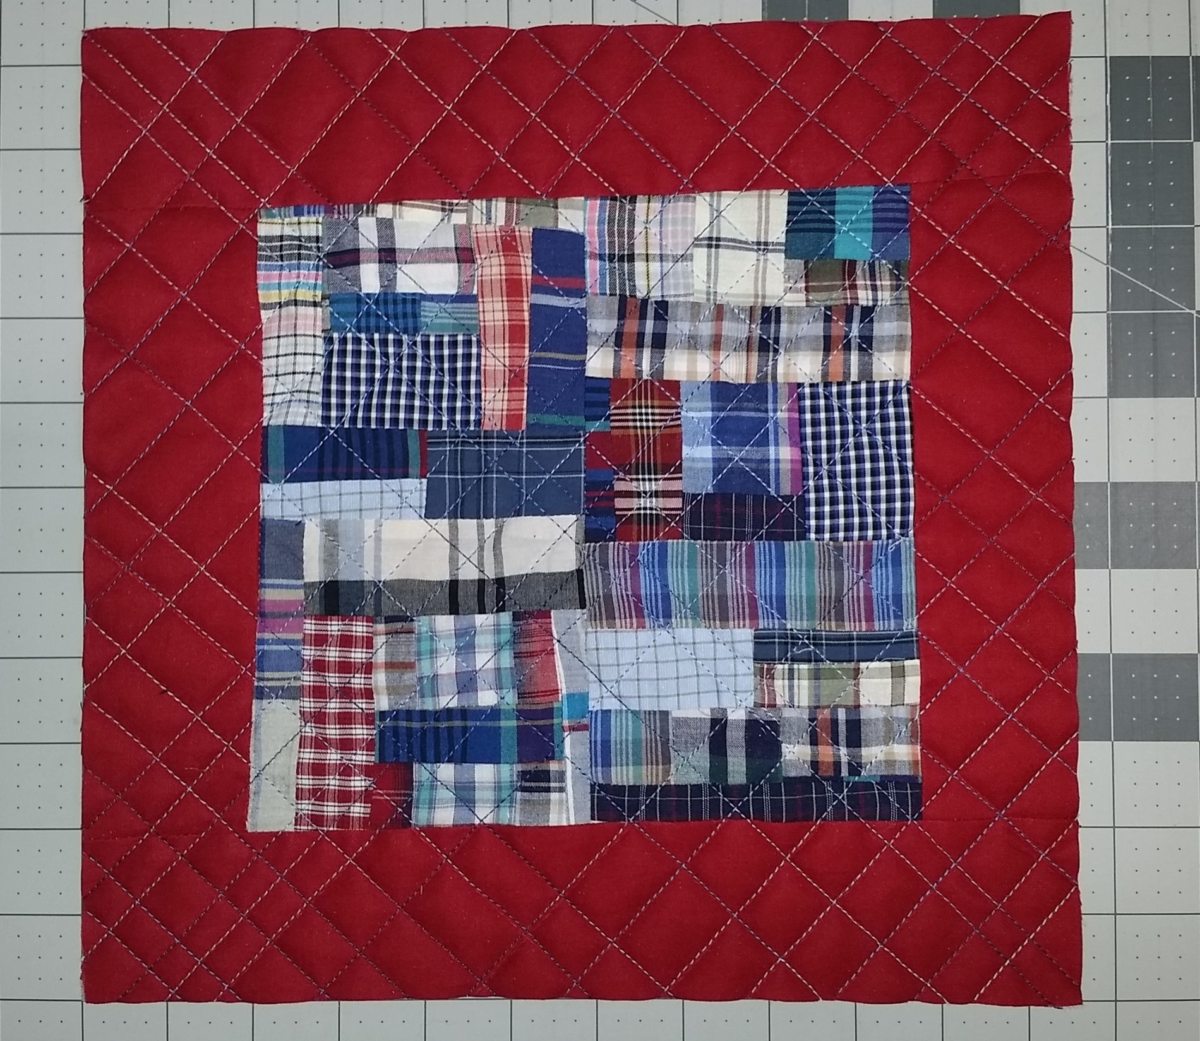
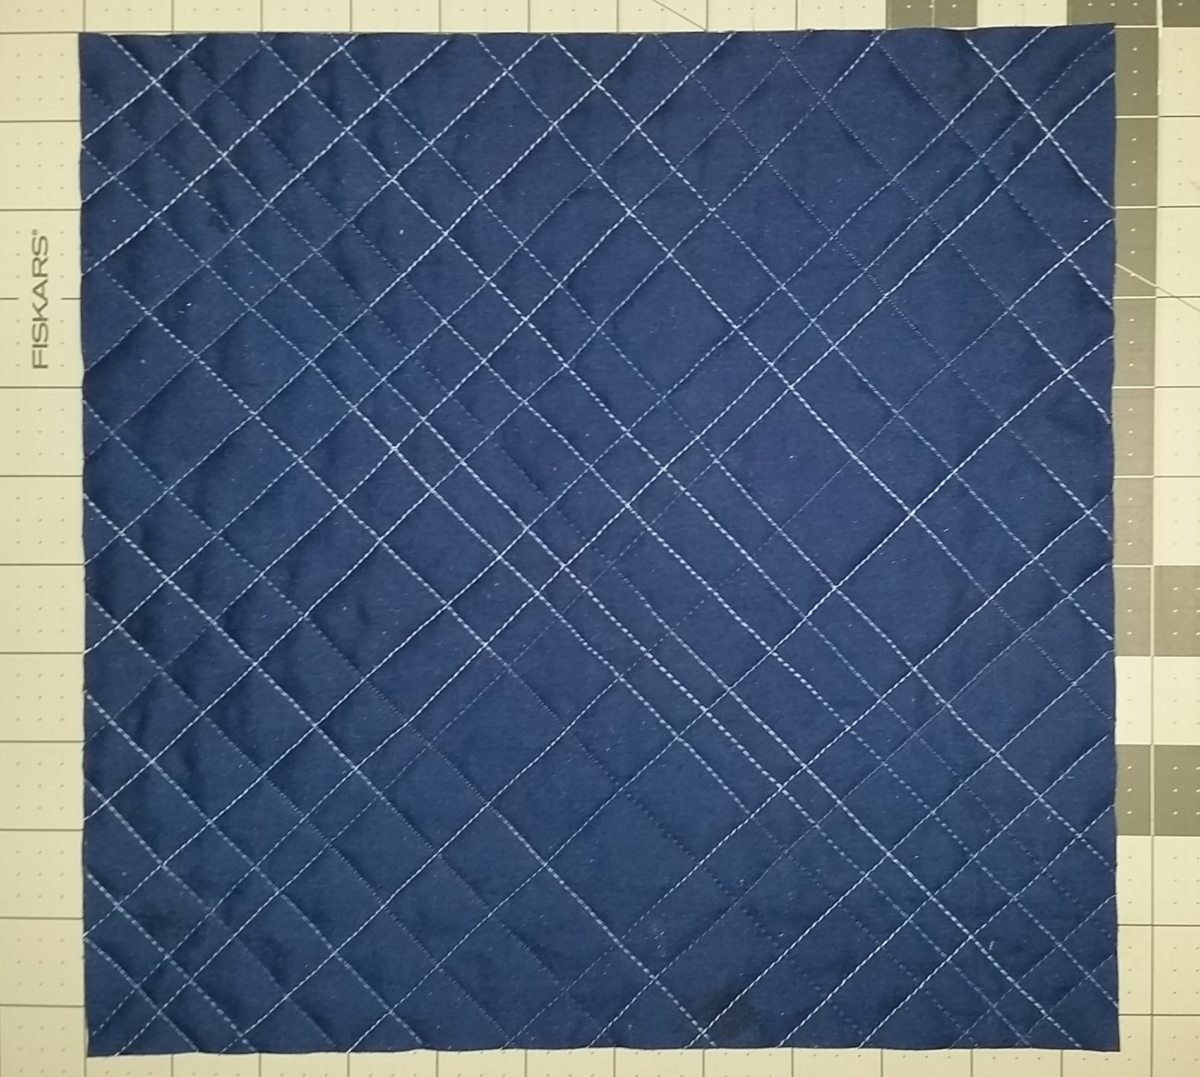
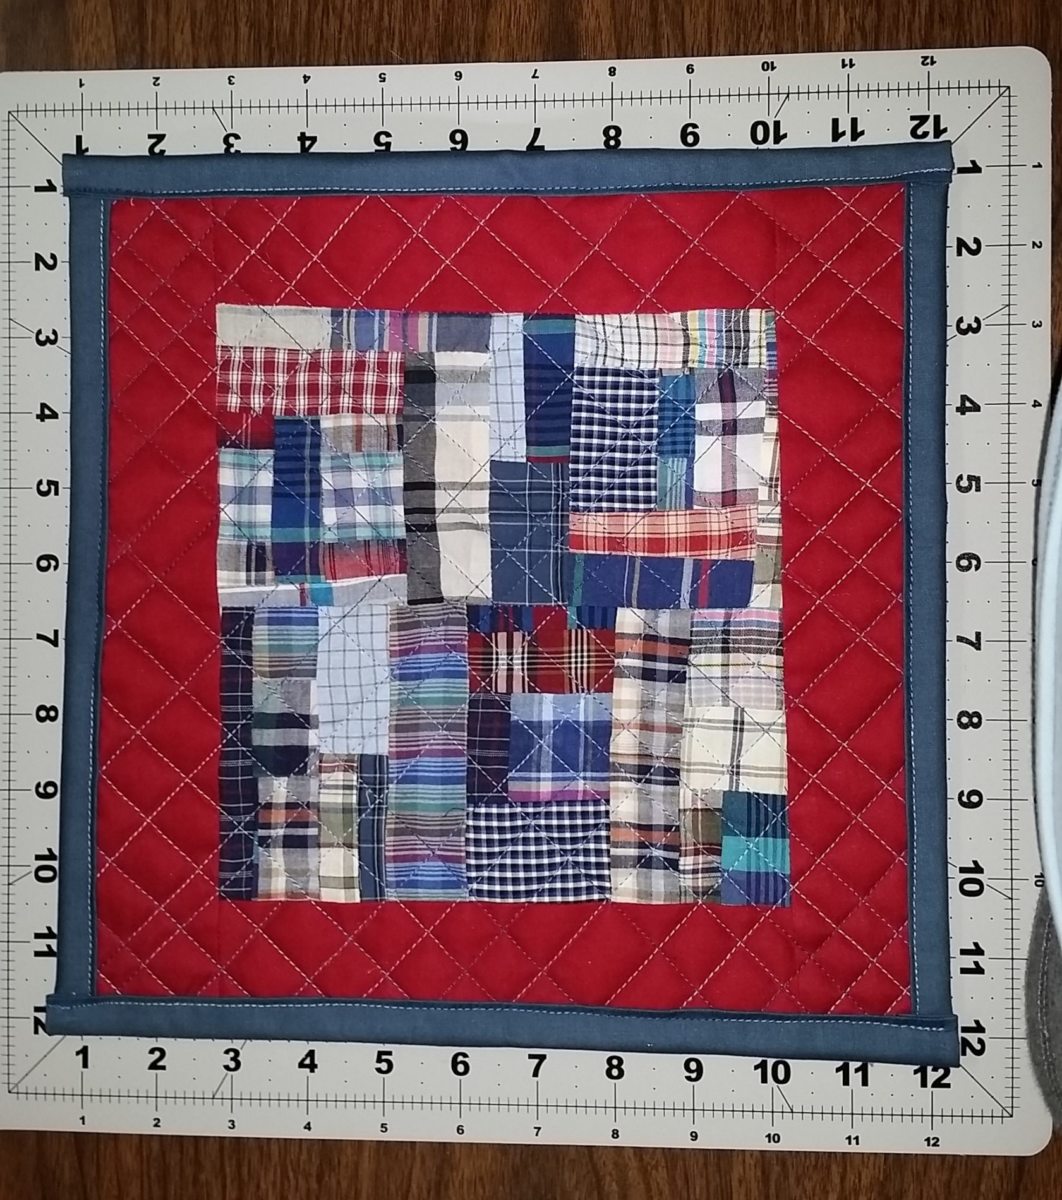
    I made a mini quilt from one leftover improv panel that I cut in half and sewed back together to make a square. I drew out an allover plaid design with my hera marker and ruler. I did the same stitching on the full size quilt but I had to start a little differently since my quilt was a rectangle and not a square. I made a big X and then went out like 7.5 inches from either direction. I added fill in lines at 2.5, 1.5 and 2 inches in both directions. I really like how it turned out and the quilting helped correct a wavy outer border.

    I do hope to take some more personal quilt photos at a later date, like with Dad’s 56 Belair or with his Fairmont Speeder Car (railroad maintenance car). Sorry for the delay. It’s been a wild week. Monday was chilly enough that I had to turn the space heater on again in the living room. Saturday and Sunday we are setting records in the 90s. My husband and I took an impromptu 9 hour roundtrip road trip on Saturday and drove over to Nebraska to buy him a pickup. It was 97 degrees. No sightseeing or side trips. First time that I drove that long  and that far of a distance by myself.  Thank God Dad’s pickup has good AC and a good radio. I had a heck of a time keeping my husband in sight and my GPS wasn’t working on my phone on the ride home (1 X instead of 4G….lol) My quilting was complete on Thursday but I didn’t get binding done until Sunday afternoon. My projects this week is to paint my living room (hope it cools down) and then Friday,  our son will be here to help lay laminate flooring in the living room.

    I plan on trying more quilting designs made with a ruler and hera marker.  I have one of those bendable curve rulers that I can make a design with too. I am thinking I will likely do a similar pattern to this on the two memory quilts that are made from the HST scrap pieces from the Scrappy Patchwork Swoon quilts.  

    I hope  everyone had a great extended holiday weekend. 

    Happy Sewing,,

    Shelley

  • Candy Scraps Part Deux: Dad’s Plaid Shirts Memory Quilt

    Hi, I have another memory quilt top finished. This one was made from Moda Bake Shop’s Candy Scraps quilt tutorial by Corey Yoder. I have made this quilt before and used it to create a graduation gift quilt in Iowa State University colors for our niece.

    This is the start of my paper piecing the blocks. I enlarged the design from 64 blocks  to 80 blocks. When  I made the graduation quilt, somehow I managed to paperpiece and get the quilt completely quilted and bound in 12 days. It took longer to make this top but I guess I didn’t devote my entire free time to making it. I was working on the City Tiles at same time.


    Here are the first16 blocks and they show how the  design will shape up. The navy is quite dark and is difficult to photograph.

    This was 20 blocks together. Ugh, only a fourth of the way there. Ha.

    Here are all 10 rows of 8 blocks layed out on the bed. The last row was too much for the length and wanted to fall out of the photo.

    Hip Hip Hooray! Yeah!! We have a completed flimsy. It finishes 64 by 80. Some of the rows fought me with the stretchiness of the plaids. The first quilt didn’t fight me like this one did. It took lots of pins to make sure rows stayed aligned. This quilt is going to go to my husband. I intended to give him the My Guy quilt but we have decided to gift that one to Dad’s best friend from college. I guess the hardest one to finish should stay in the family. I thought we were going to  see Dad’s friend last weekend and hoped or intended to have this quilted for him as we don’t see him often. It took me way longer than I thought to finish quilting my Tribal Plus quilt and I pieced a striped backing for the My Guy quilt. During a comedy of errors, it took me 4 times to get that pieced back basted to the My Guy quilt. I have learned how to use that Kwik Klip thing to help you open and close safety pins. Why it has taken me years to own one? My Guy quilt is basted and next in line for quilting and City Tiles will be basting soon after.

    Thank you for stopping by my blog. I will be linking this finish up with Crazy Mom Quilts linky party.

    Happy Sewing,

    Shelley
  • Manly Mod Charms Quilt: Dad’s Plaid Shirts Memory Quilt

    Hi, I have finished another memory quilt project. This one is huge and fits our king size bed. It will be for us. I used Emily Dennis’ Mod Charms Quilt tutorial. I used it before to make the memory quilt that I call Workshirt Mosaic. The pattern is free on her website. She recently gave instructions to make a larger version of it. She calls it a Queen and it finishes at 94 by 112 inches.

    These are all my charm squares cut out for my quilt. I used one XL Tall men’s shirt in entirety in my design. The shirt was one that had been hanging in our closet and I would wake up each morning seeing it peek out of the closet at me. My husband’s Mom had given him this shirt of his Dad’s to actually wear but he has so many of his own plaid shirts that don’t get worn.  I knew he wouldn’t miss it. He really likes how the quilt turned out and agrees he has too many of his own shirts to wear.

    This was the first graph I did of the design I was wanting. I just wasn’t sure how large to make it so it would fit the king bed. It was neat to see that Emily posted photos on Instagram of cutting out one in black and white using the larger pattern the same day I cut this one out. I sent her a message to thank her for sharing the new directions.  I wanted to make the most of the one shirt.

    Starting layout of my charm squares.

    This is how my plaid squares will lay out. I tried my best to keep the plaid all going in the same direction  as I cut it off the shirt.

    This is the top half of the  quilt rows layed out on the bed.

    This is the completed  Manly Mod Charms quilt top. It is next to impossible to photograph in entirety. It is 94 by 112 inches.

    This  is how the top fits our king bed from the side. I am wondering about adding another row of squares to the sides so after quilting and washing it doesn’t shrink up too much. I like more wider quilts as my husband can tend to pull them off my side even though I am mostly in the middle of the bed. The three legged tomcat or Clover, our Aussie is on the other side of me. I am most likely going to back this with a sheet so I do not have to piece a backing. Actually, I may still need to piece a back to get one large enough.

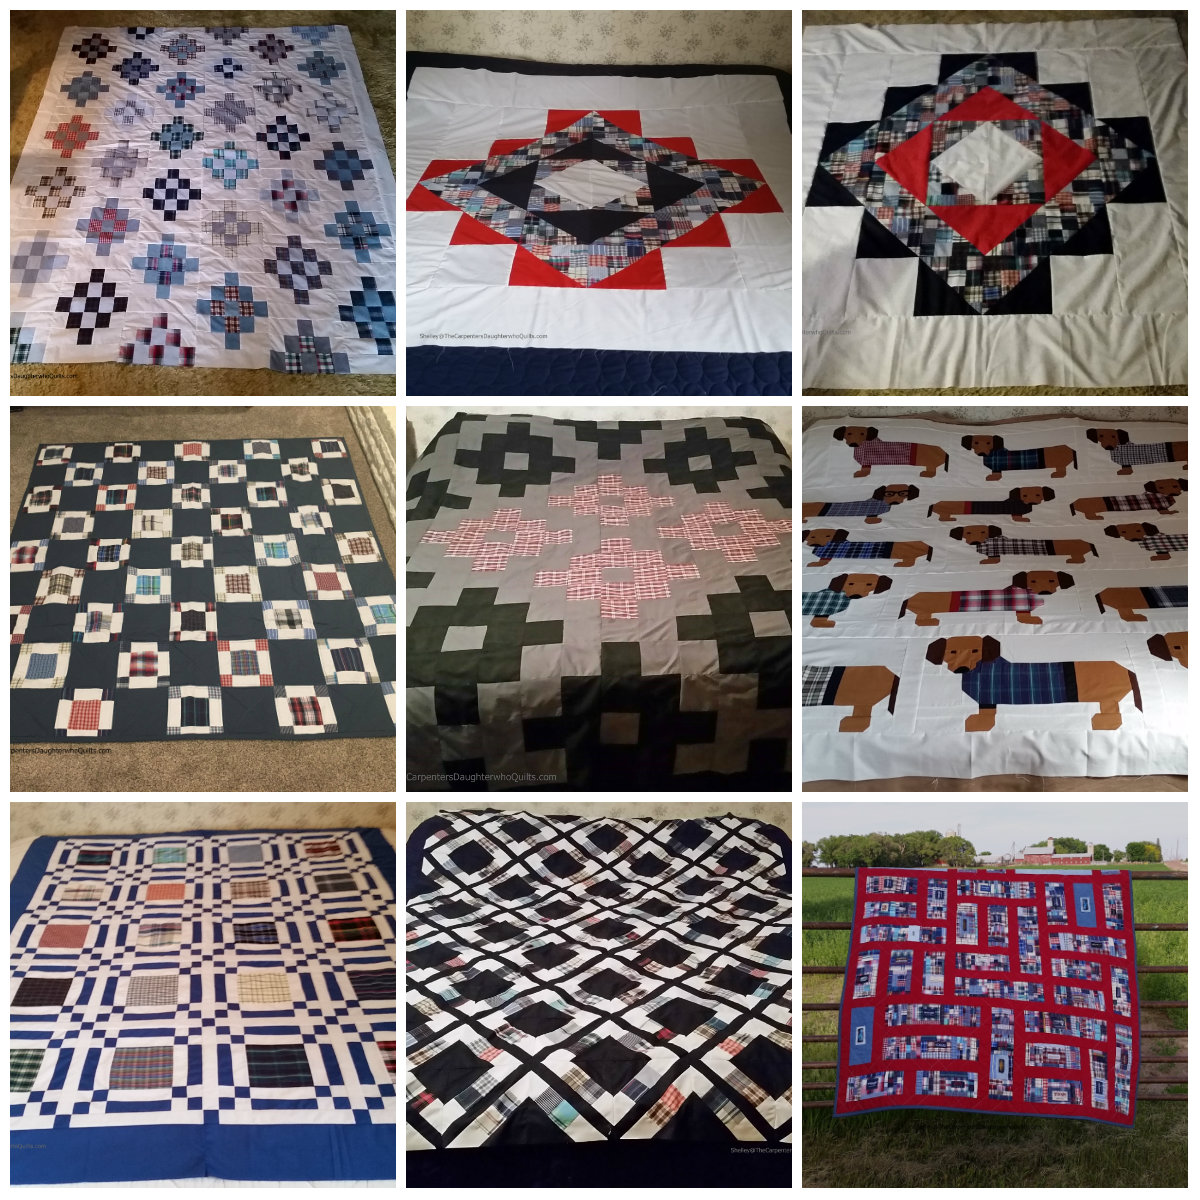
    This is my 13th memory quilt from the same pile of 30 plaid shirts. I have one more completed and cut out a new one this weekend. I need to design three more and that will become quilts for my husband, his Mom, three sisters, our two kids, two nephews, five nieces, Dad’s brother and Dad’s best friend from college.

    Thank you for your continued support of my blog. It is greatly appreciated.

    Have a great weekend.

    Happy Sewing,

    Shelley
  • Frame Quilt: Dad’s Plaid Shirts Memory Quilt
    Hi, I am trying to catch up this weekend on some blog posts that are long overdue. I pieced another memory quilt from Dad’s plaid shirts. I used the Frame quilt pattern by Sandra Clemons. I had the blue and white sashing all ready cut from when I miscut the Double the Plus quilt two years ago. Many of the pieces I needed to cut to size were all ready cut.

    This had to be one of the easiest quilts to make into a memory quilt since I just needed to cut 20 squares from my shirts. I thought I had 20 different squares but ended up with doubles from one shirt.

    I love the Irish Chain look to this pattern. I think it should be well received since it is going to a niece whose family is Irish. I love the electric blue. It really pops.

    Here is the left half of quilt. With careful pressing of my seams, most of them nested perfectly the first time around.

    Here is the right hand side of the quilt.

    I really love how this memory quilt turned out. It will be hard to give up. I have another memory quilt to blog about yet. I have a new one cut out this week and have three more I need to design yet. The leftover scraps bag is to go towards making a quilt for an upcoming quilt book blog tour in April/May.

    Thank you for stopping by and checking out my latest quilt projects. I will be linking this finish up with Crazy Mom Quilt’s Finish It Friday linky party.

    Have a great weekend.

    Happy Sewing,

    Shelley